
Is This The Right Cookie For You?
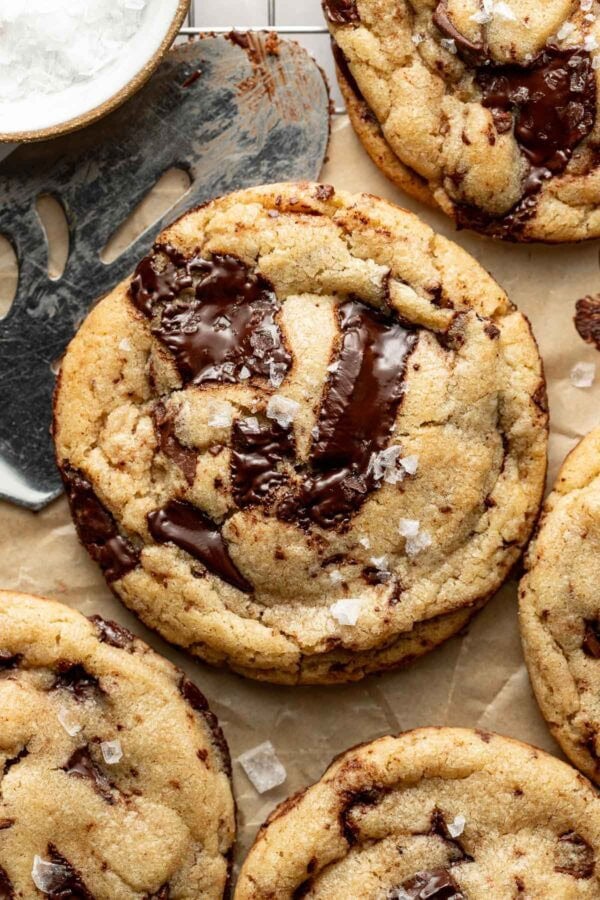
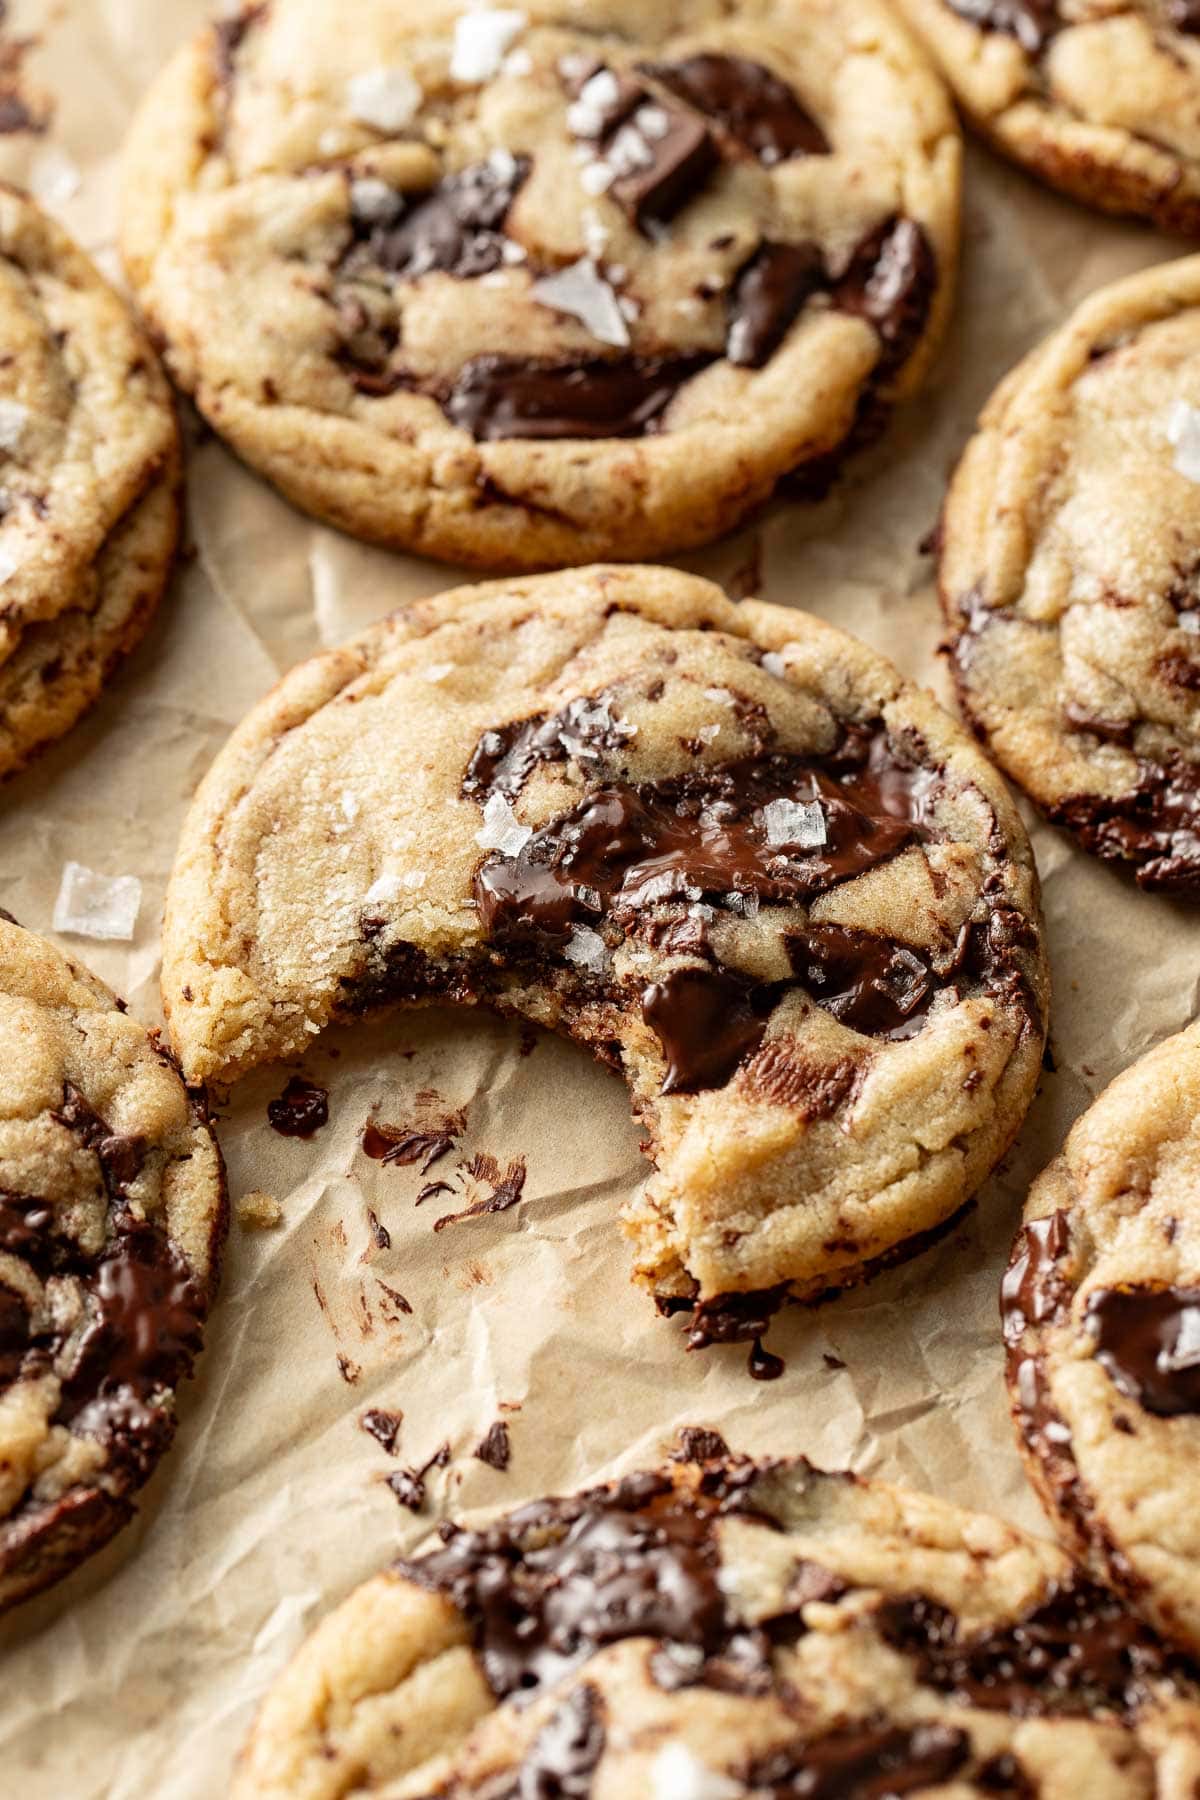
I think we can all agree that a fresh-from-the-oven chocolate chip cookie is the holy grail of homemade desserts. Served warm and melty with a glass of cold milk, nothing else comes close. And while I have a few chocolate chip cookie recipes in my back pocket, this one is my go-to when I want something irresistibly soft and chewy from edge to center—no crispy edges, no cakey puff, just pure, tender cookie in every single bite.
Which cookie recipe I reach for is completely dependent on what type of cookie I’m craving. For instance, if you’re in the mood for cookies with chewy centers and crisp edges or a shortbread chocolate chip cookie, those are different from this recipe, which yields a cookie that stays soft, even the next day!
As an added bonus, cookie dough is extremely freezer-friendly. Pre-portion into dough balls, then pull out exactly what you need straight from the freezer.
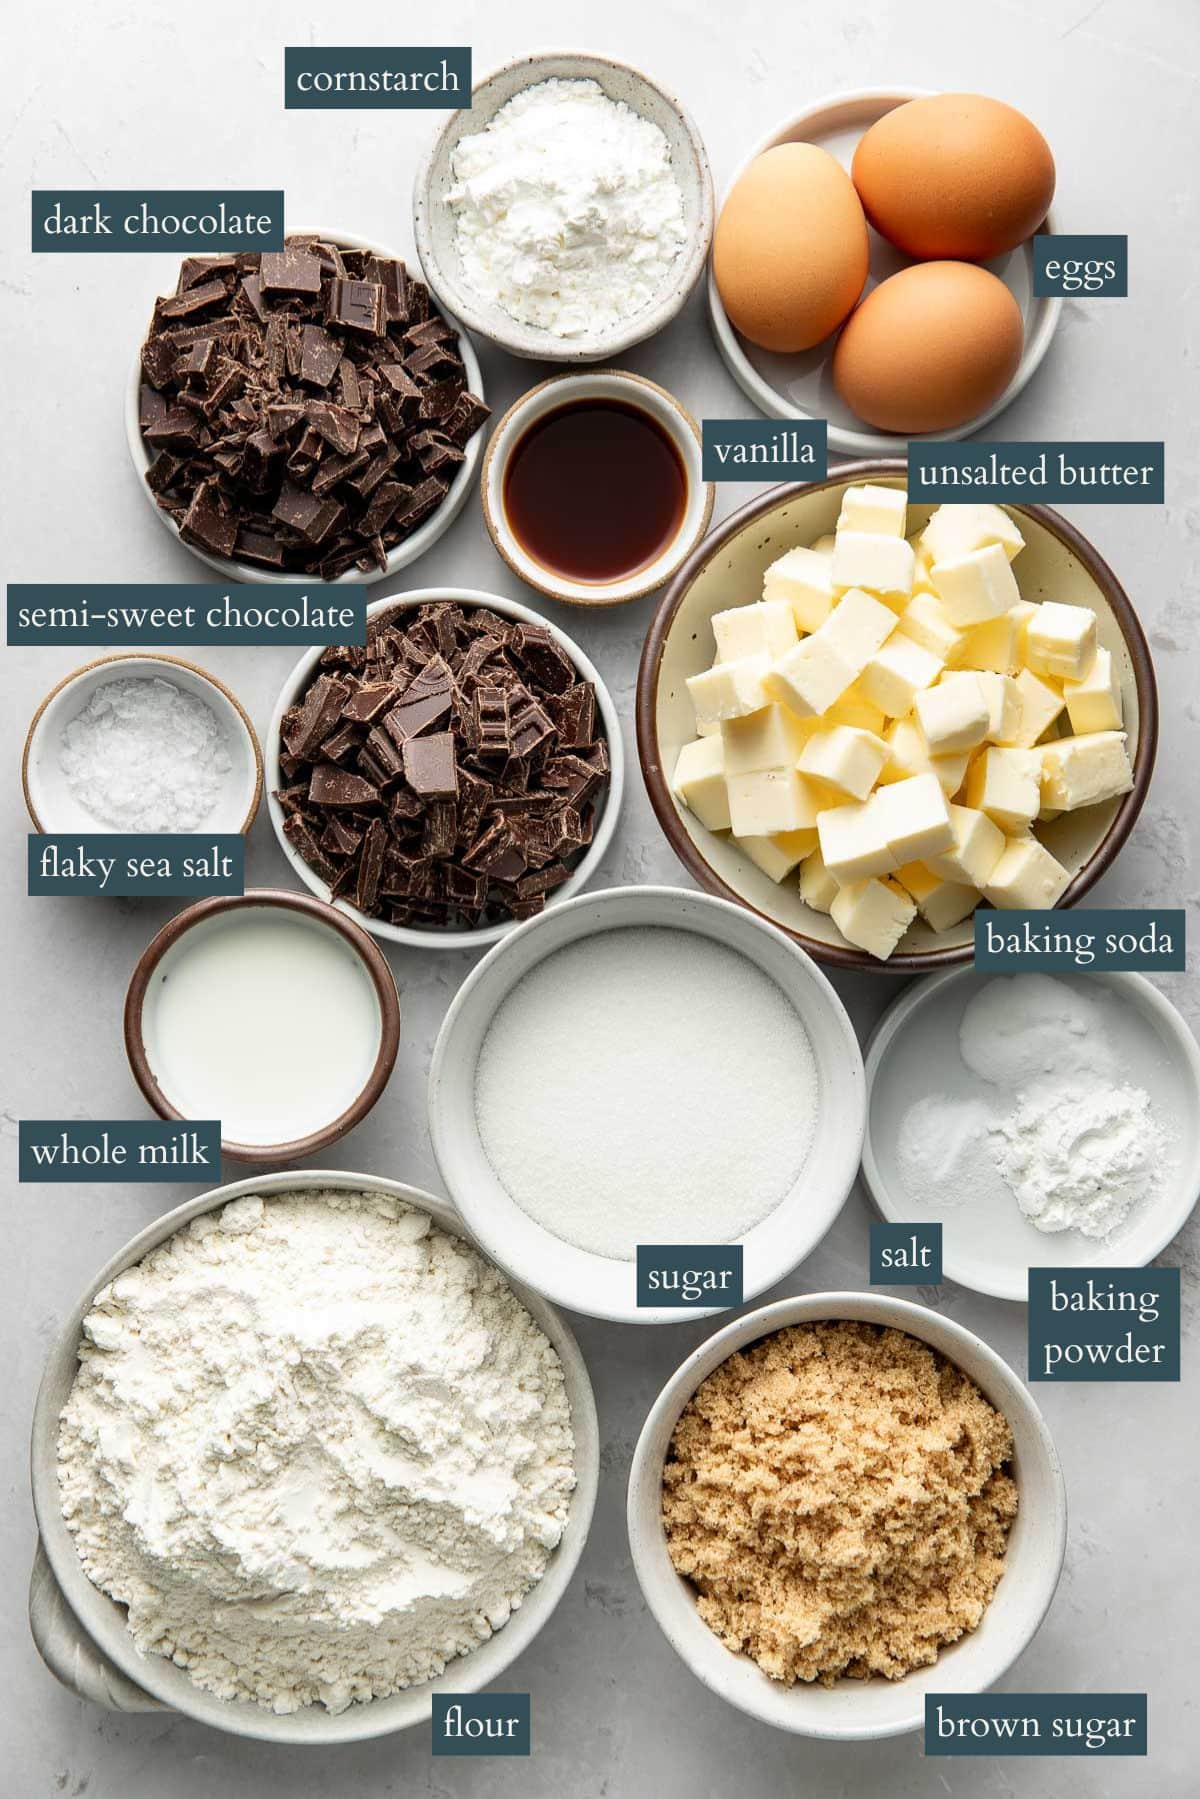
While the majority of these ingredients are pretty standard for chocolate chip cookie recipes, I want to call out the use of egg yolks versus whole eggs. Using the yolks only (eg, no whites) keeps the cookies rich and fudgy rather than cakey. Whites add life and structure; yolks add fat and flavor.
Browned Butter In Cookies? Always.
Brown butter is the single biggest upgrade you can give to a cookie recipe. It adds an almost butterscotch-like flavor that lingers in the dough. So good.
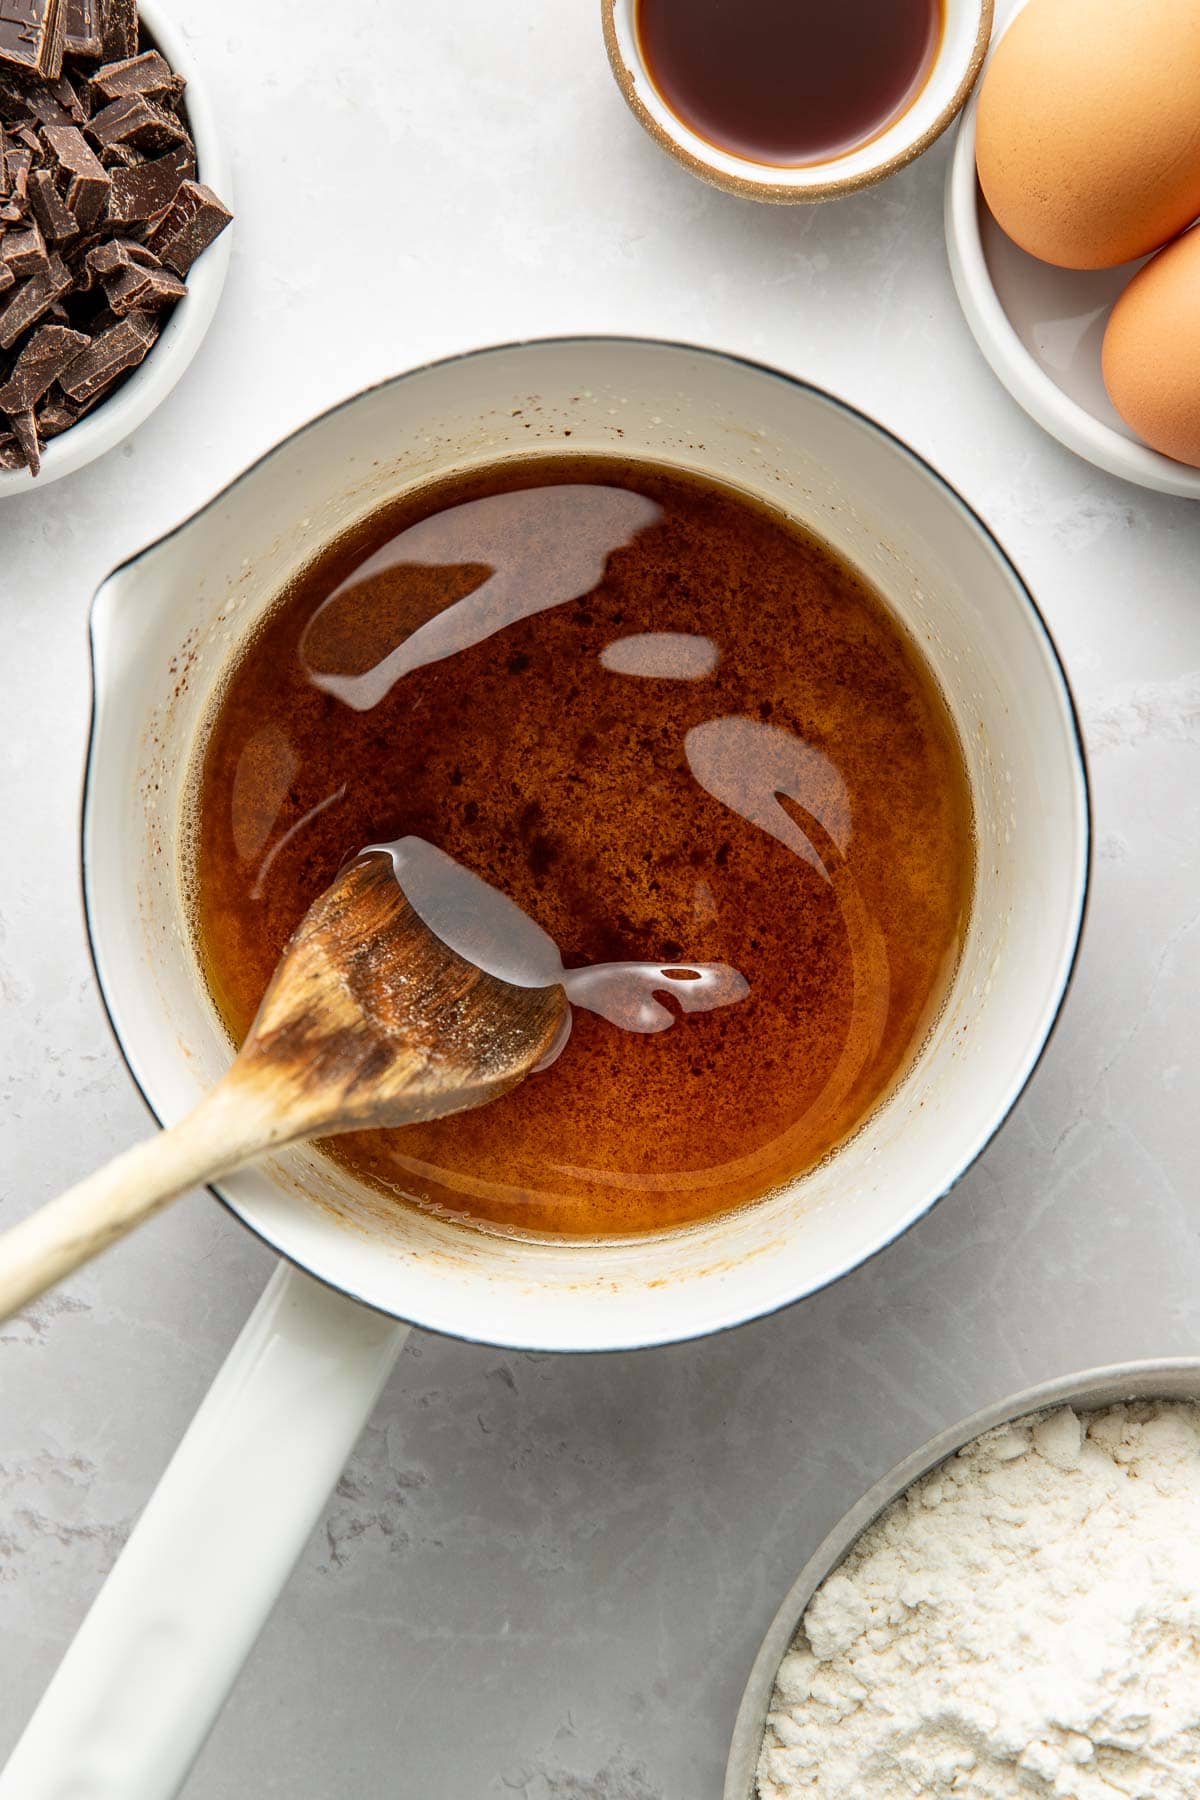
Pro tip: Pour the browned butter into another bowl right away to stop the cooking.
Easy To Make, But Chill Time Is Crucial
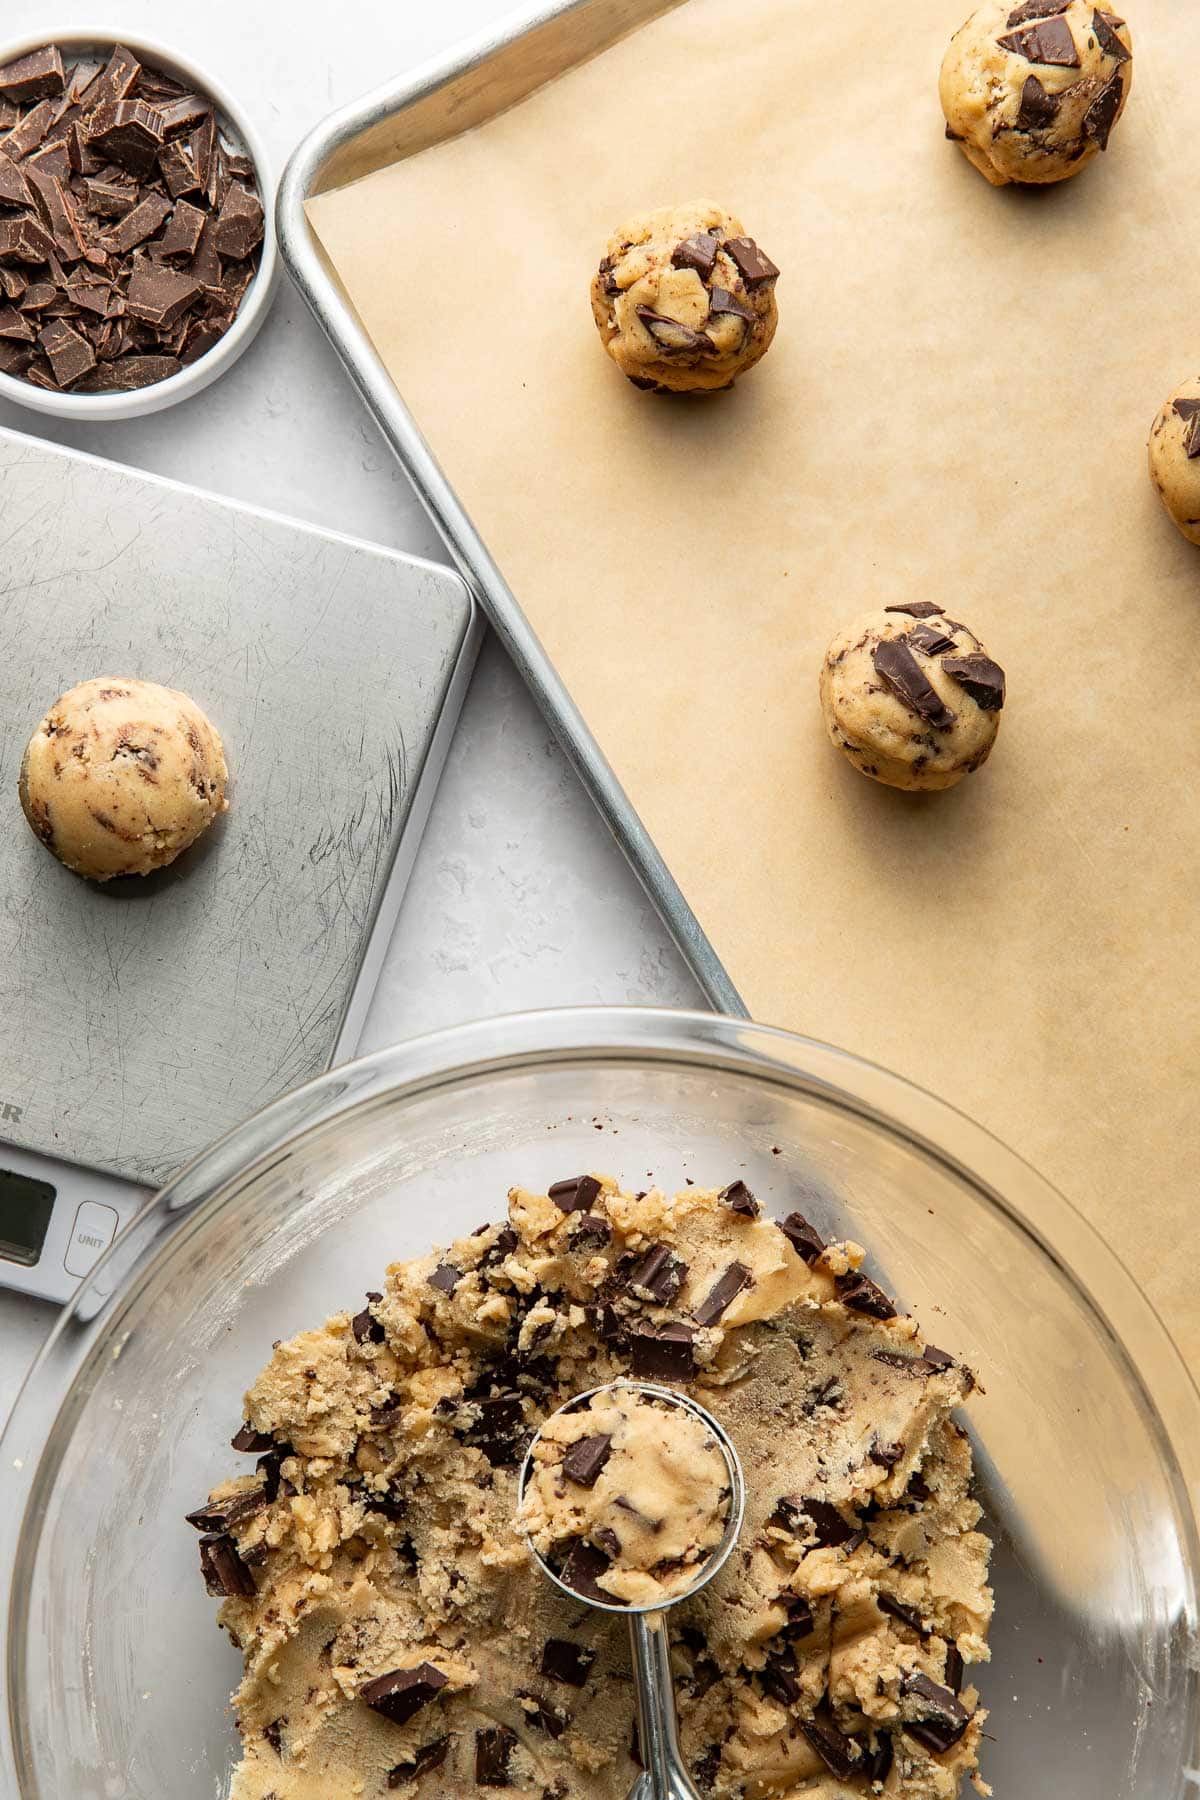
Before beginning, it’s worth stating that the best way to ensure success when baking is to use a kitchen scales. Volume measurements for flour in particular vary widely. Weighing your ingredients is the most reliably path to consistent results.

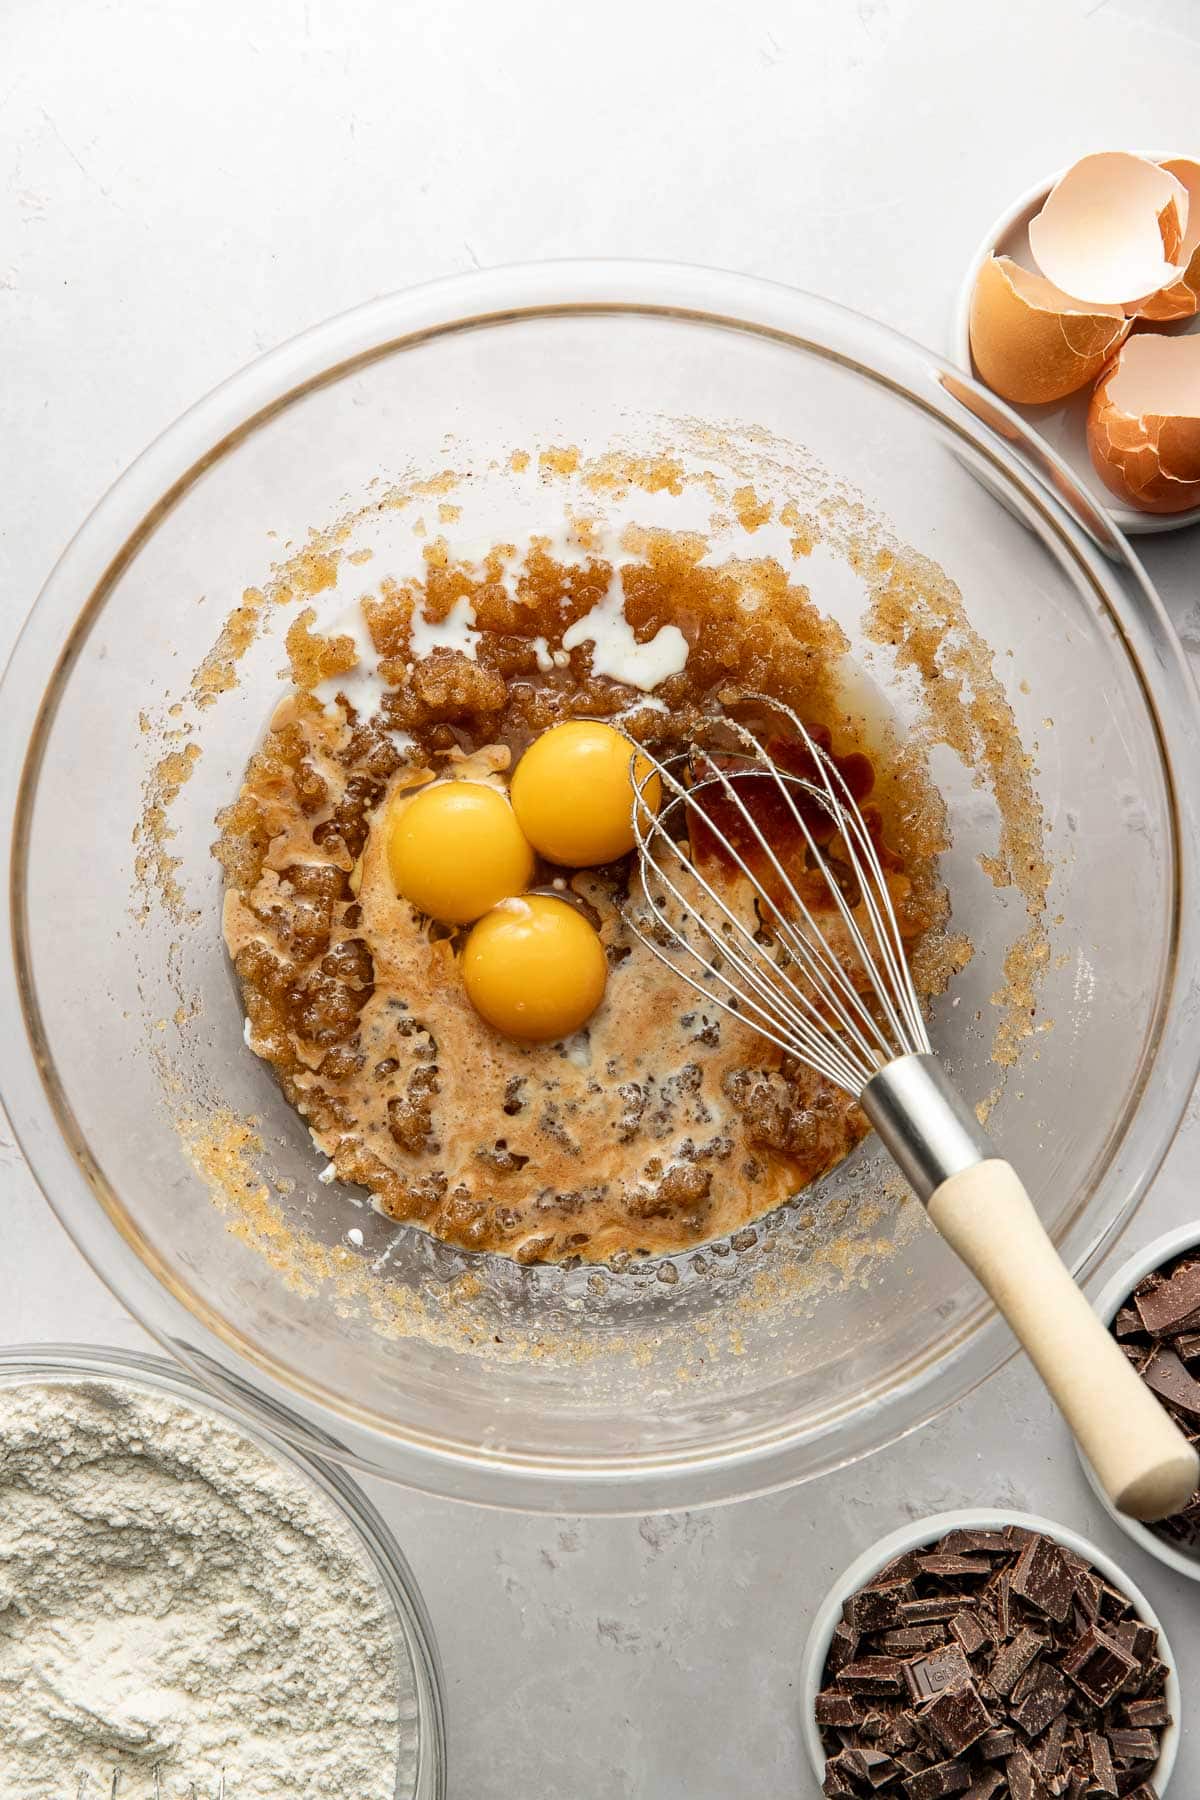
Quick tip: Allow the butter mixture to fool for about 5 minutes before whisking in the eggs to avoid scrambling.
For picture-perfect round cookies, immediately after pulling them from the oven, place a round biscuit cutter or drinking glass slightly larger than the cookie over each one and scoot it around in a gentle circular motion. The soft cookie with nudge into a perfect circle as it sets. 💯
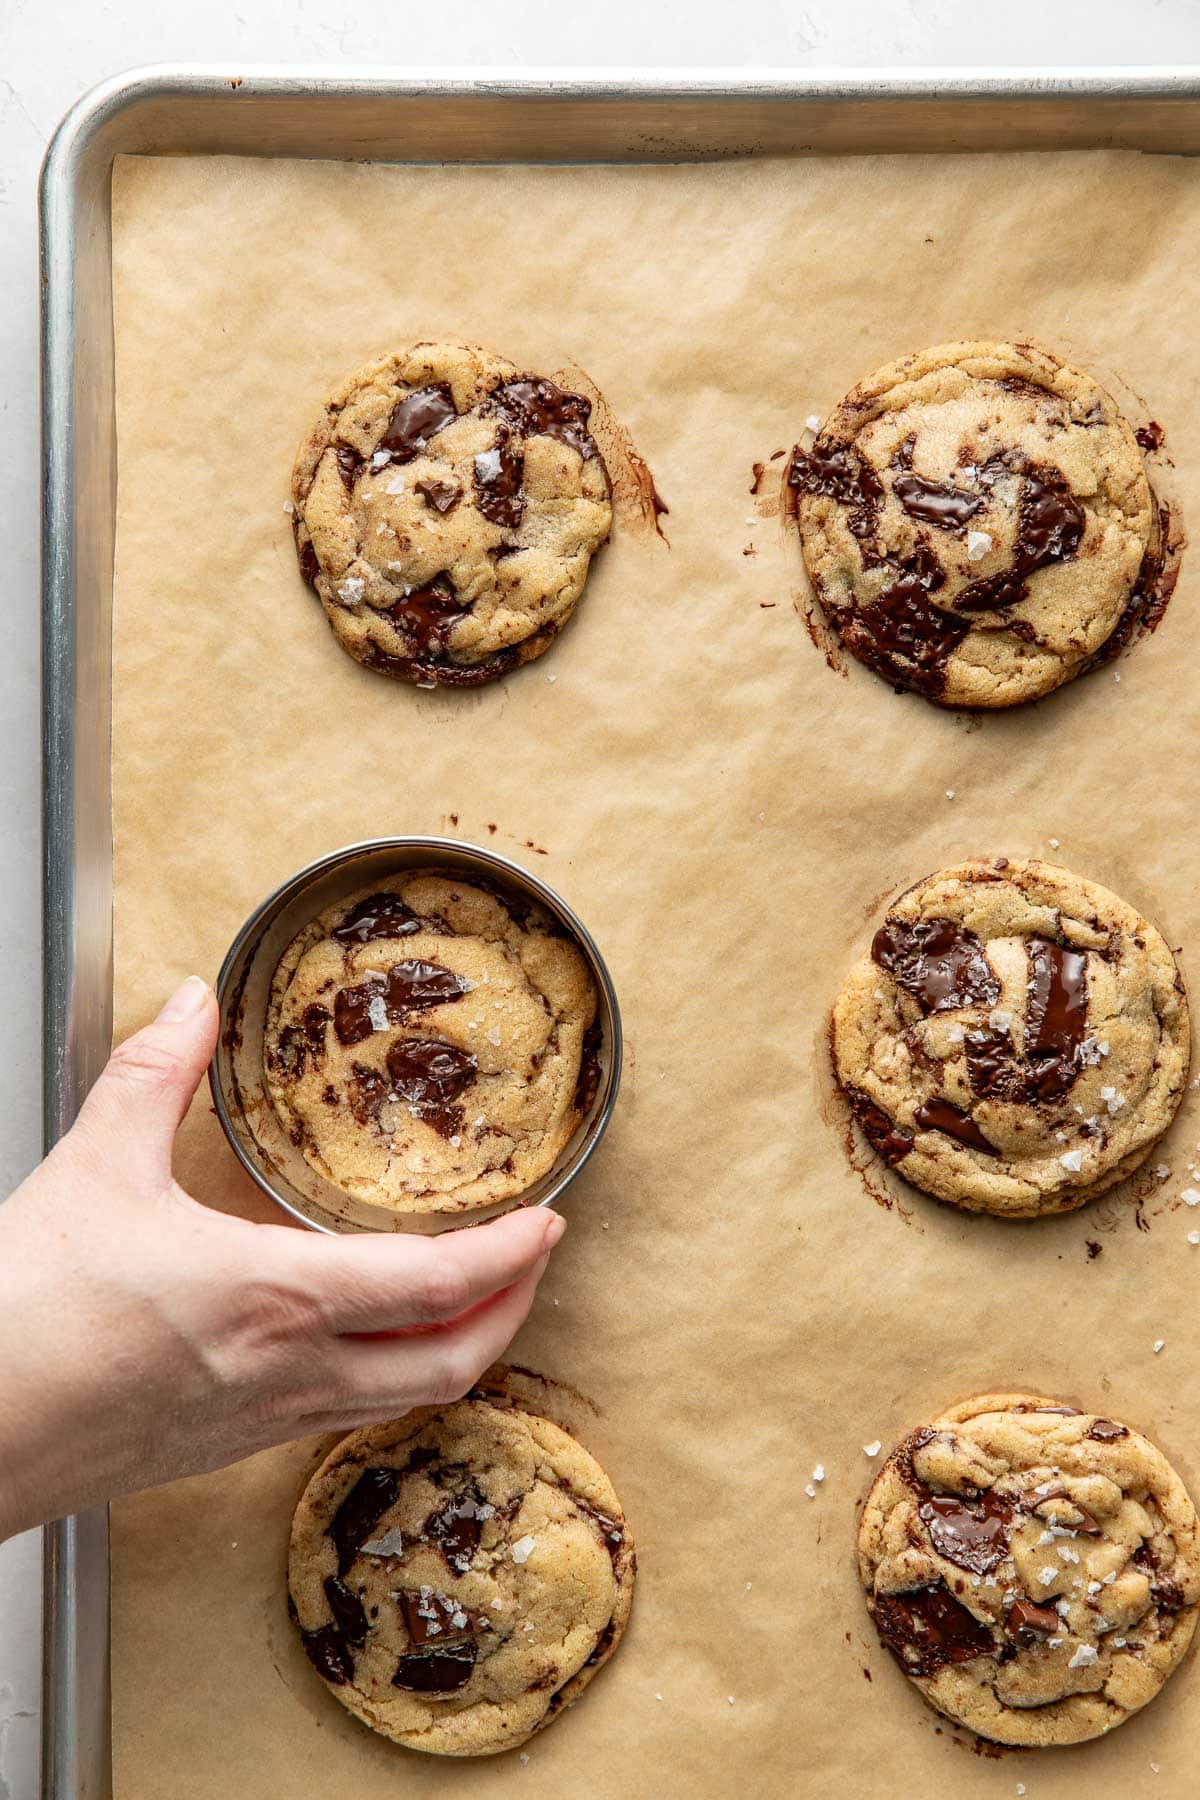

The moment the cookies come out of the oven, sprinkle each with flaky sea salt. This is non-negotiable! Cool for at least 5 minutes before transferring to a wire rack (they’re fragile while hot).
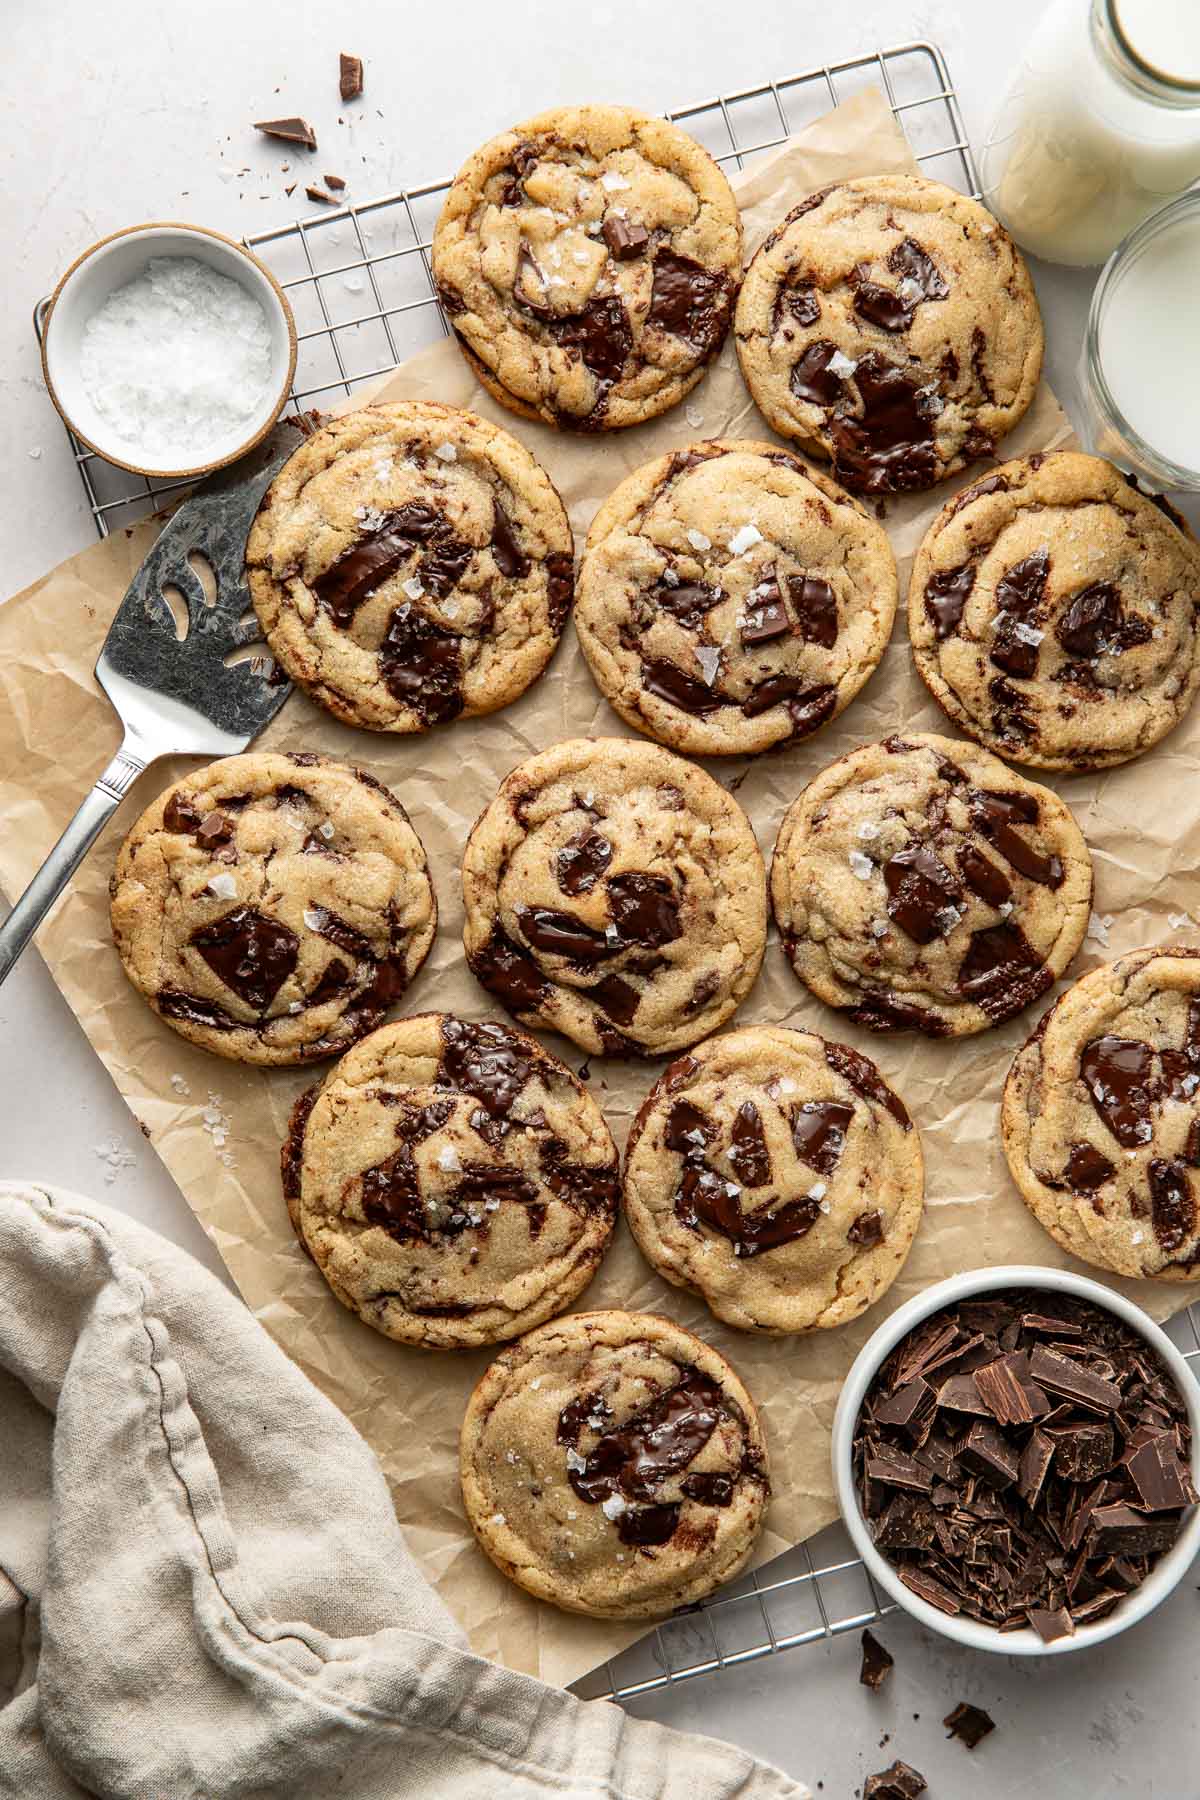
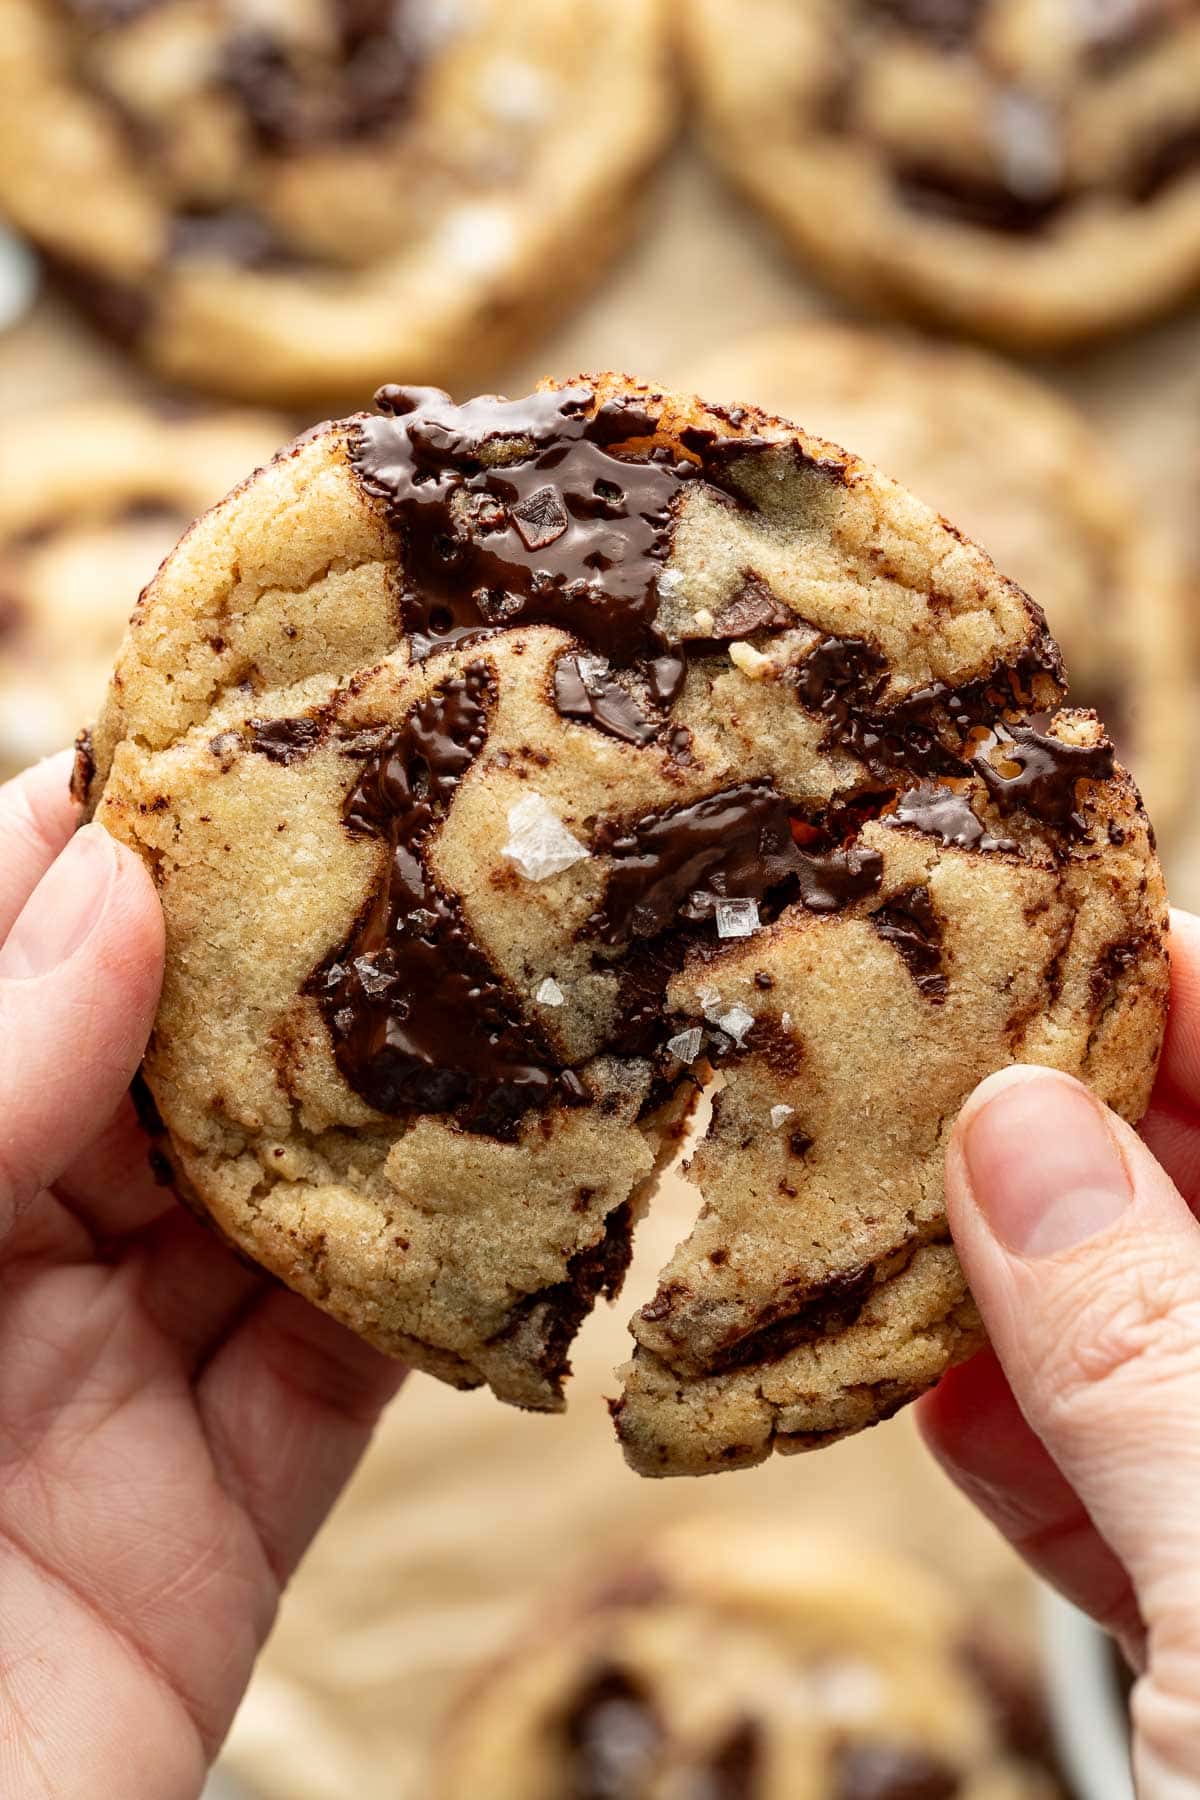
Eaten warm from the oven, these cookies are gooey and almost molten in the center. Eaten the next day (if they last that long…), they’re still soft and chewy.
The Best Use For Leftover Cookies
My kids absolutely love when I make them homemade ice cream sandwiches. It’s really simple! Take two cooled cookies, then sandwich a big scoop of ice cream in between. Gently press together, then enjoy immediately. (Everyone has their favorites, but my family’s current obsessions is Tillamook Oregon Strawberry; it’s so creamy!)
Cookie connoisseurs, please report back!! I hope you love these!
And make sure to sign up for our newsletter and follow along on Instagram, TikTok, YouTube, Pinterest, and Facebook for more Well Seasoned recipes! Don’t forget to tag us on social channels when you make a recipe at #wellseasonedstudio and upload your photos below! We love seeing what you’re up to in the kitchen!
Tell Us What You Think!
If you make this recipe, don’t forget to leave a review and rating—we value your feedback and it helps us keep creating (and sharing!) free recipes. Your support means the world!
Rate this Recipe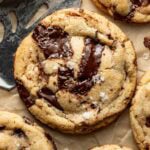
Soft & Chewy Brown Butter Chocolate Chip Cookies
Equipment
Ingredients
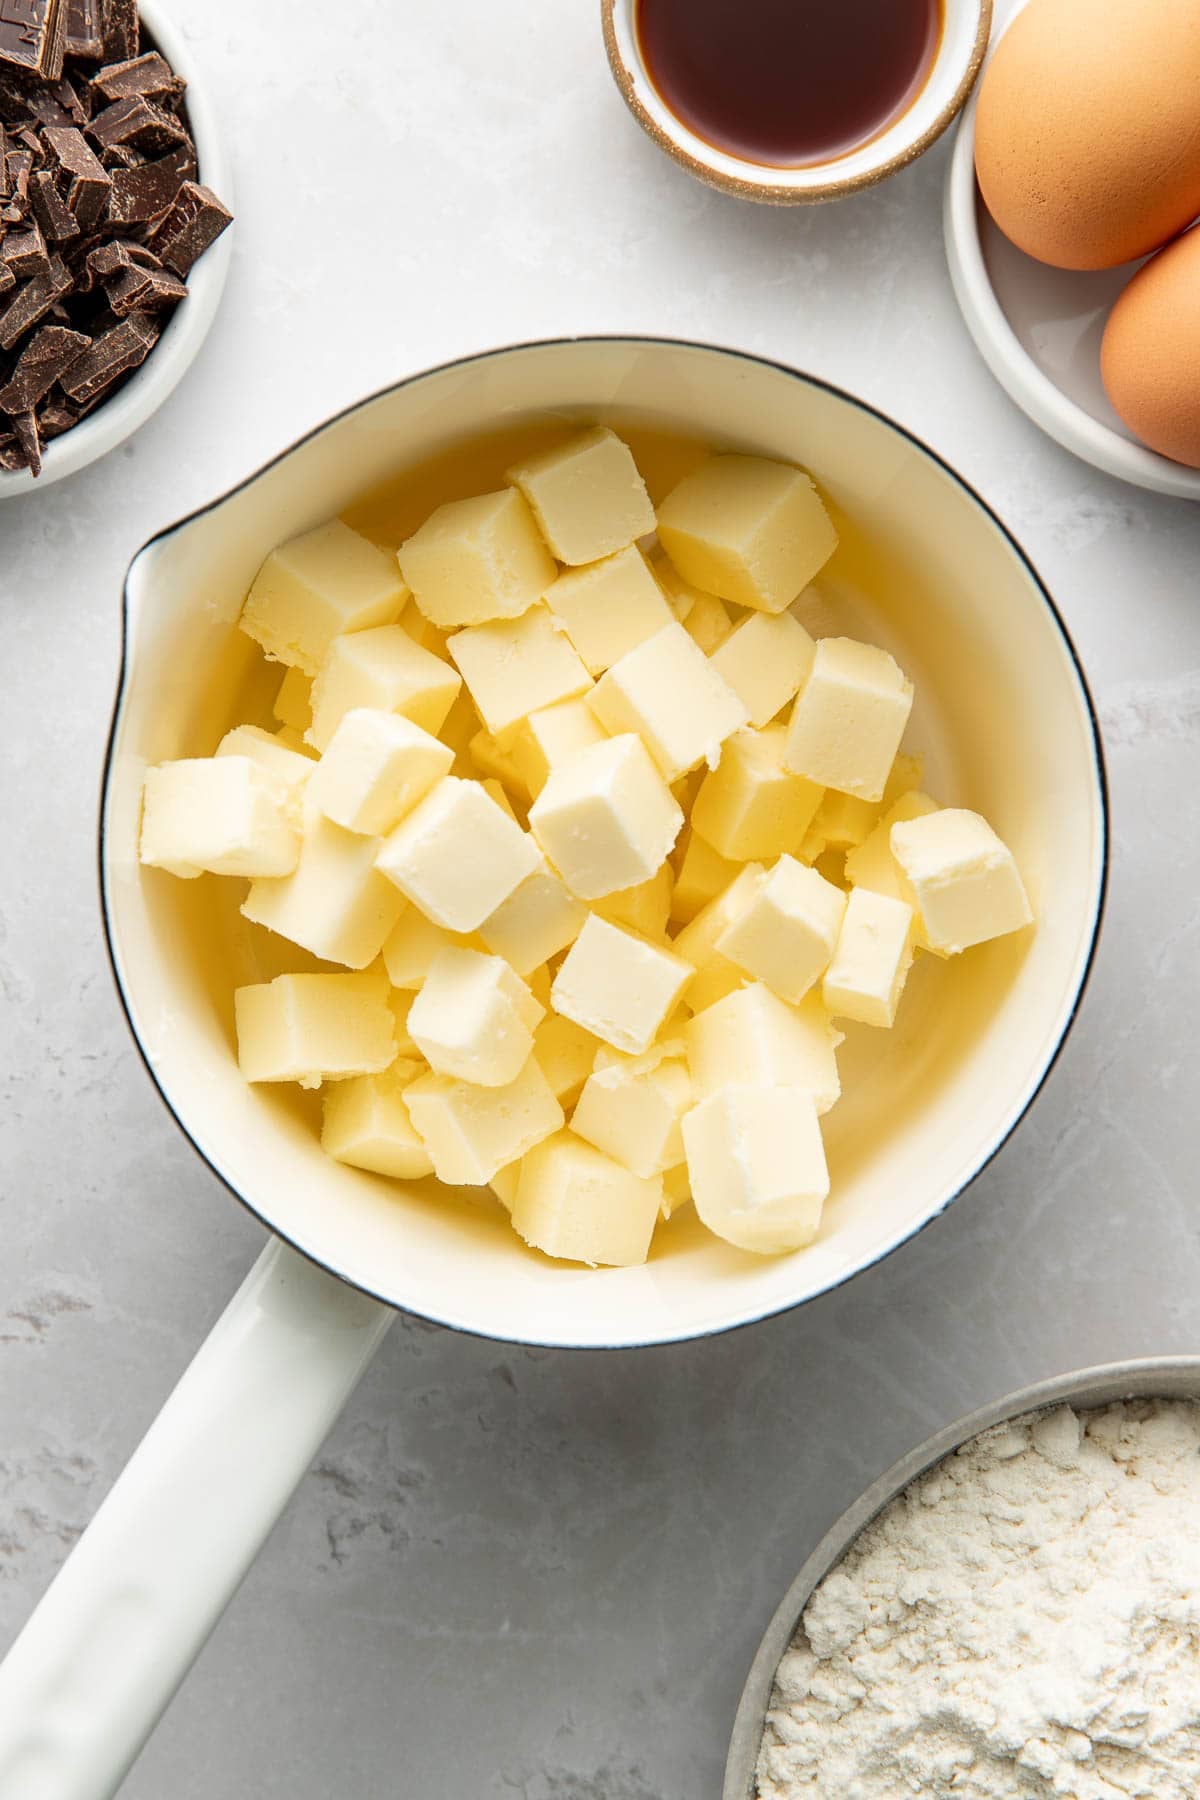
- 1 cup (225g) unsalted butter, cubed
- ¾ cup (150g) granulated sugar
- ¾ cup (150g) light brown sugar
- 3 large egg yolks
- 2 Tbsp (30ml) whole milk
- 1 Tbsp pure vanilla extract
- 2¼ cups (270g) all-purpose flour
- 1½ tsp baking powder
- ¾ tsp baking soda
- 3 Tbsp cornstarch
- ¼ tsp kosher salt
- 4 oz (115g) dark chocolate, chopped, plus a little more for placing on top
- 4 oz (115g) semi-sweet or milk chocolate, chopped, plus a little more for placing on top
- Flaky sea salt, for finishing
Instructions
- Brown the butter. Place 1 cup (225g) cubed butter in a medium saucepan over medium heat. Melt, then continue cooking, stirring frequently, until golden brown and nutty, about 5–7 minutes. Remove from heat and let cool slightly.
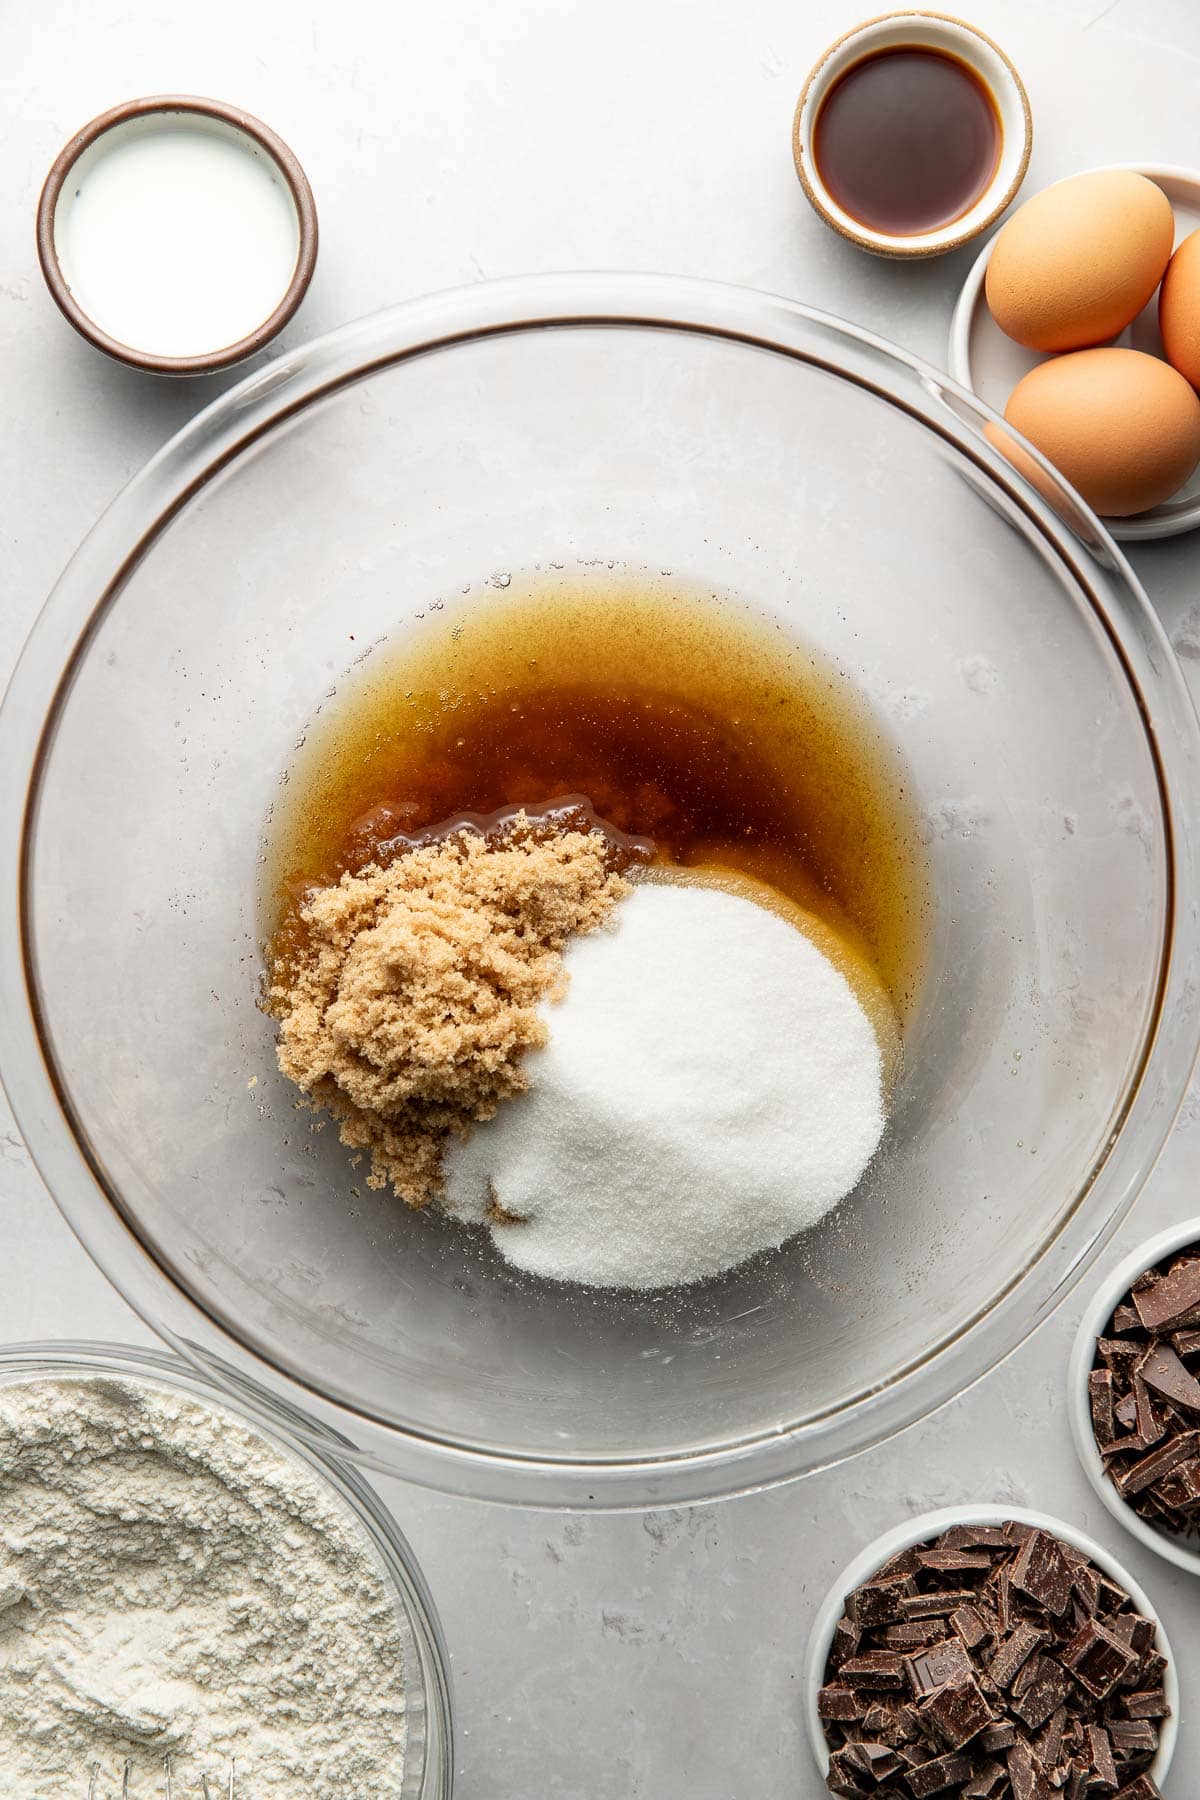
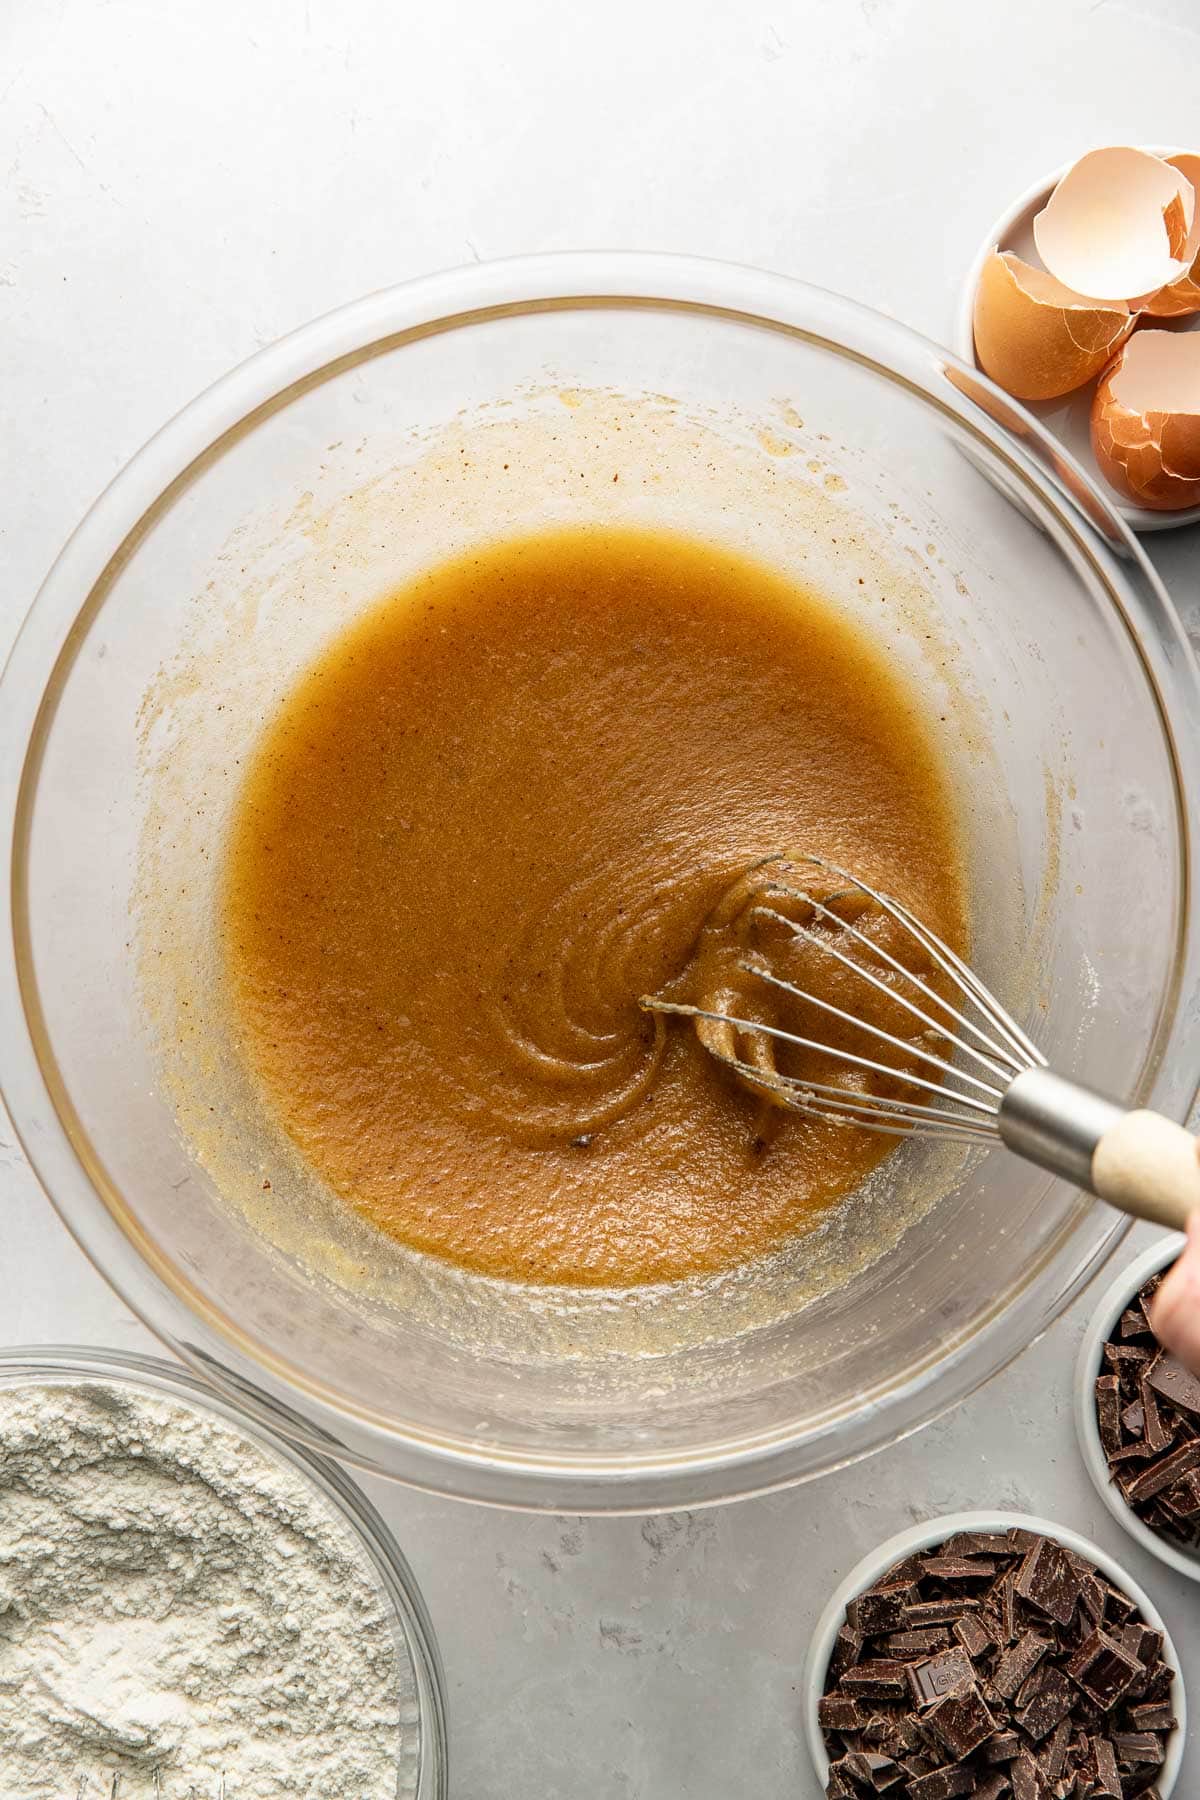
- Mix wet ingredients. In a large bowl, combine the browned butter with ¾ cup (150g) granulated sugar and ¾ cup (150g) brown sugar. Whisk until smooth. Add 3 egg yolks, 2 Tbsp (30ml) milk, and 1 Tbsp pure vanilla extract then whisk until fully incorporated.
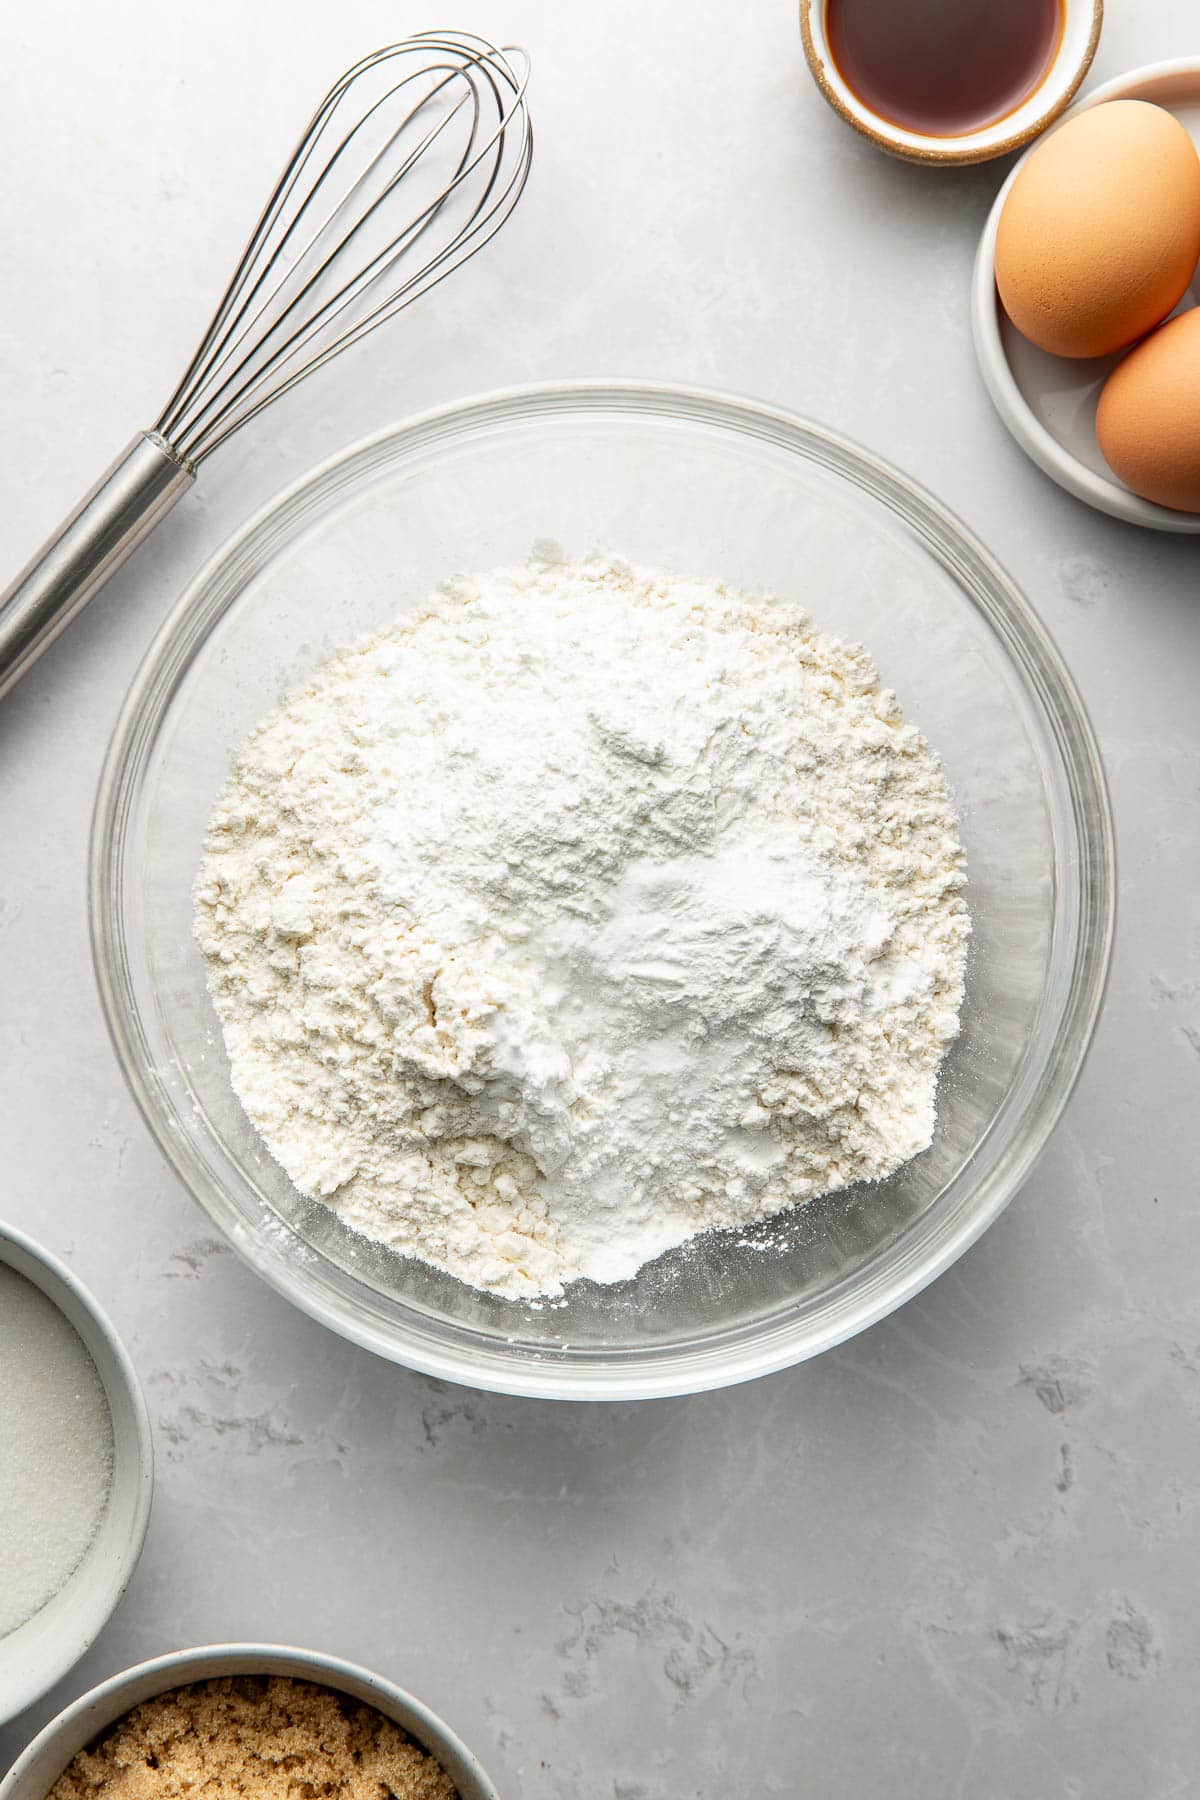
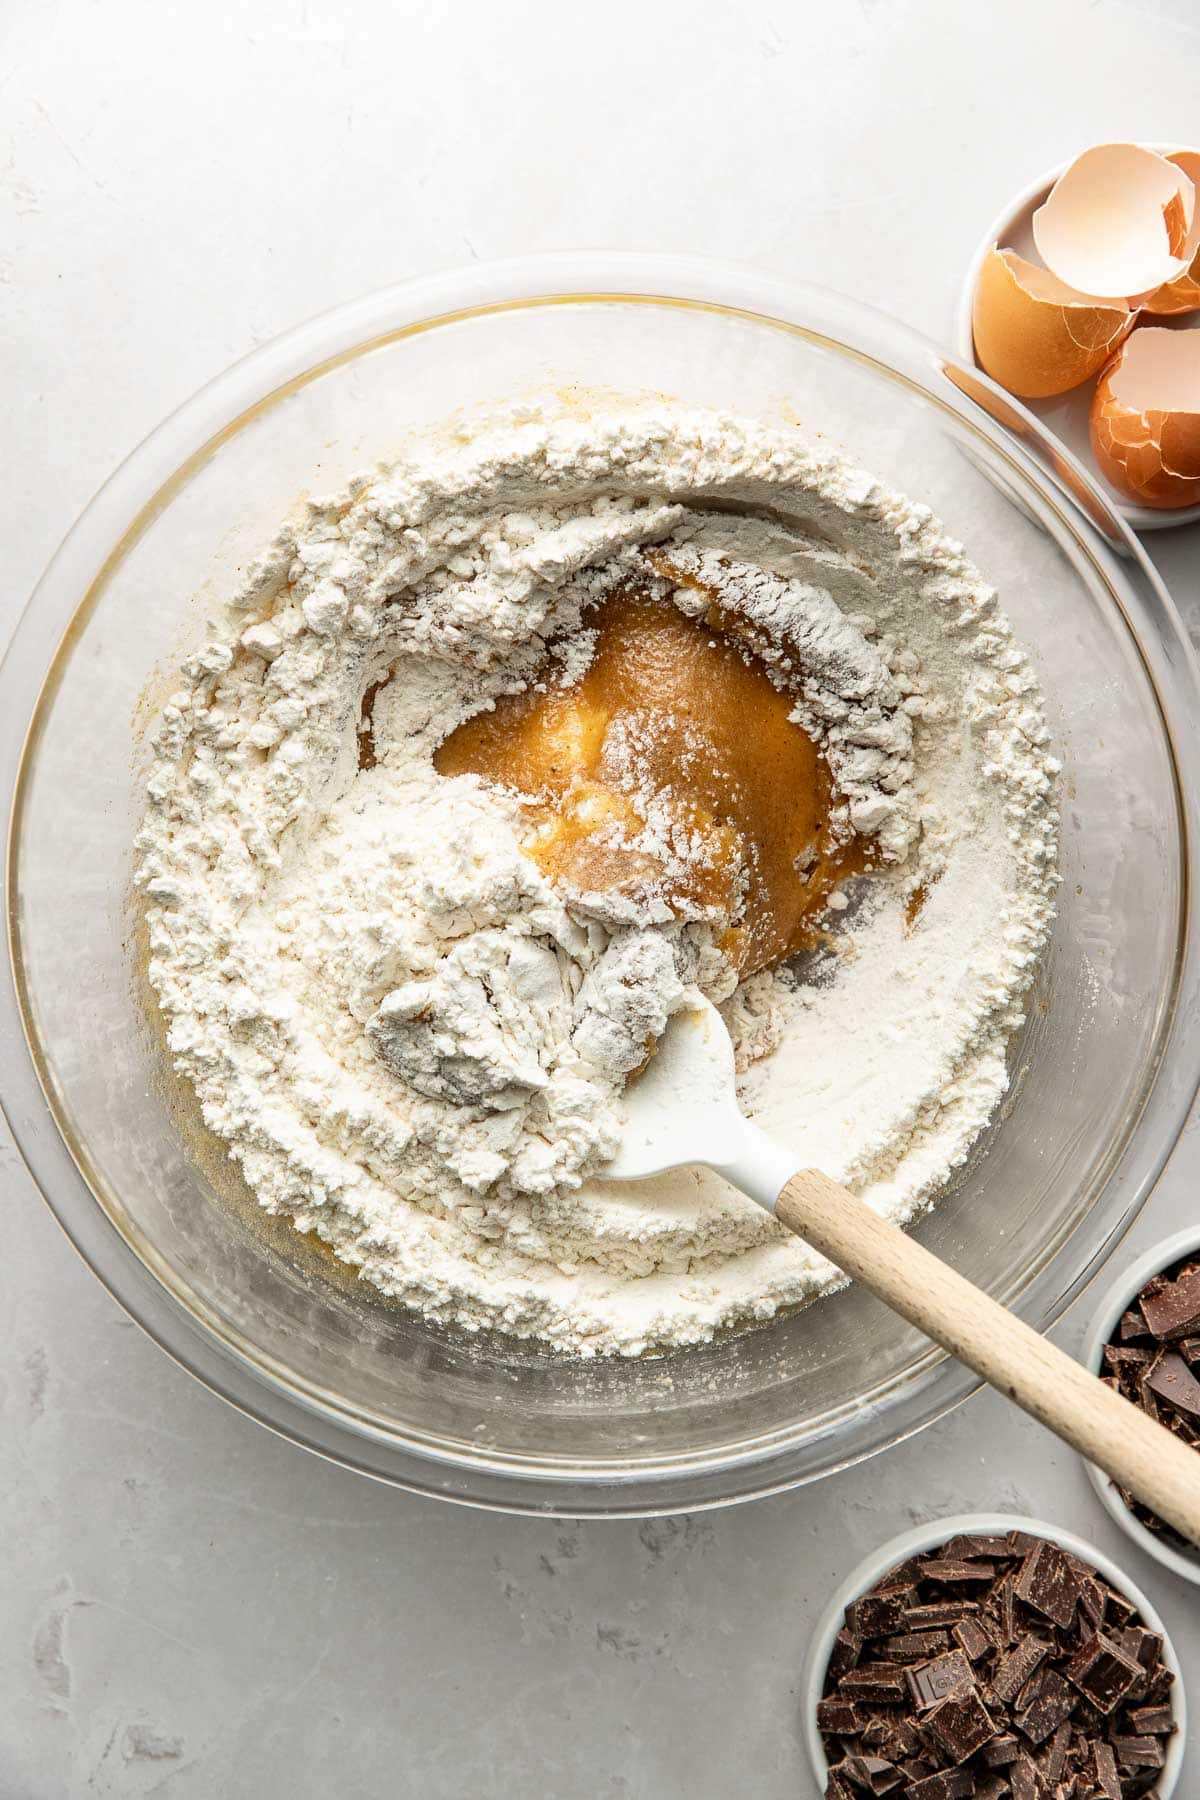
- Combine dry ingredients. In a separate bowl, whisk together 2¼ cups (270g) flour, 1½ tsp baking powder, ¾ tsp baking soda, 3 Tbsp cornstarch, and ¼ tsp kosher salt.
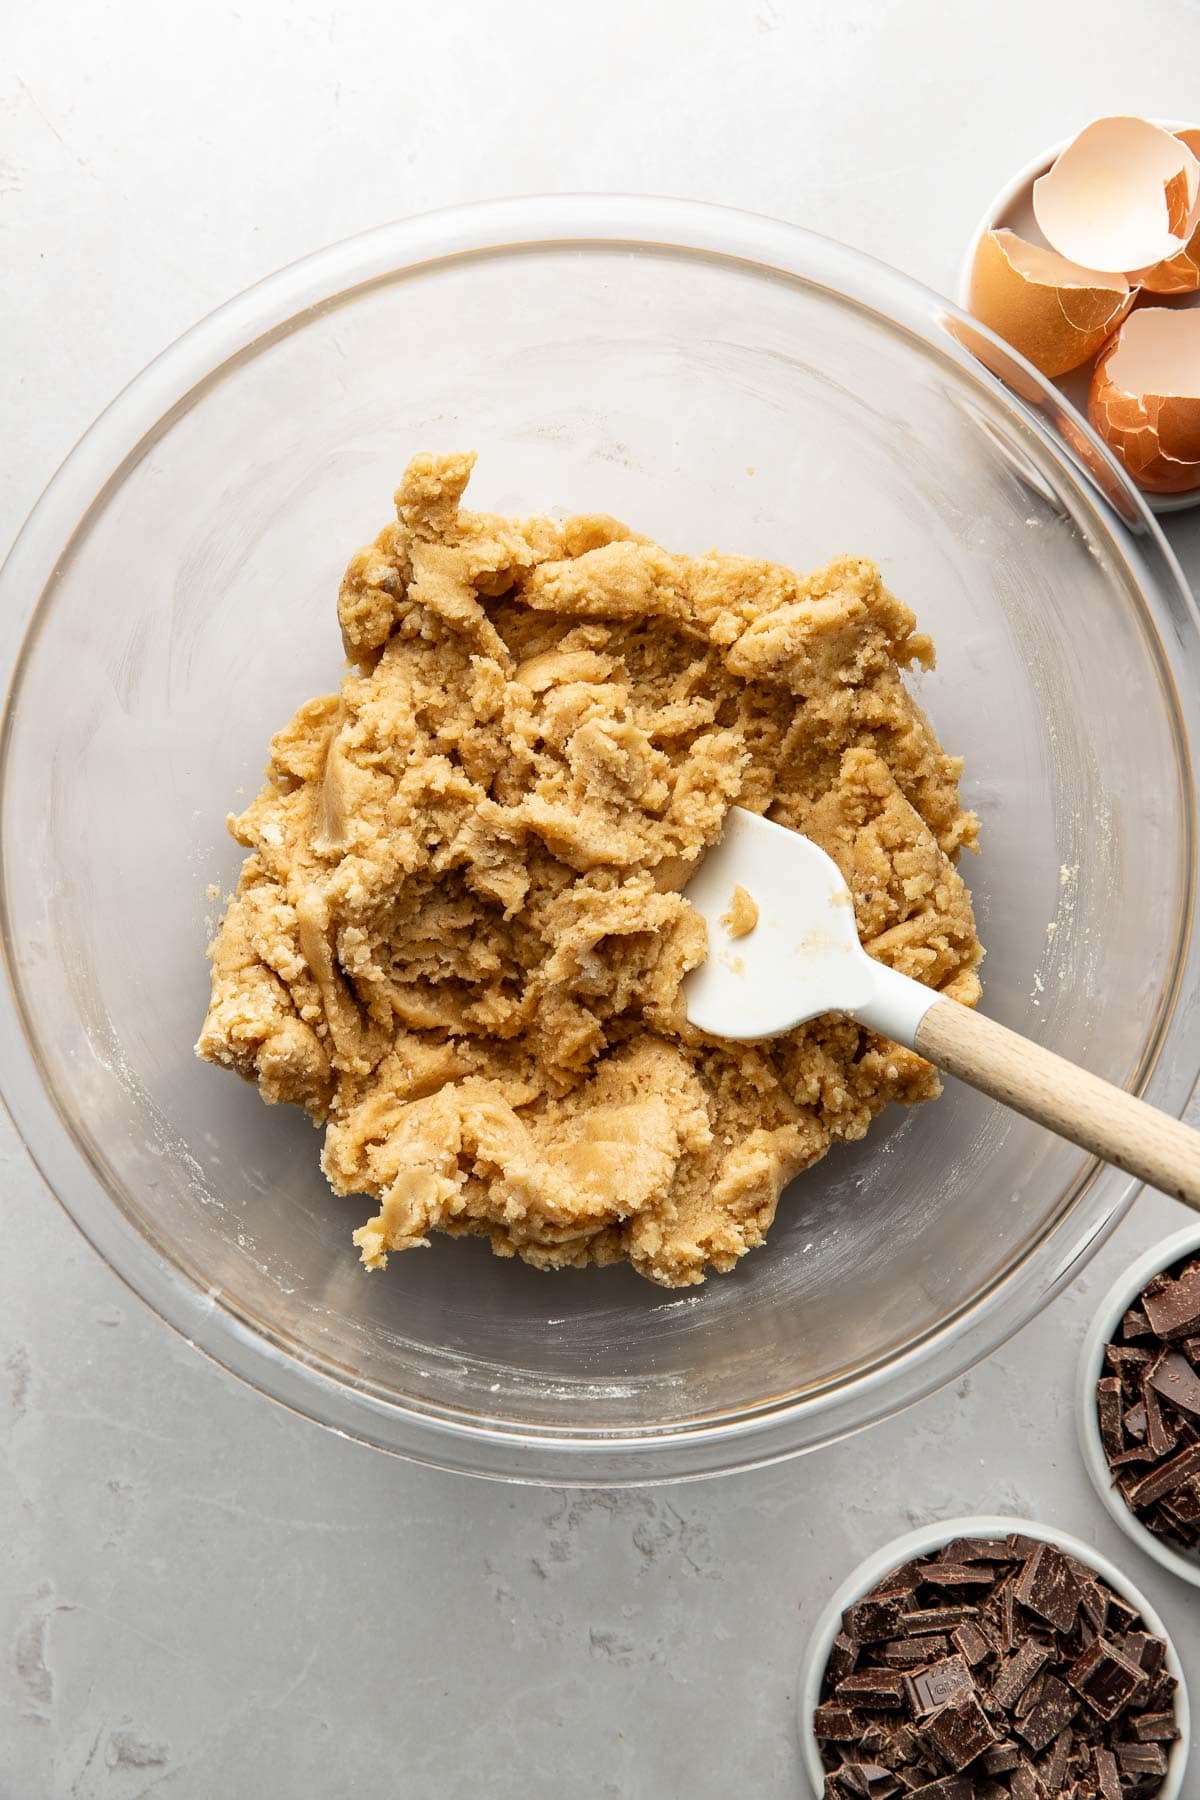
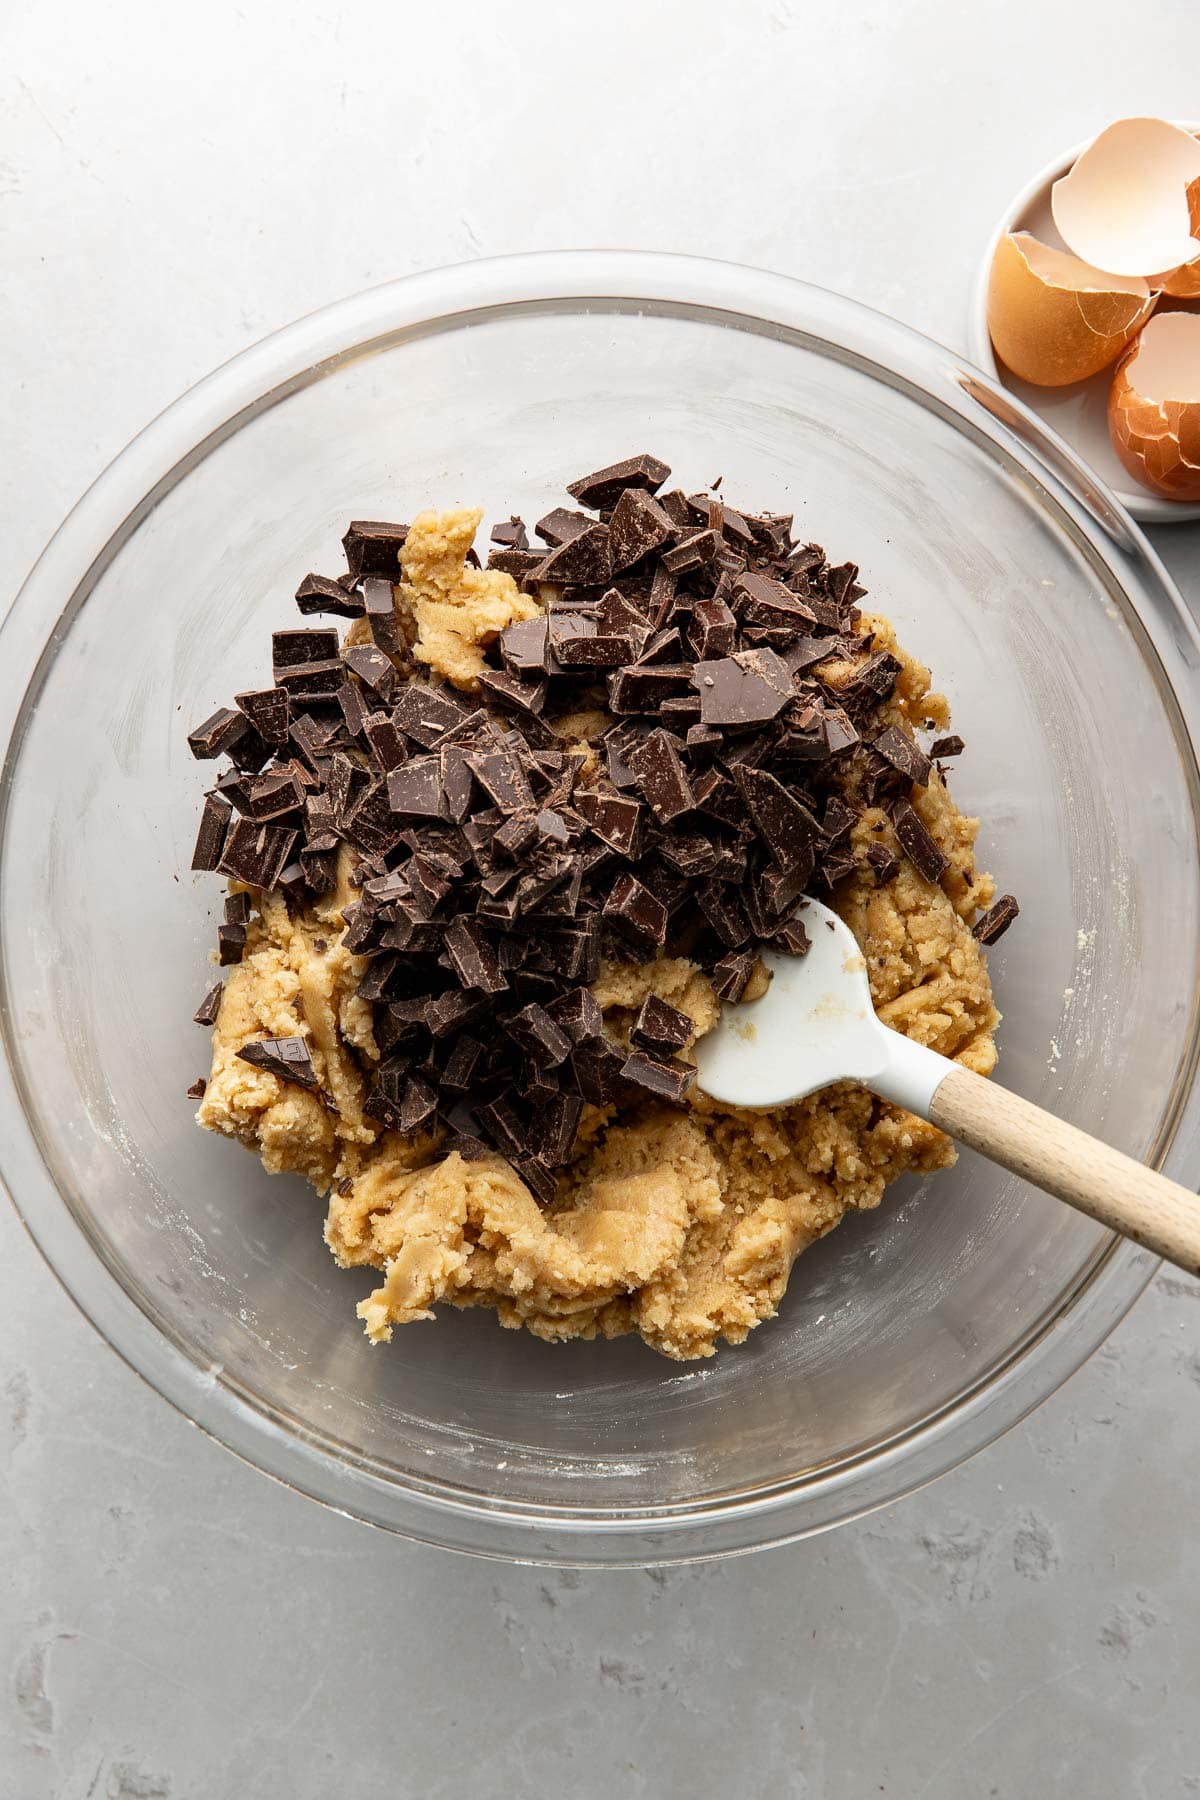
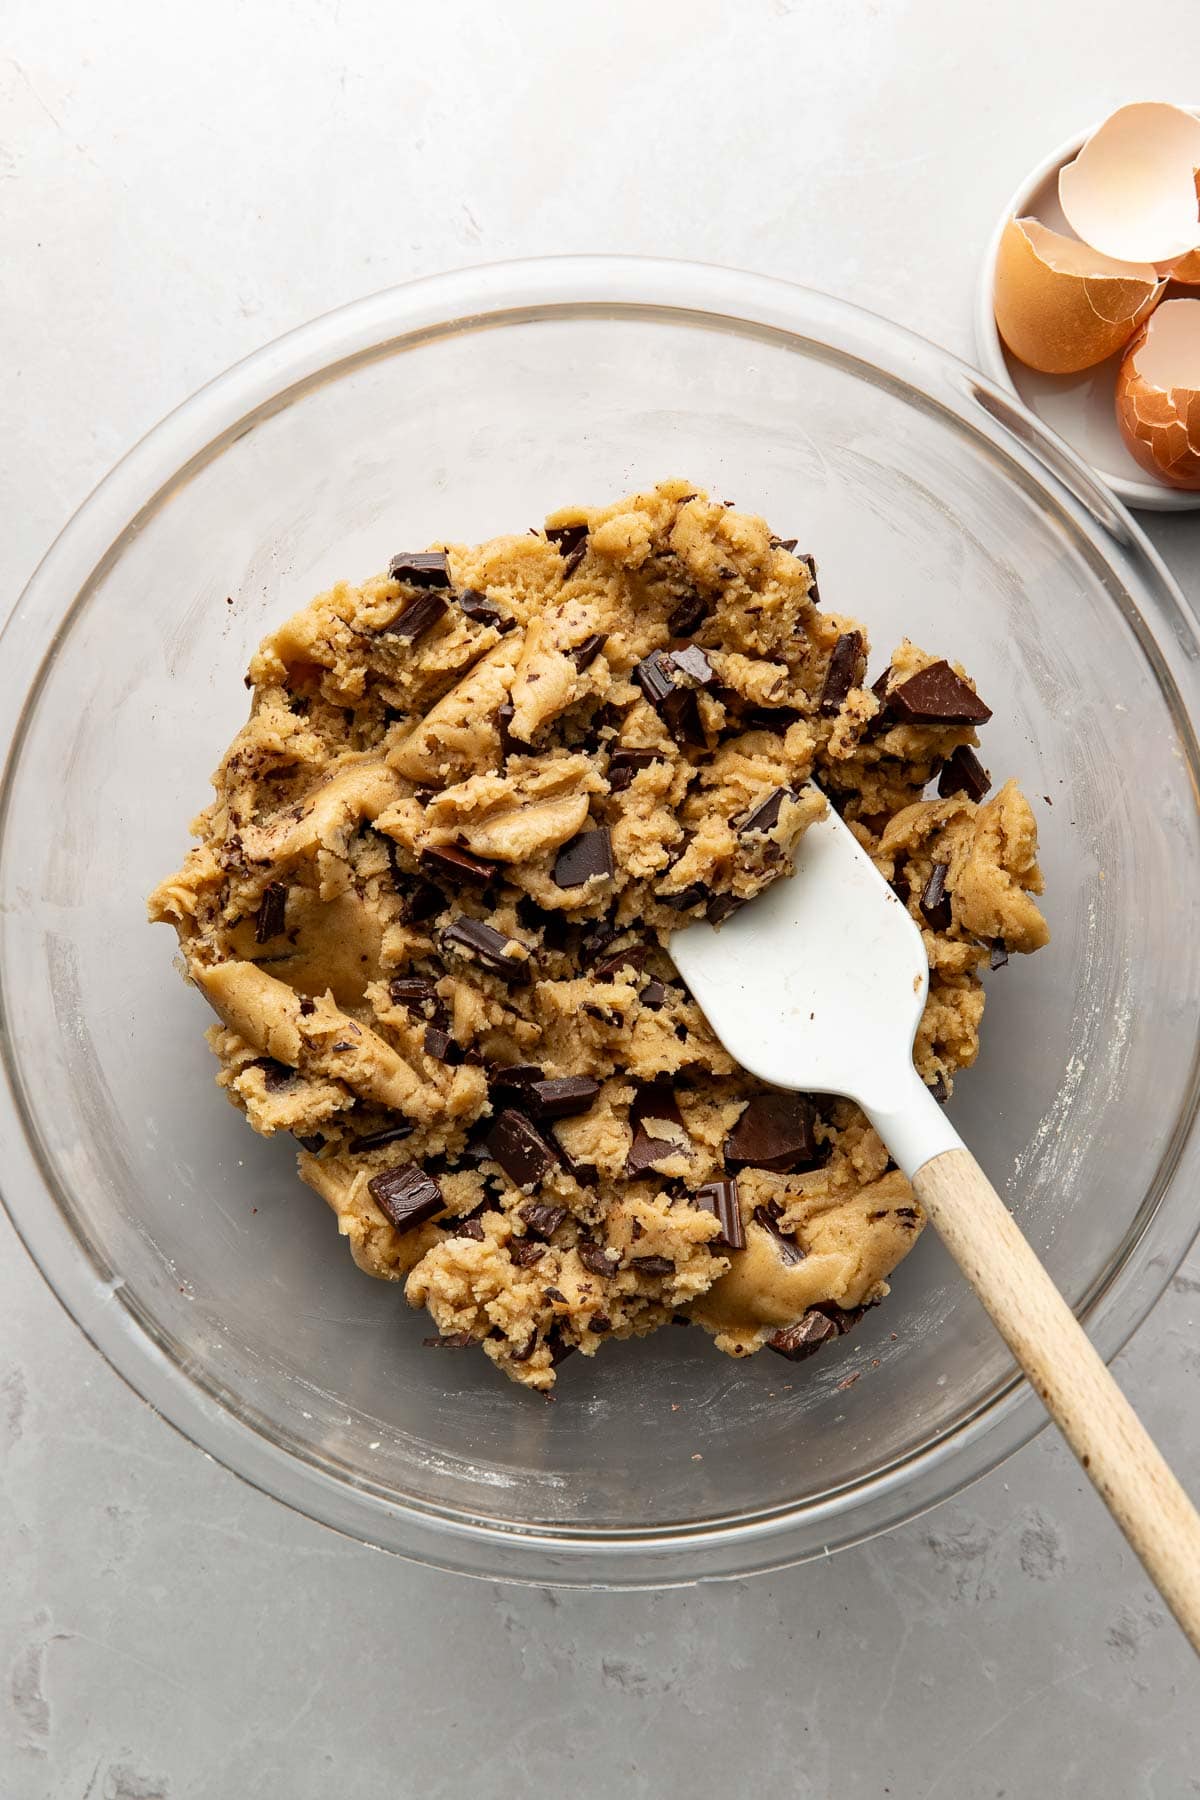
- Make the dough. Add the dry ingredients to the wet ingredients and stir until a smooth dough forms. Fold in 4oz (115g) each of chopped dark and semi-sweet (or milk) chocolate.
- Chill the dough. Cover and refrigerate for at least 24 hours, or up to 48 hours.
- Preheat and prepare. Heat the oven to 350°F (180°C). Line a rimmed baking sheet with parchment paper.
- Portion the cookies. Divide dough into 2oz (60g) portions (about 3 Tbsp each). Roll into balls and place on the baking sheet, spacing well apart (about 6 cookies per standard sheet). Press a few extra pieces of chocolate on top, if desired.
- Bake. Bake for 10–11 minutes, until the edges are golden but the centers still look slightly underbaked.
- Finish and cool. Immediately sprinkle with a generous pinch of flaky sea salt. Let cookies cool on the baking sheet for at least 5 minutes, then transfer to a wire rack. If you want a warm, gooey cookie, enjoy shortly after baking. However, they’re still soft and chewy the next day!
Notes
- For smaller cookies: Scoop dough into 1–1½ Tbsp portions instead of 3 Tbsp. Space cookies about 2-inches apart on the baking sheet.
- Adjust bake time: Reduce baking time to 8–9 minutes, or until the edges are set and lightly golden while the centers still look slightly soft.
- Texture tip: Smaller cookies will be a bit more evenly crisp around the edges with a slightly less gooey center—but still chewy and delicious.
Nutrition
Photos by Meg McKeehan.


Let us know your thoughts!