


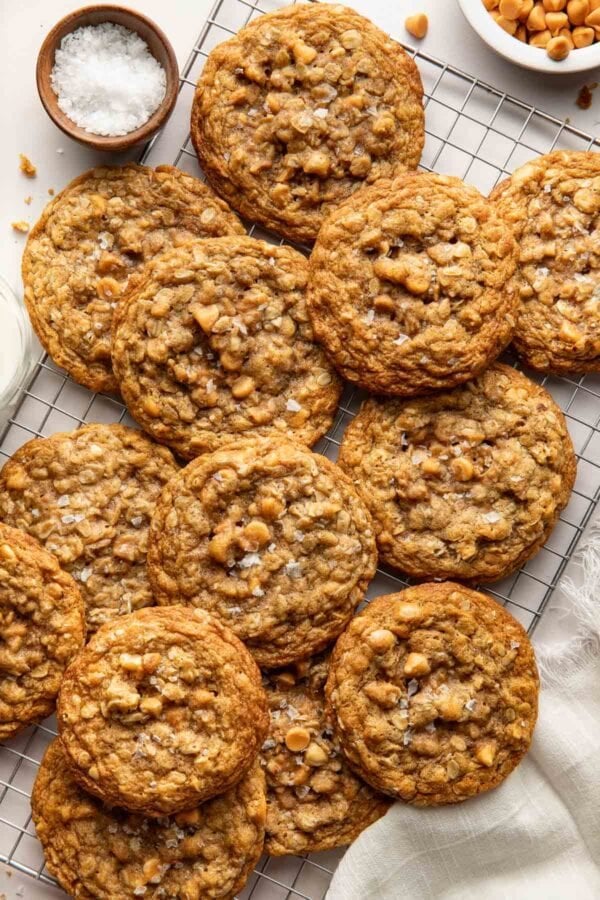
Oatmeal Cookies, But Make Them Unforgettable
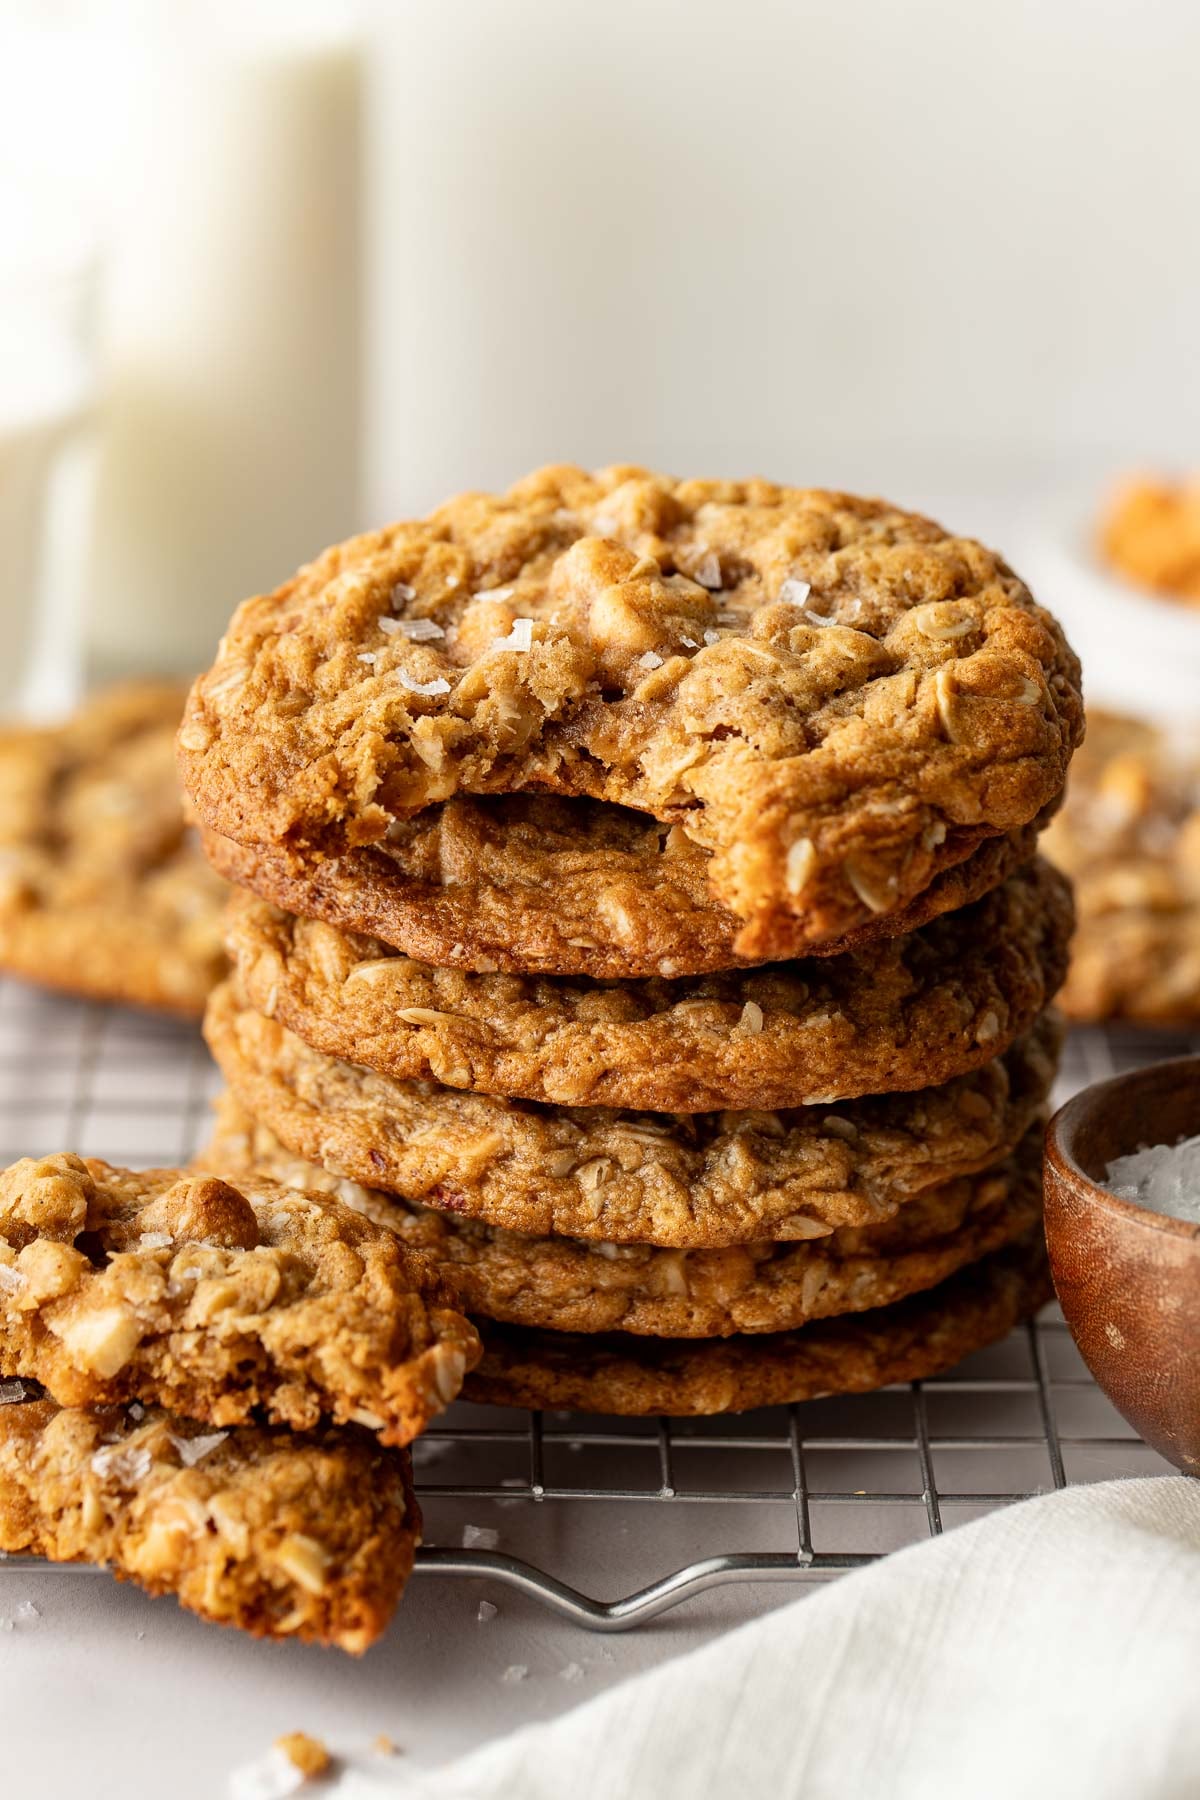
Oatmeal cookies have a bit of a reputation problem. They’re often the cakey, mild, “healthy-ish” option sitting next to chocolate chip cookies at the bake sale. These are not those cookies. 😉 Instead, you’ll be rewarded with crisp, rippled edges, and thick, chewy centers.
Think of them as the classic oatmeal scotchie, rebuilt from the ground up. Every component is doing something: the oats are toasted until they smell like granola, the butter is browned until it’s nutty, and the brown sugar gets cooked into that brown butter to make a real buttersctoch before a single egg goes in. The result is a cookie that tastes like toffee, toasted nuts, and caramelized sugar, with a touch of cinnamon and malt flavor.
A Few Ingredients Are Worth Calling Out
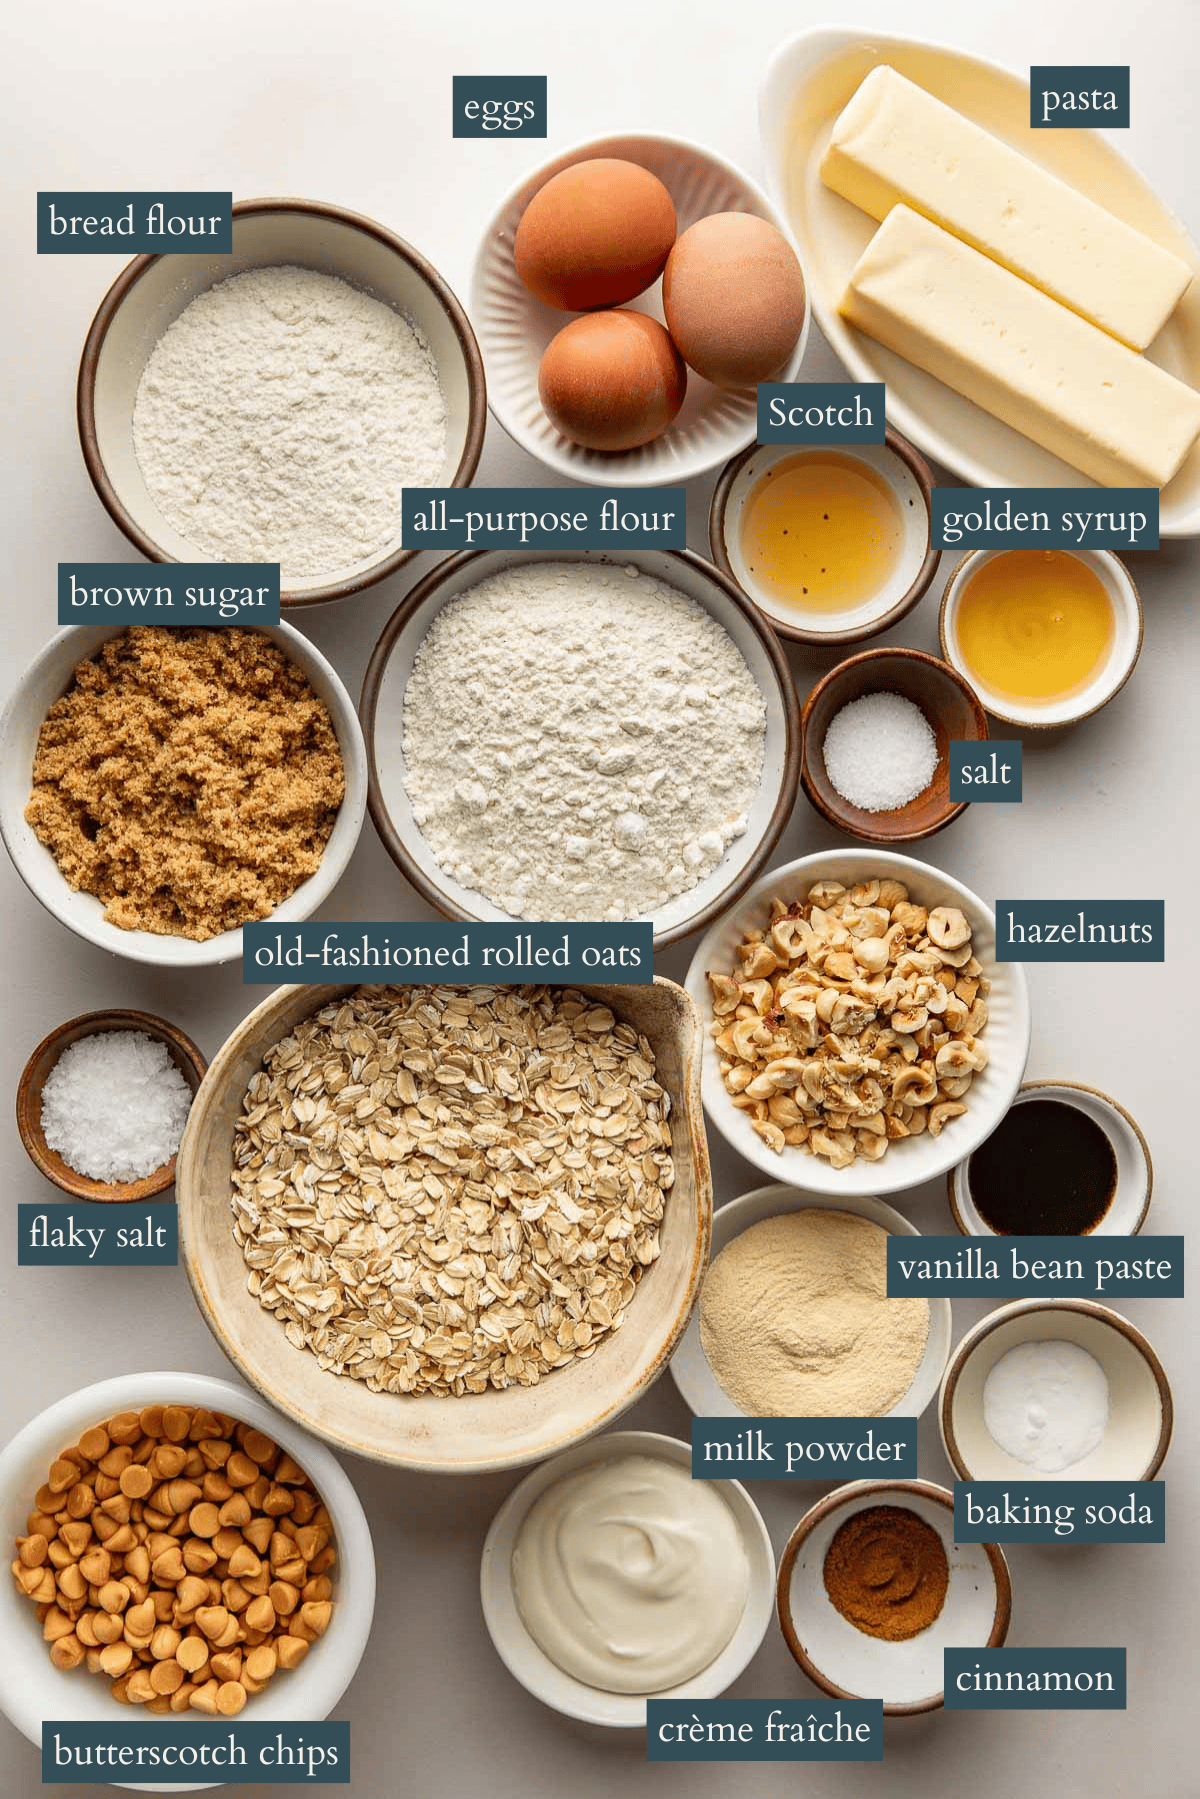
Crème fraîche and golden syrup are my secret ingredients. The former adds a subtle tanginess, while the golden syrup (a buttery, toasty British cane syrup) keeps the cookies incredibly soft and chewy for days.
And no, the splash of Scotch doesn’t make the cookies taste boozy. It adds a complex sweet, nutty flavor that lingers in the background.
Two other notes: bread flour also contributes to the oatmeal cookies chewy texture, so, if possible, don’t omit. But the one item you’ll have to source is milk powder. It adds concentrated milk solids, which means more browning and rich, toasty, malted depth. It’s so good.
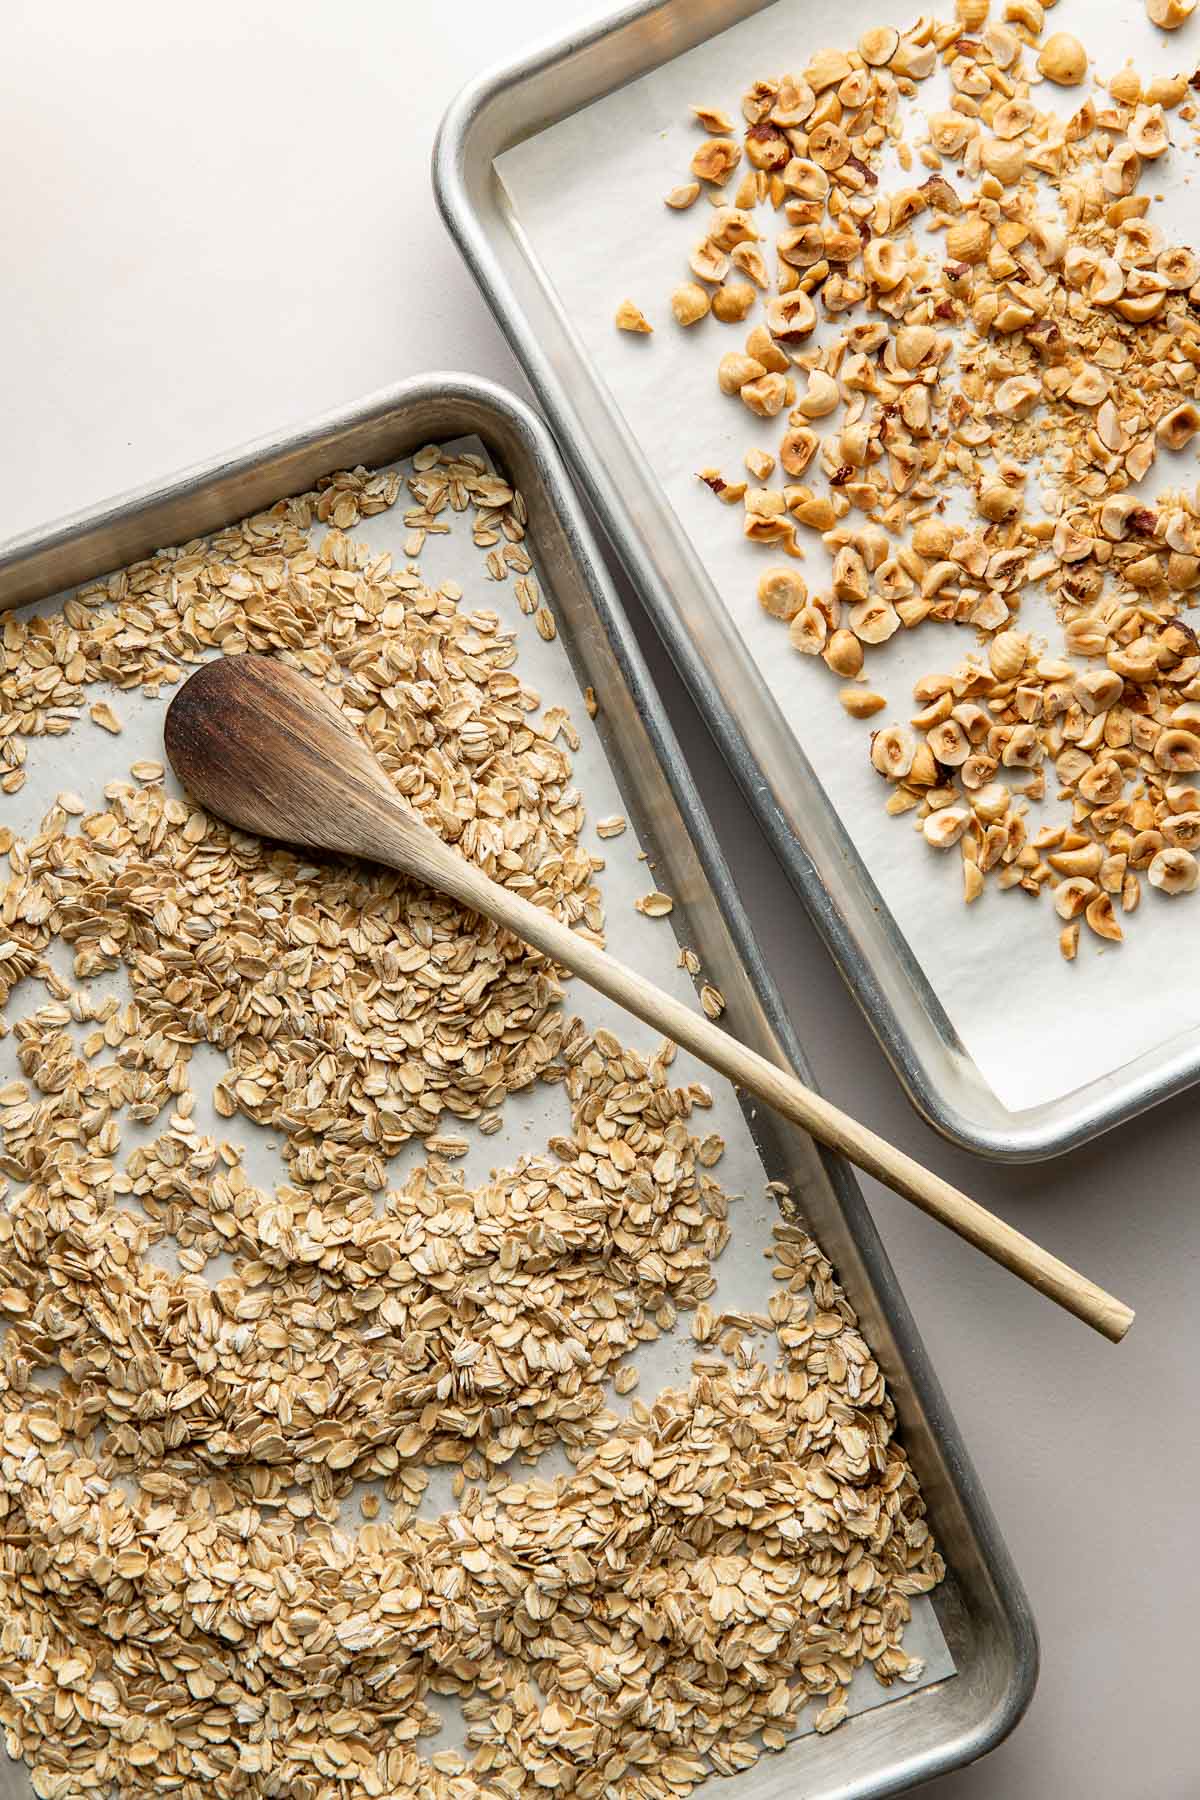
Start by Toasting the Oats & Halzenuts
Shown above, this is a five-minute step that changes everything. Not only does it add great flavor, but the oats will absorb moisture while the dough rests, so we want them as dry as possible.
The Butterscotch Base (Where the Magic Happens)
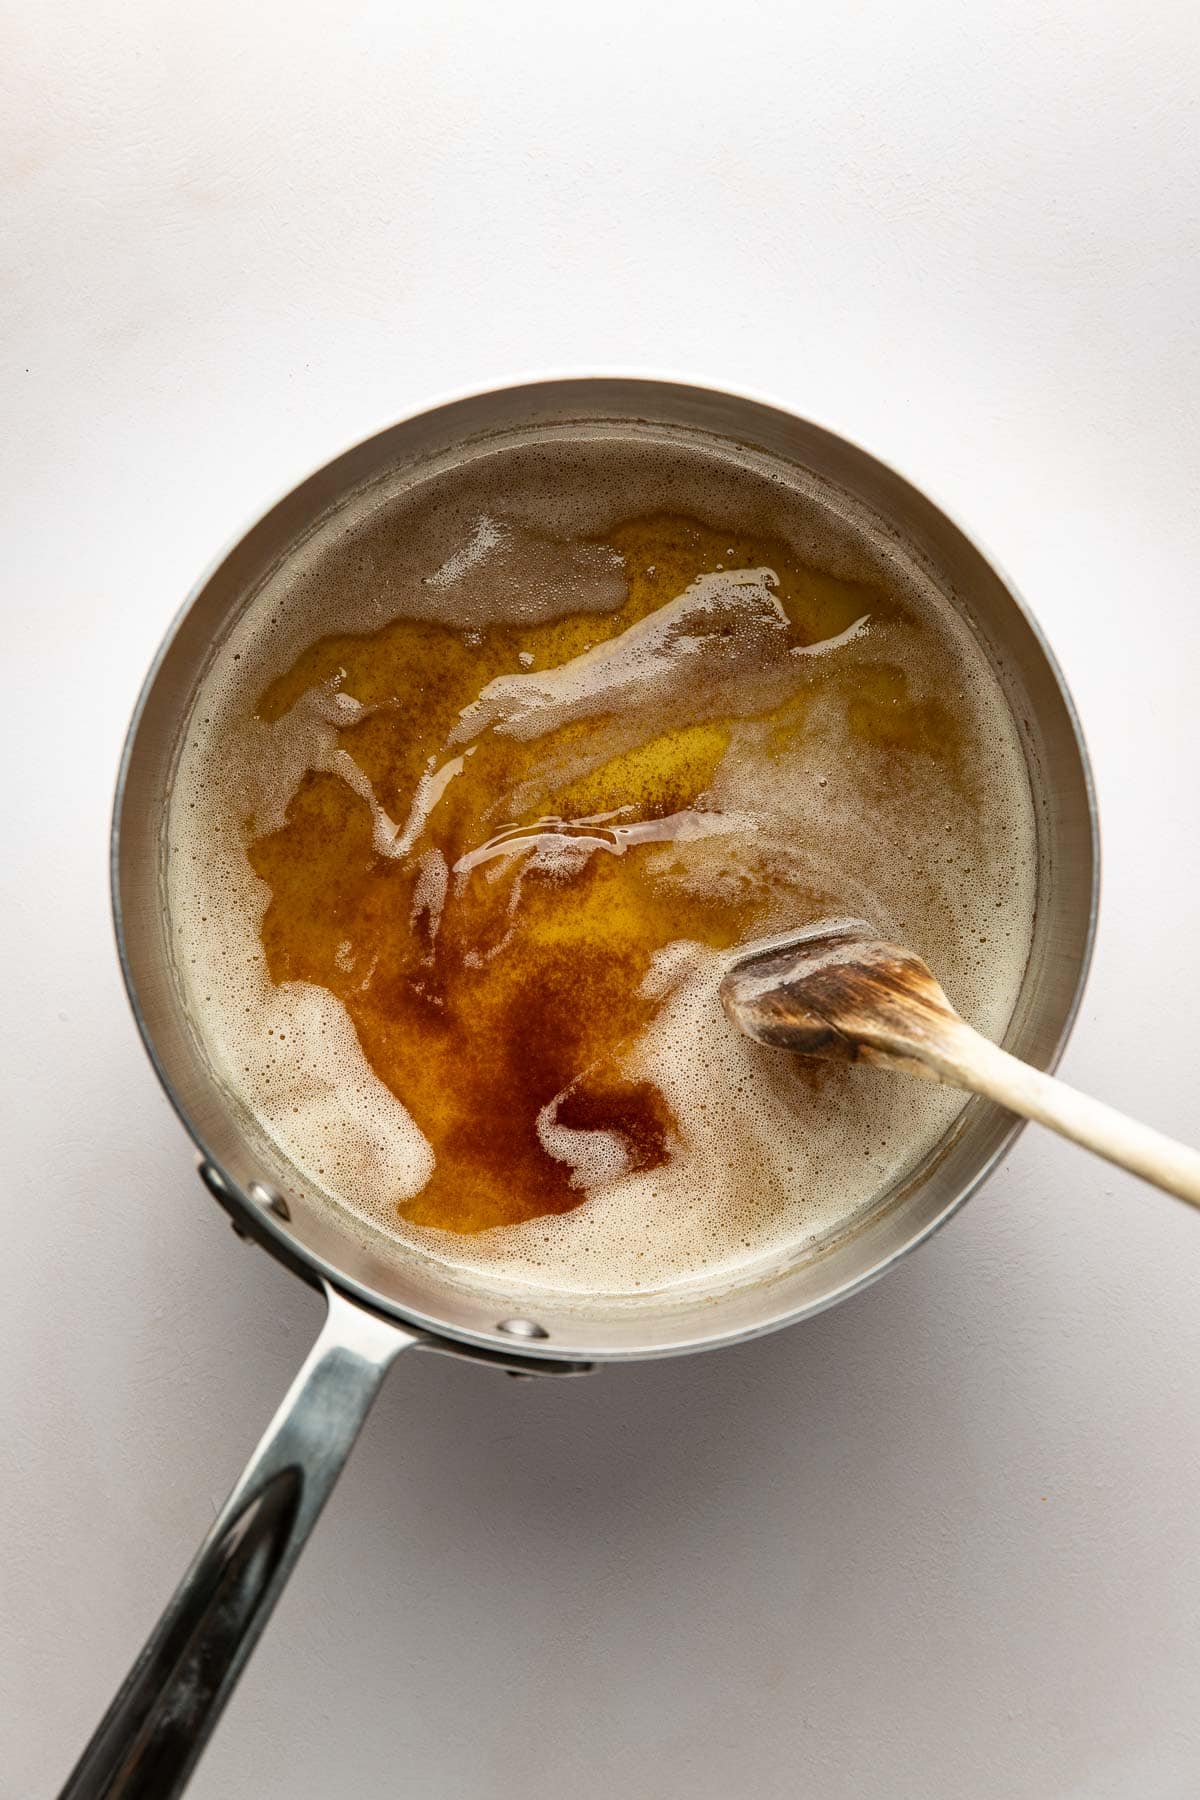
Here’s what, in my opinion, makes these the best oatmeal butterscotch cookie recipe you’ll ever try: a true homemade butterscotch base.
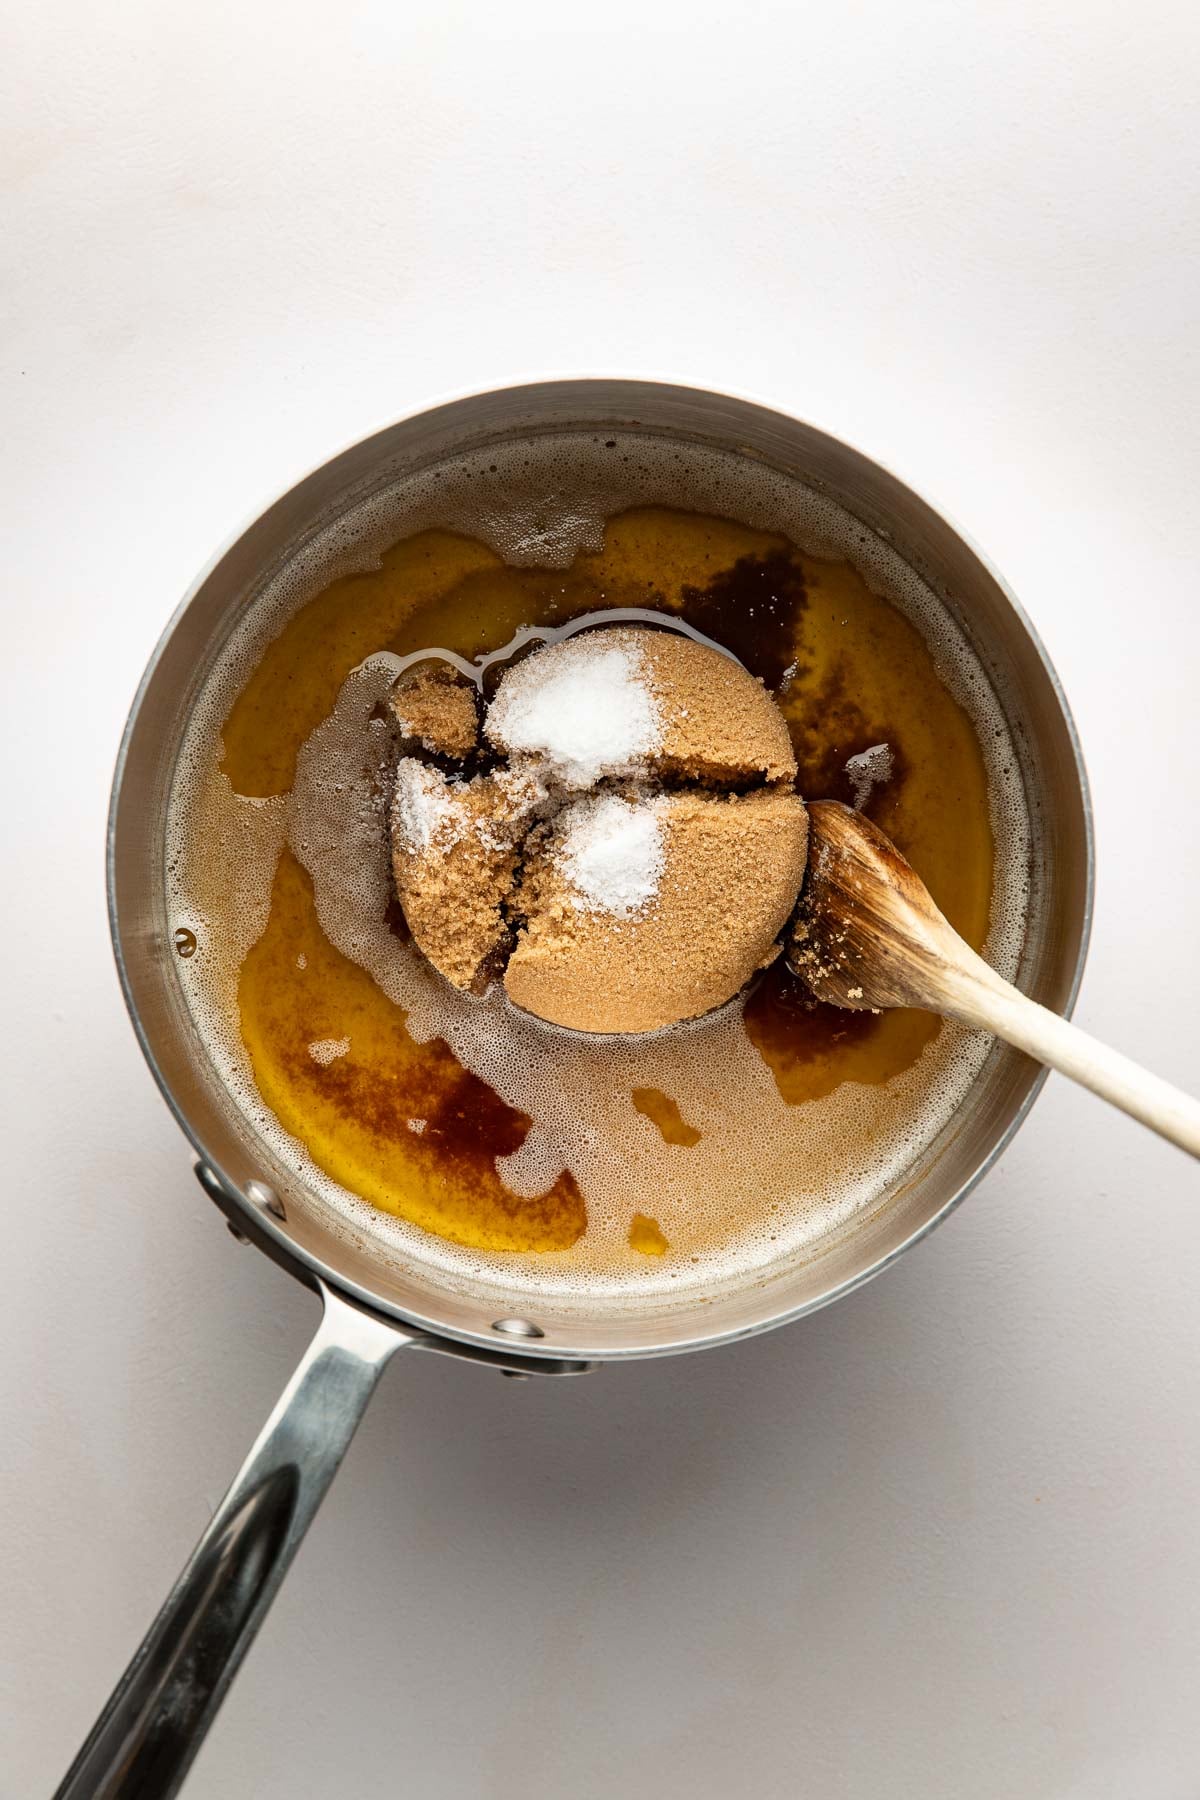
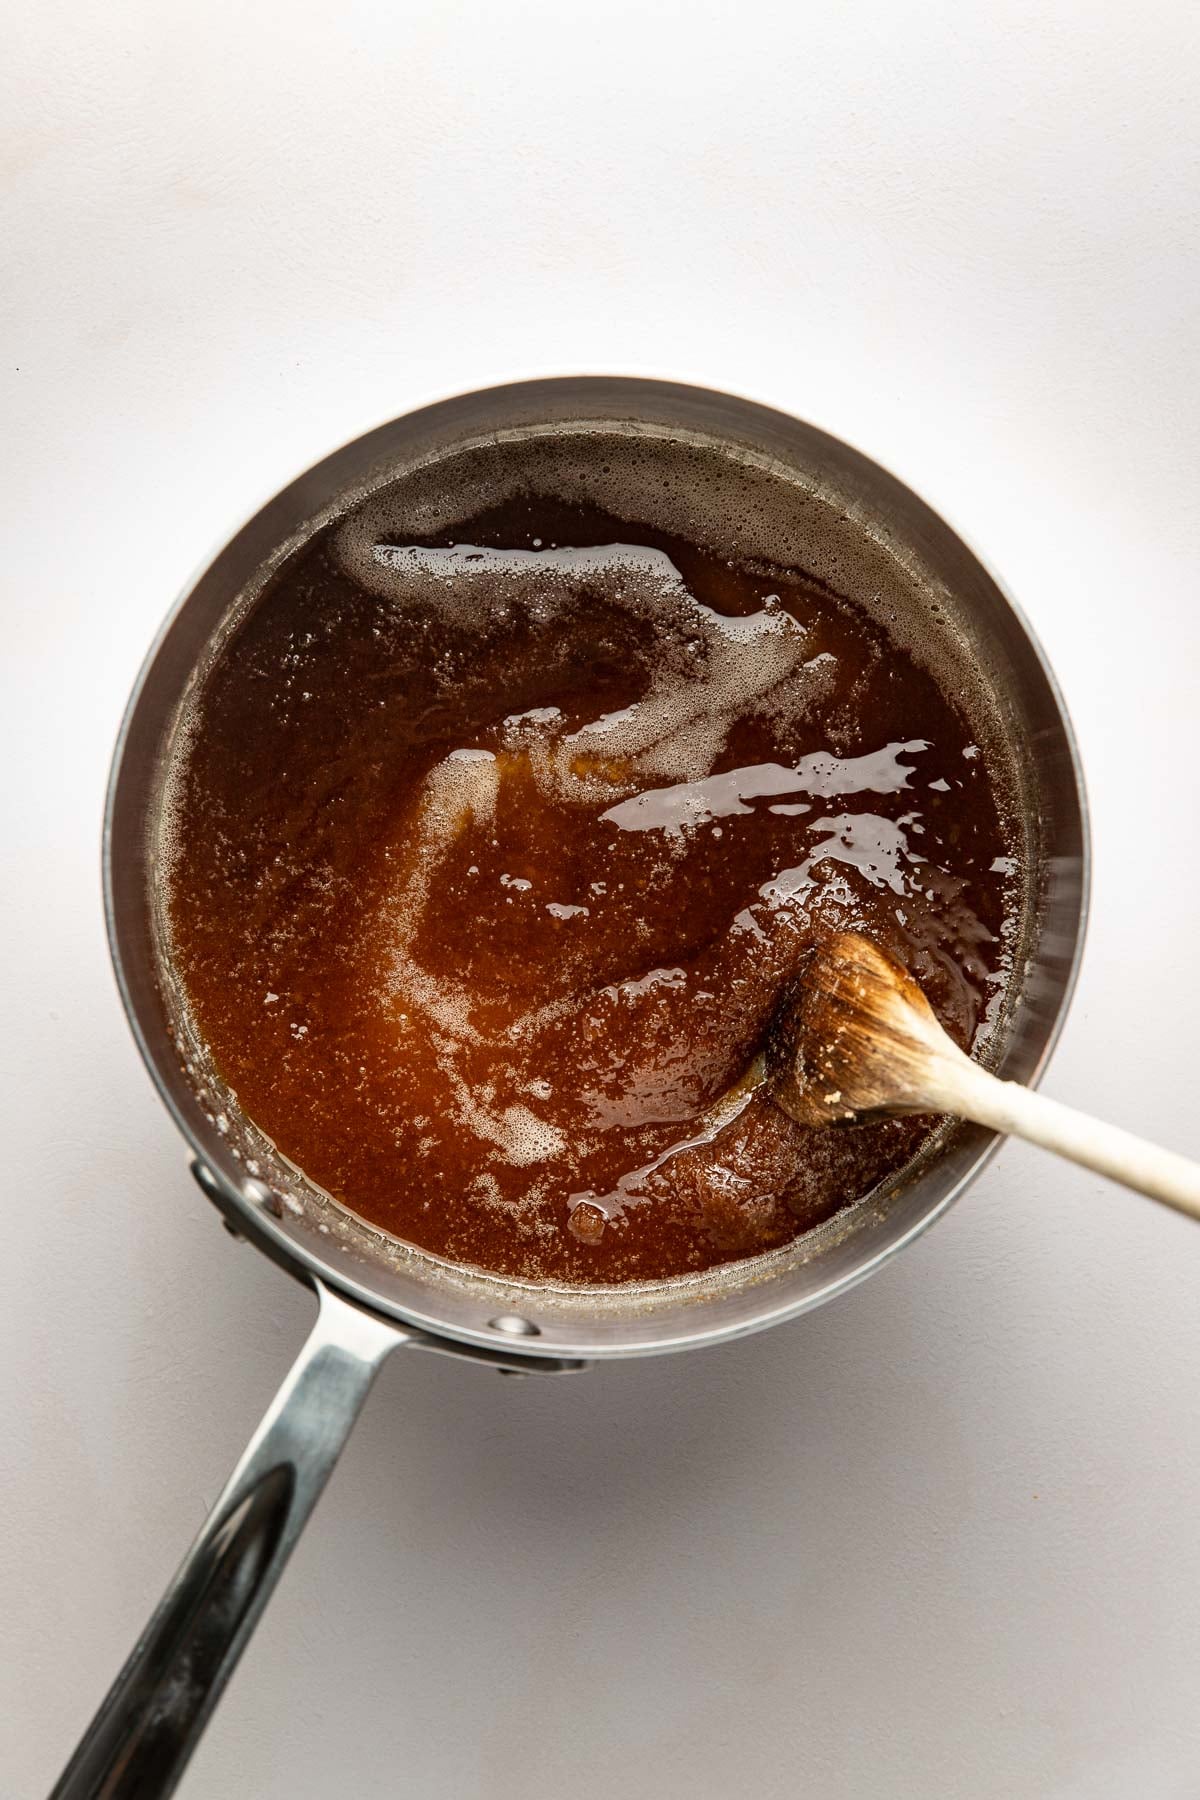
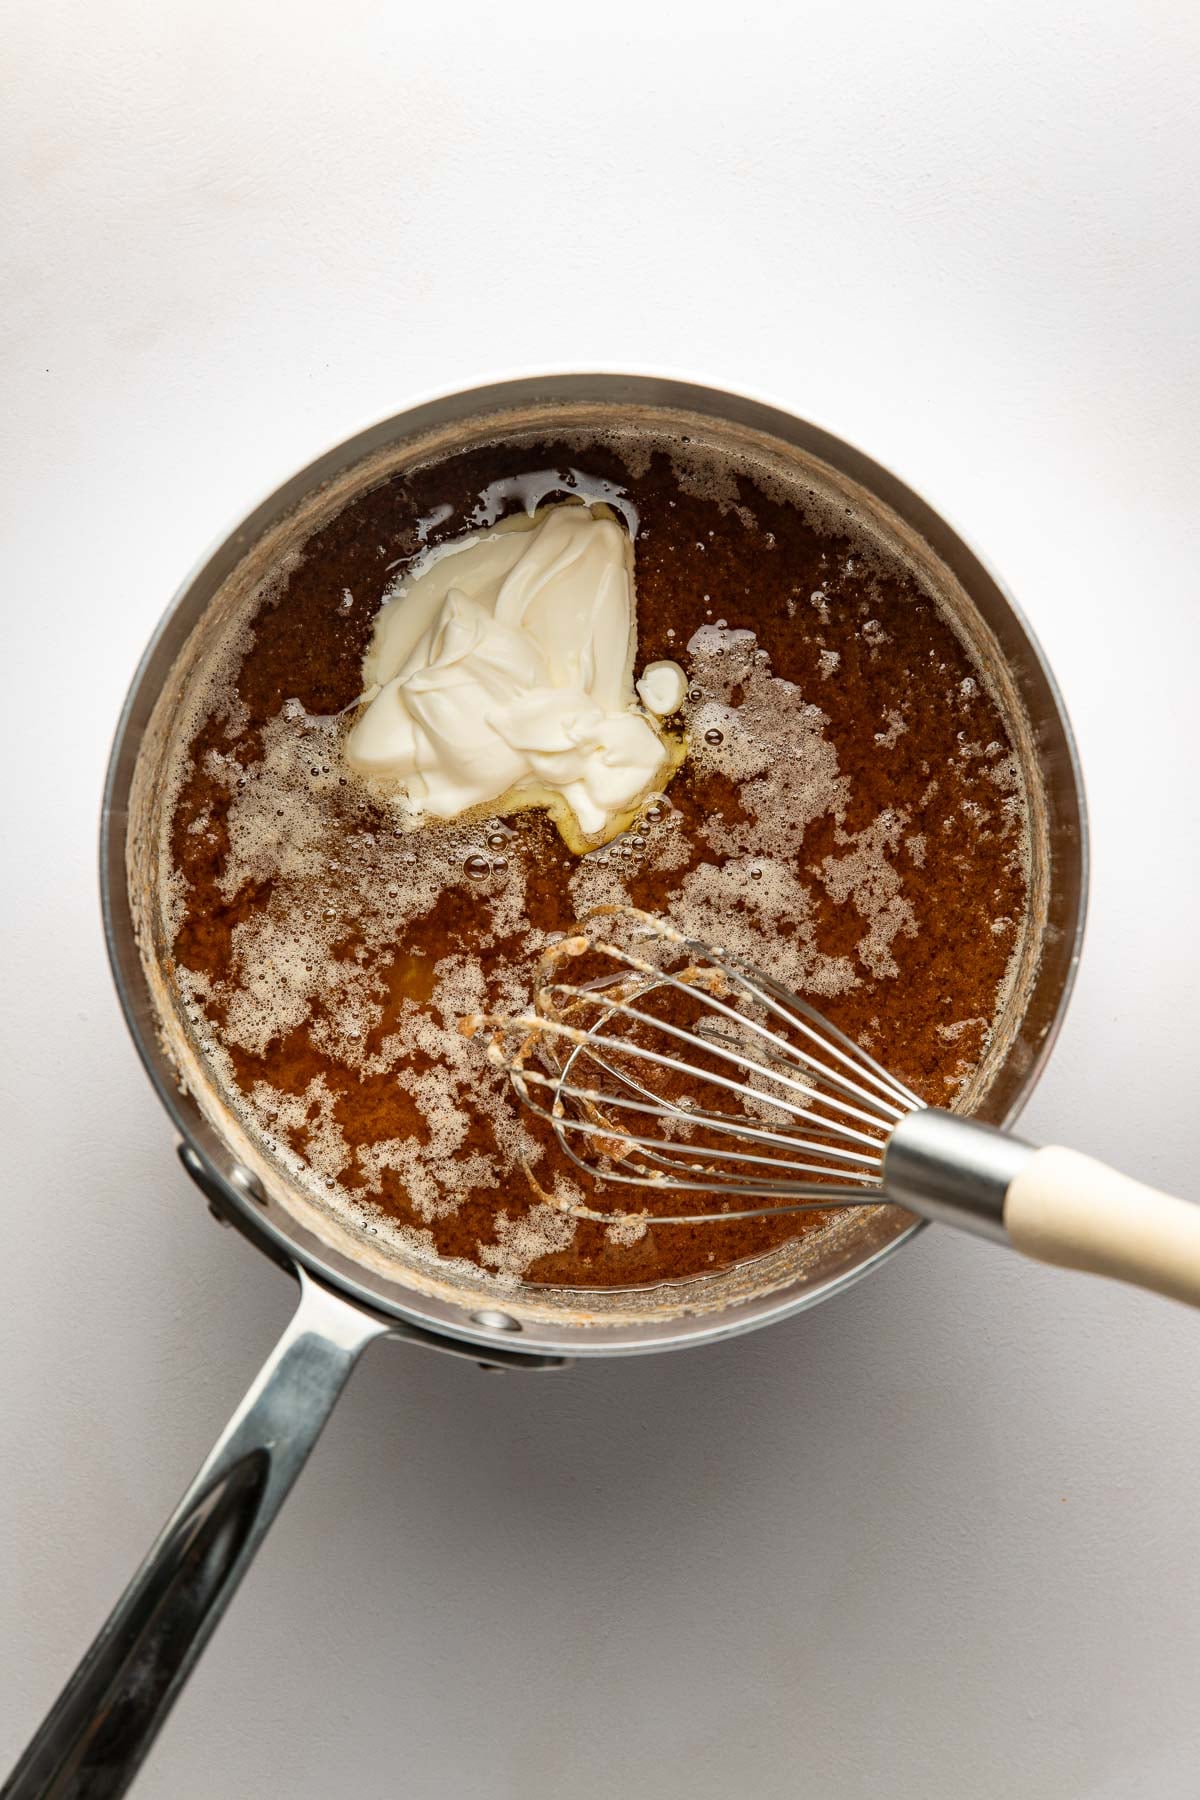
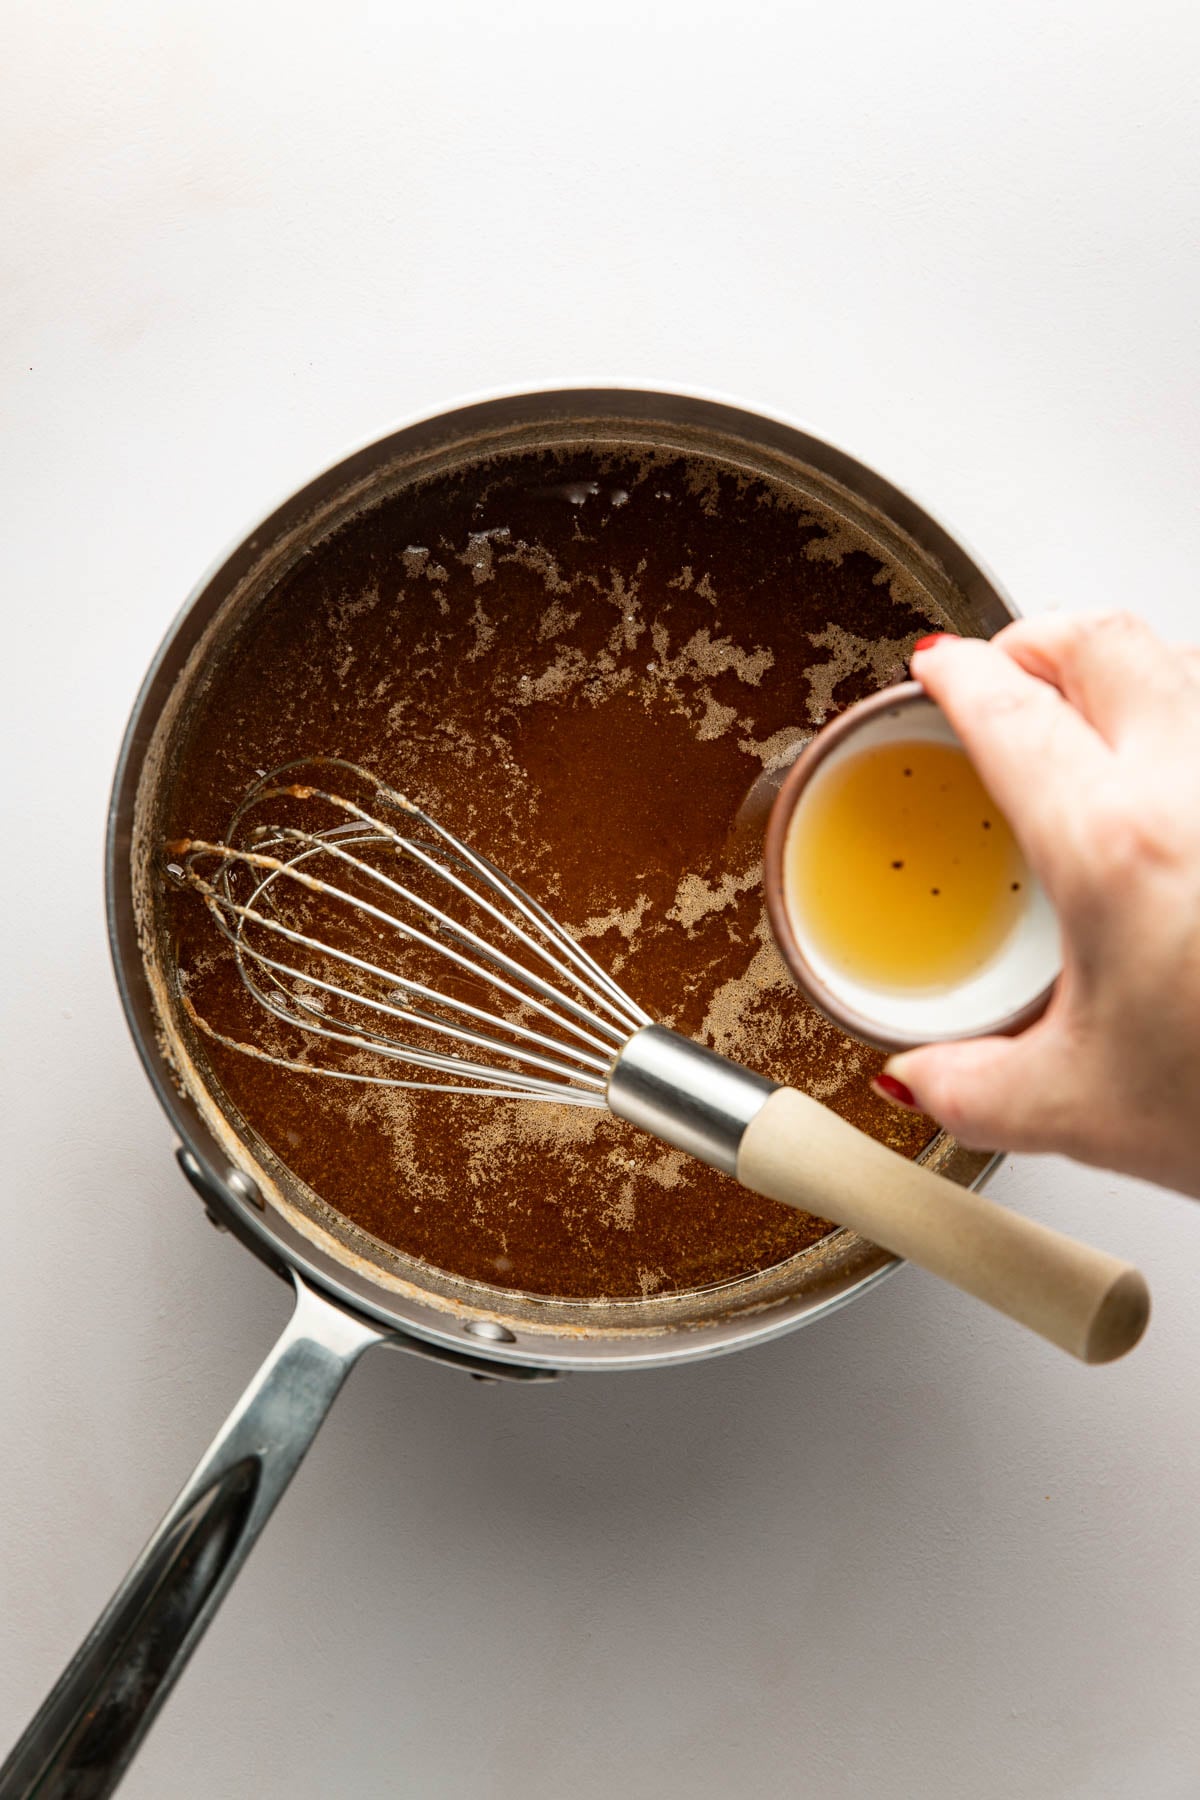
If you’re a butterscotch fan, my silky butterscotch budino is required eating.)
Cool, Then Whisk Into Ribbons
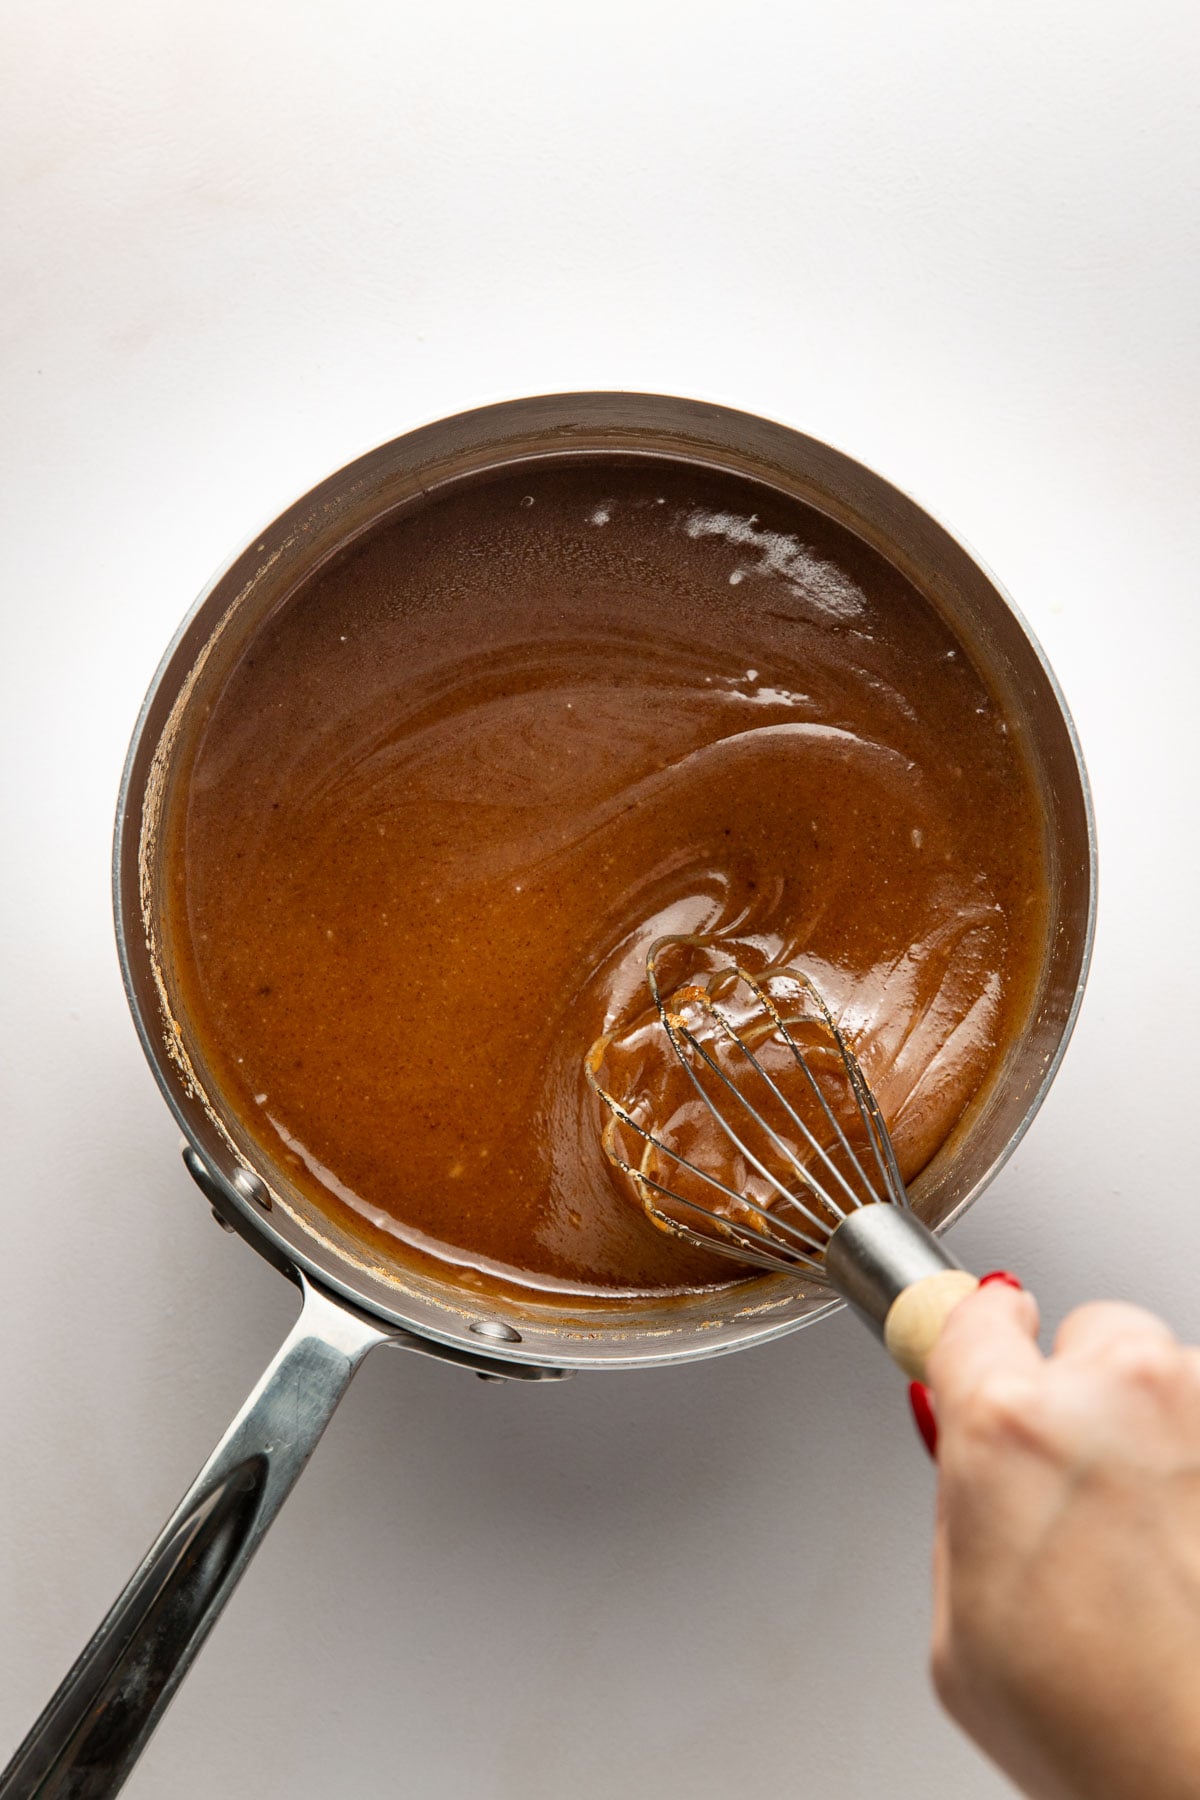
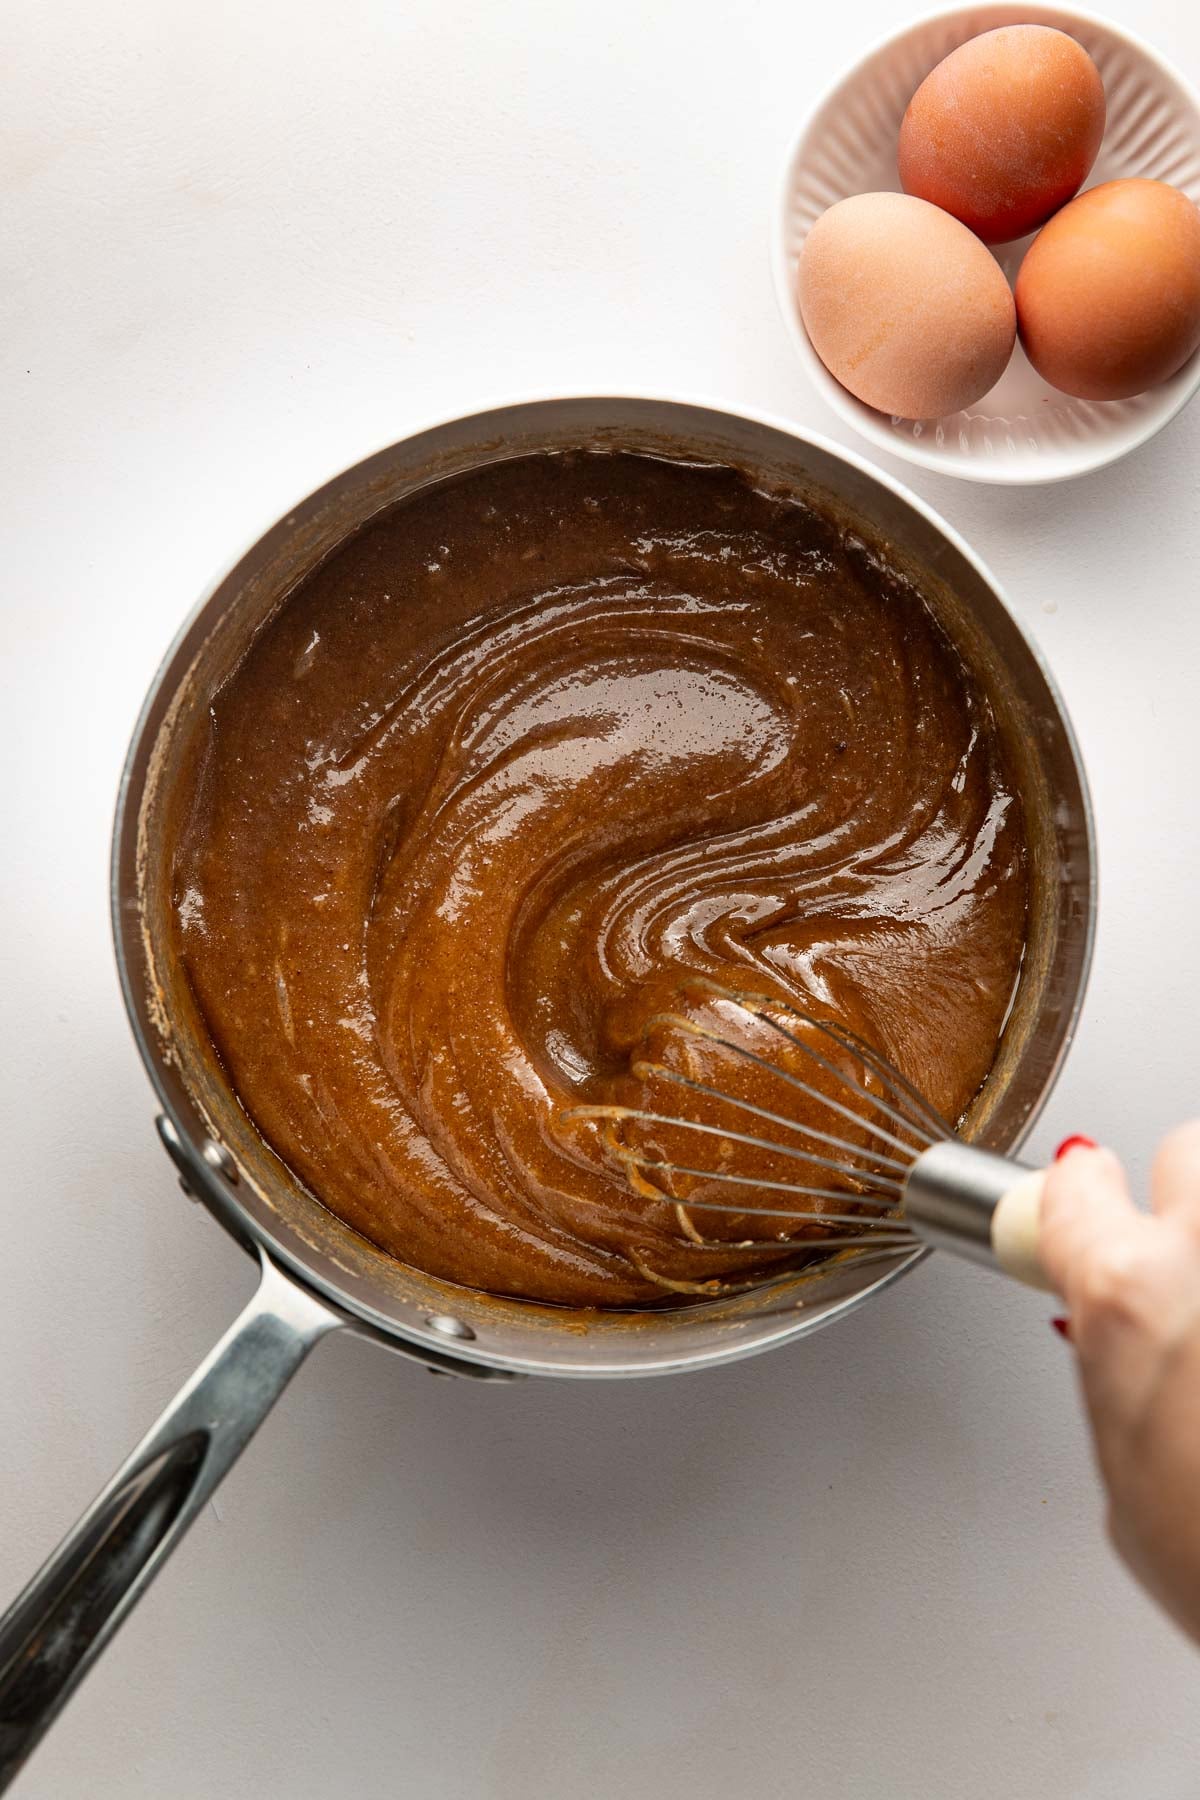
Quick tip: An instant-read thermometer is your friend here. If you don’t have one, you can tell it’s cool enough by touching it. It should feel neutral to barely warm.
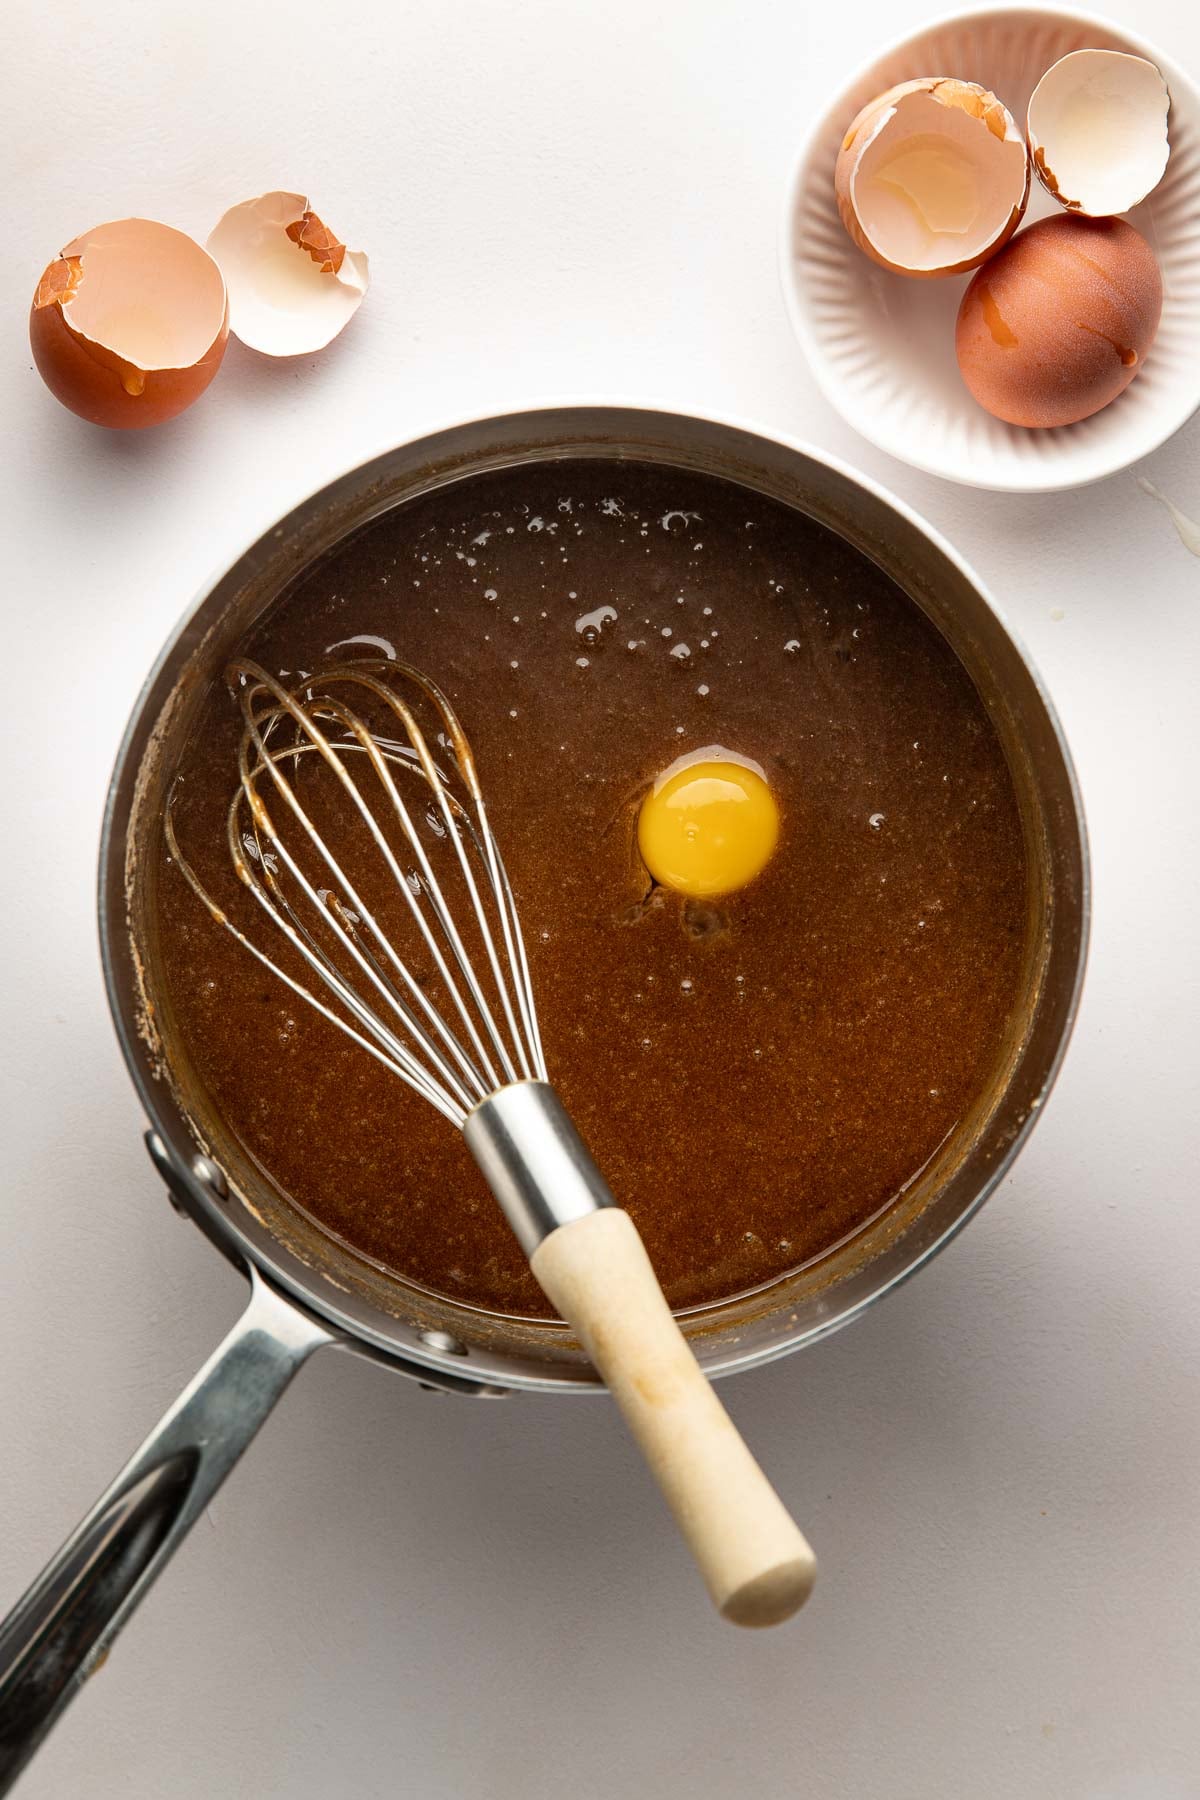
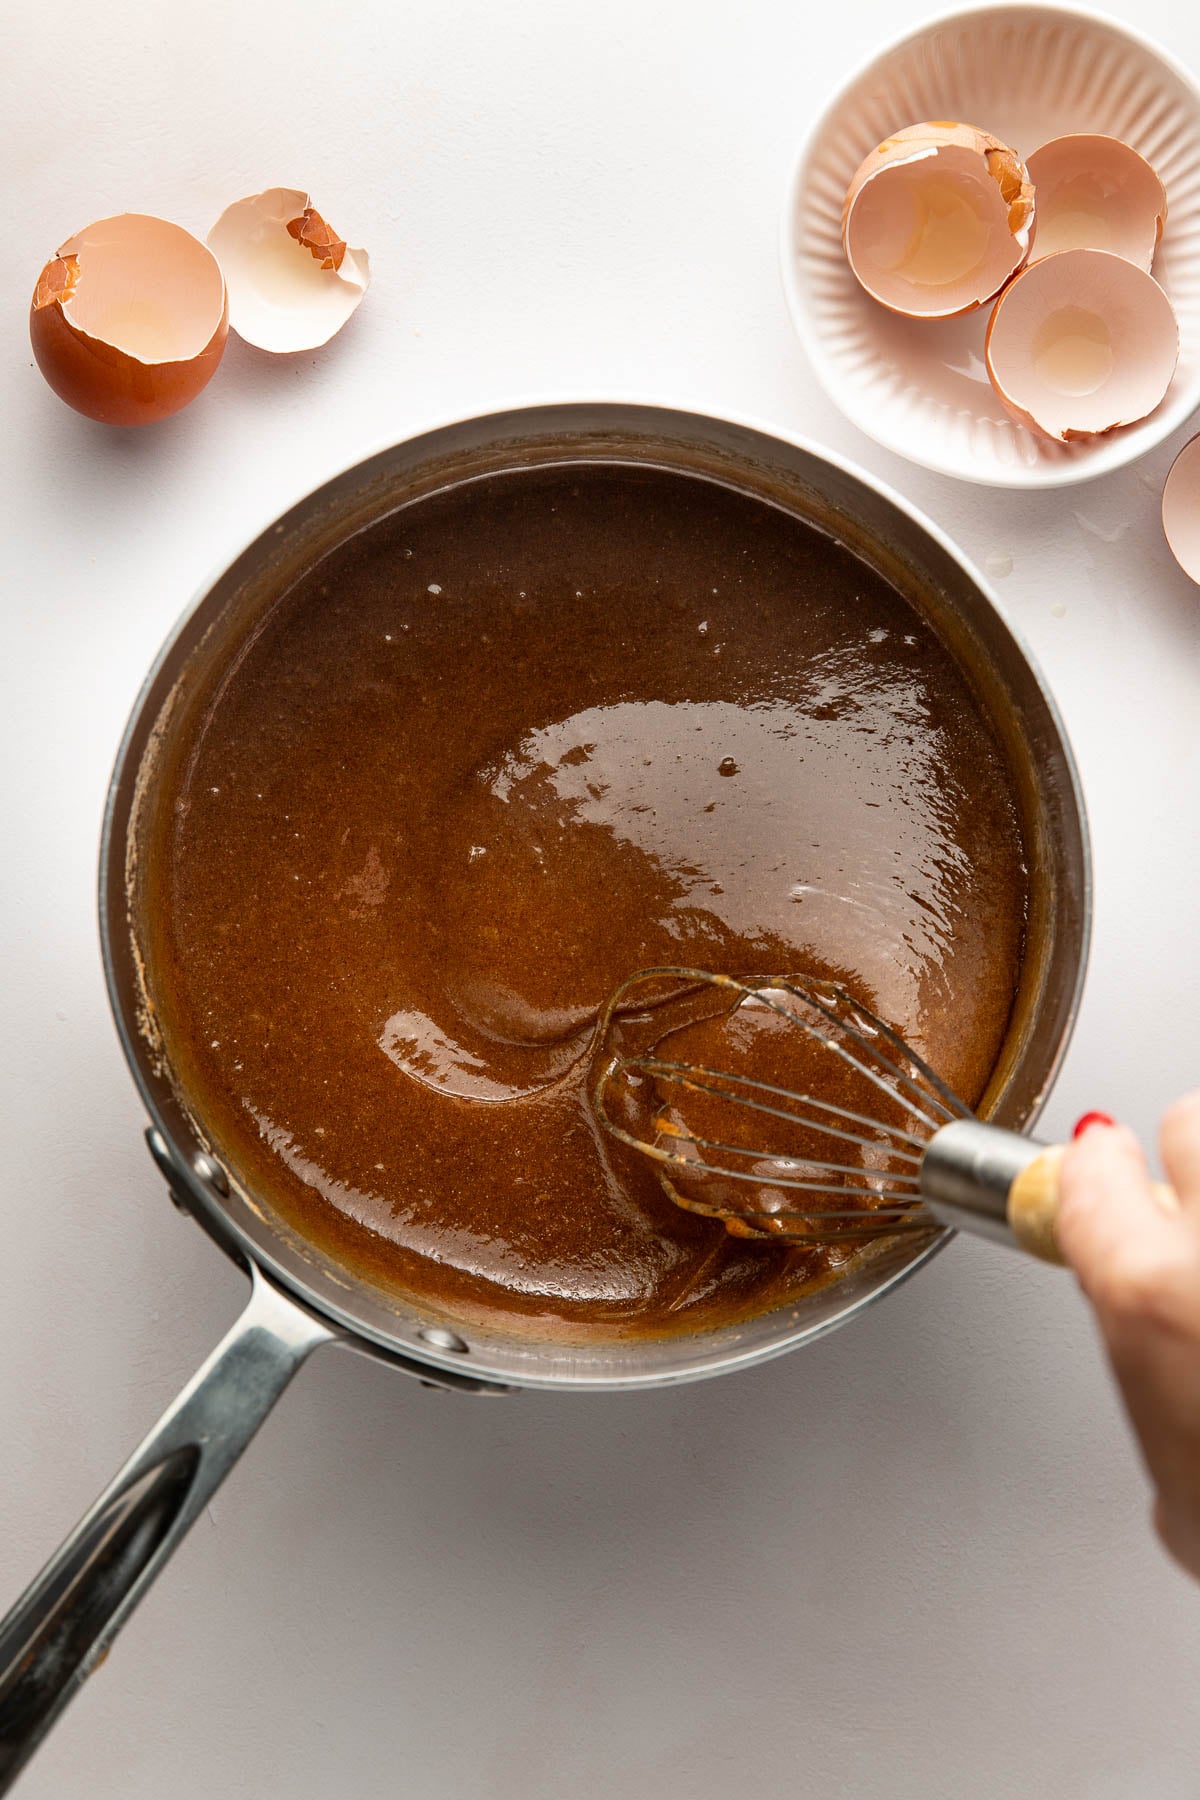
Fold Gently, Then Let It Rest
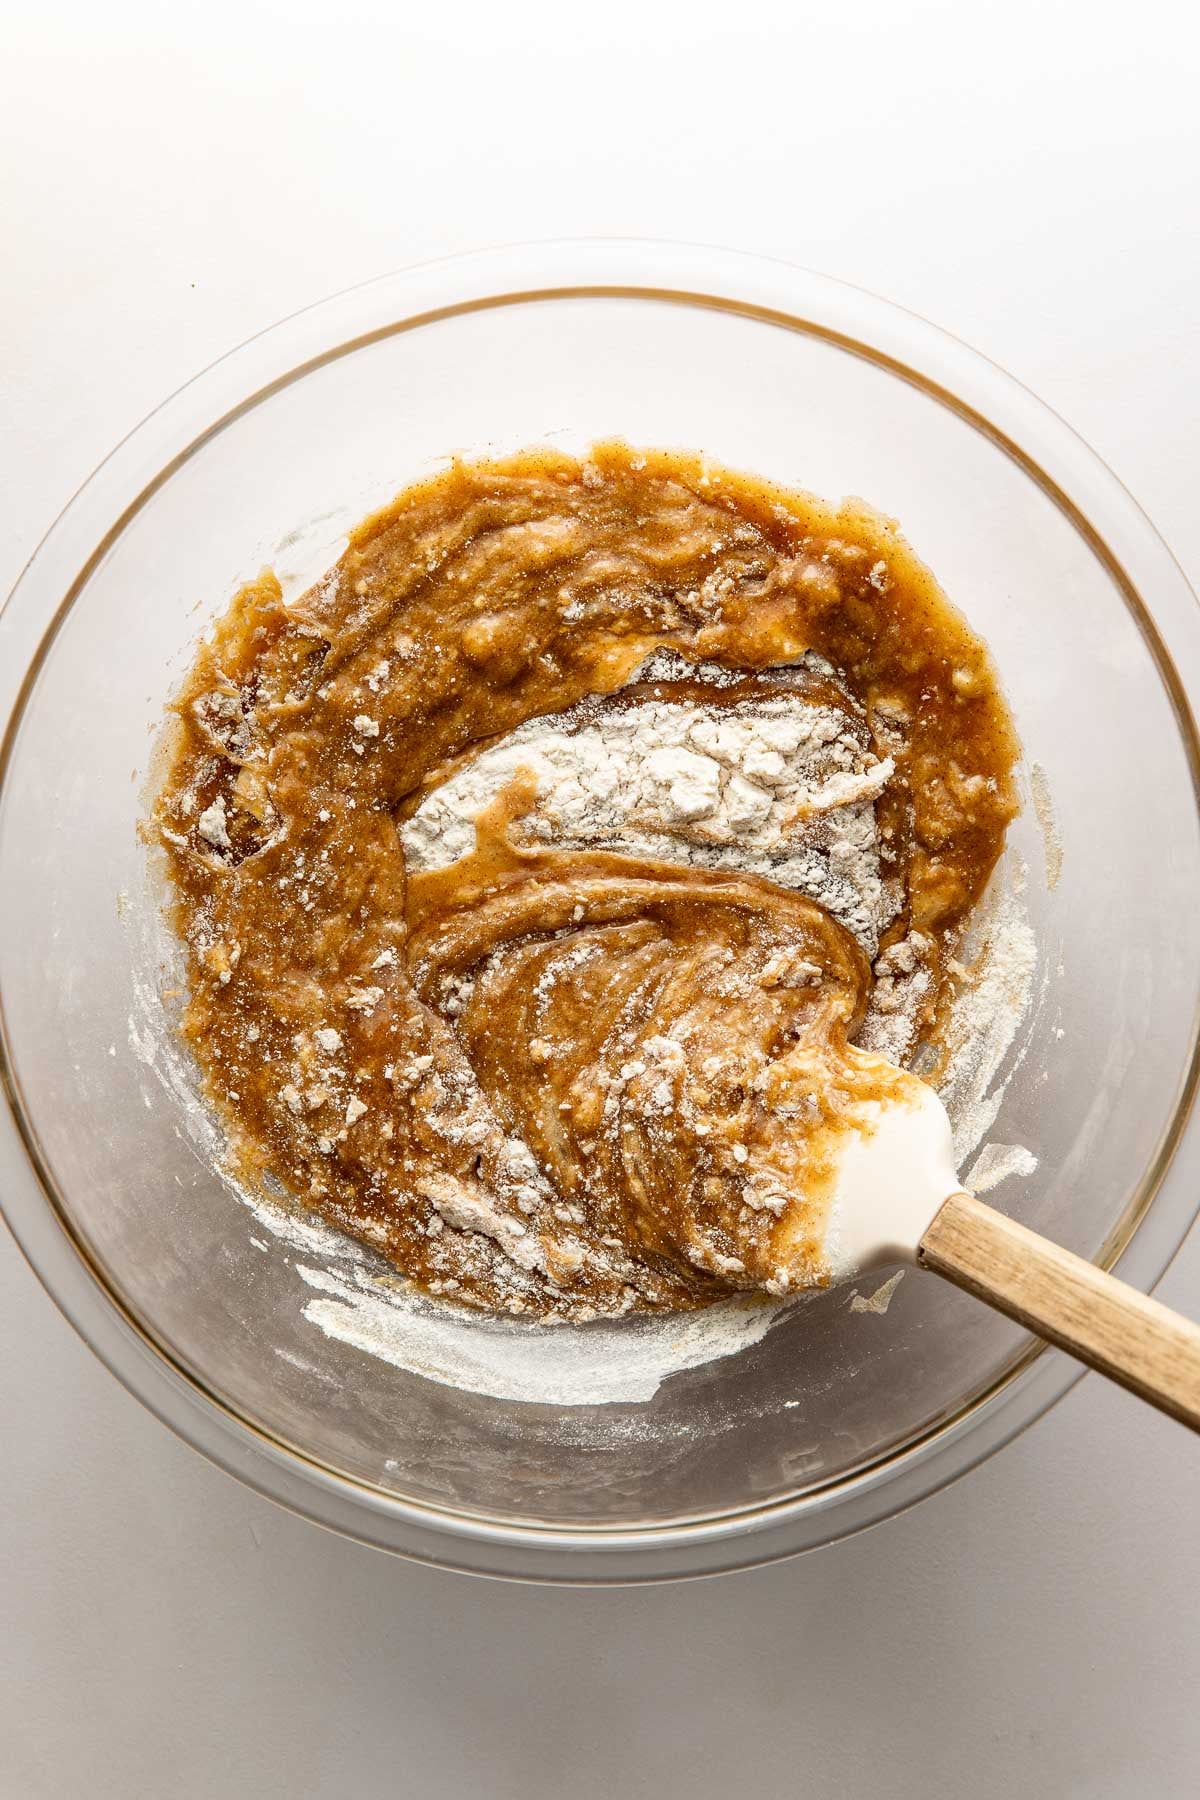
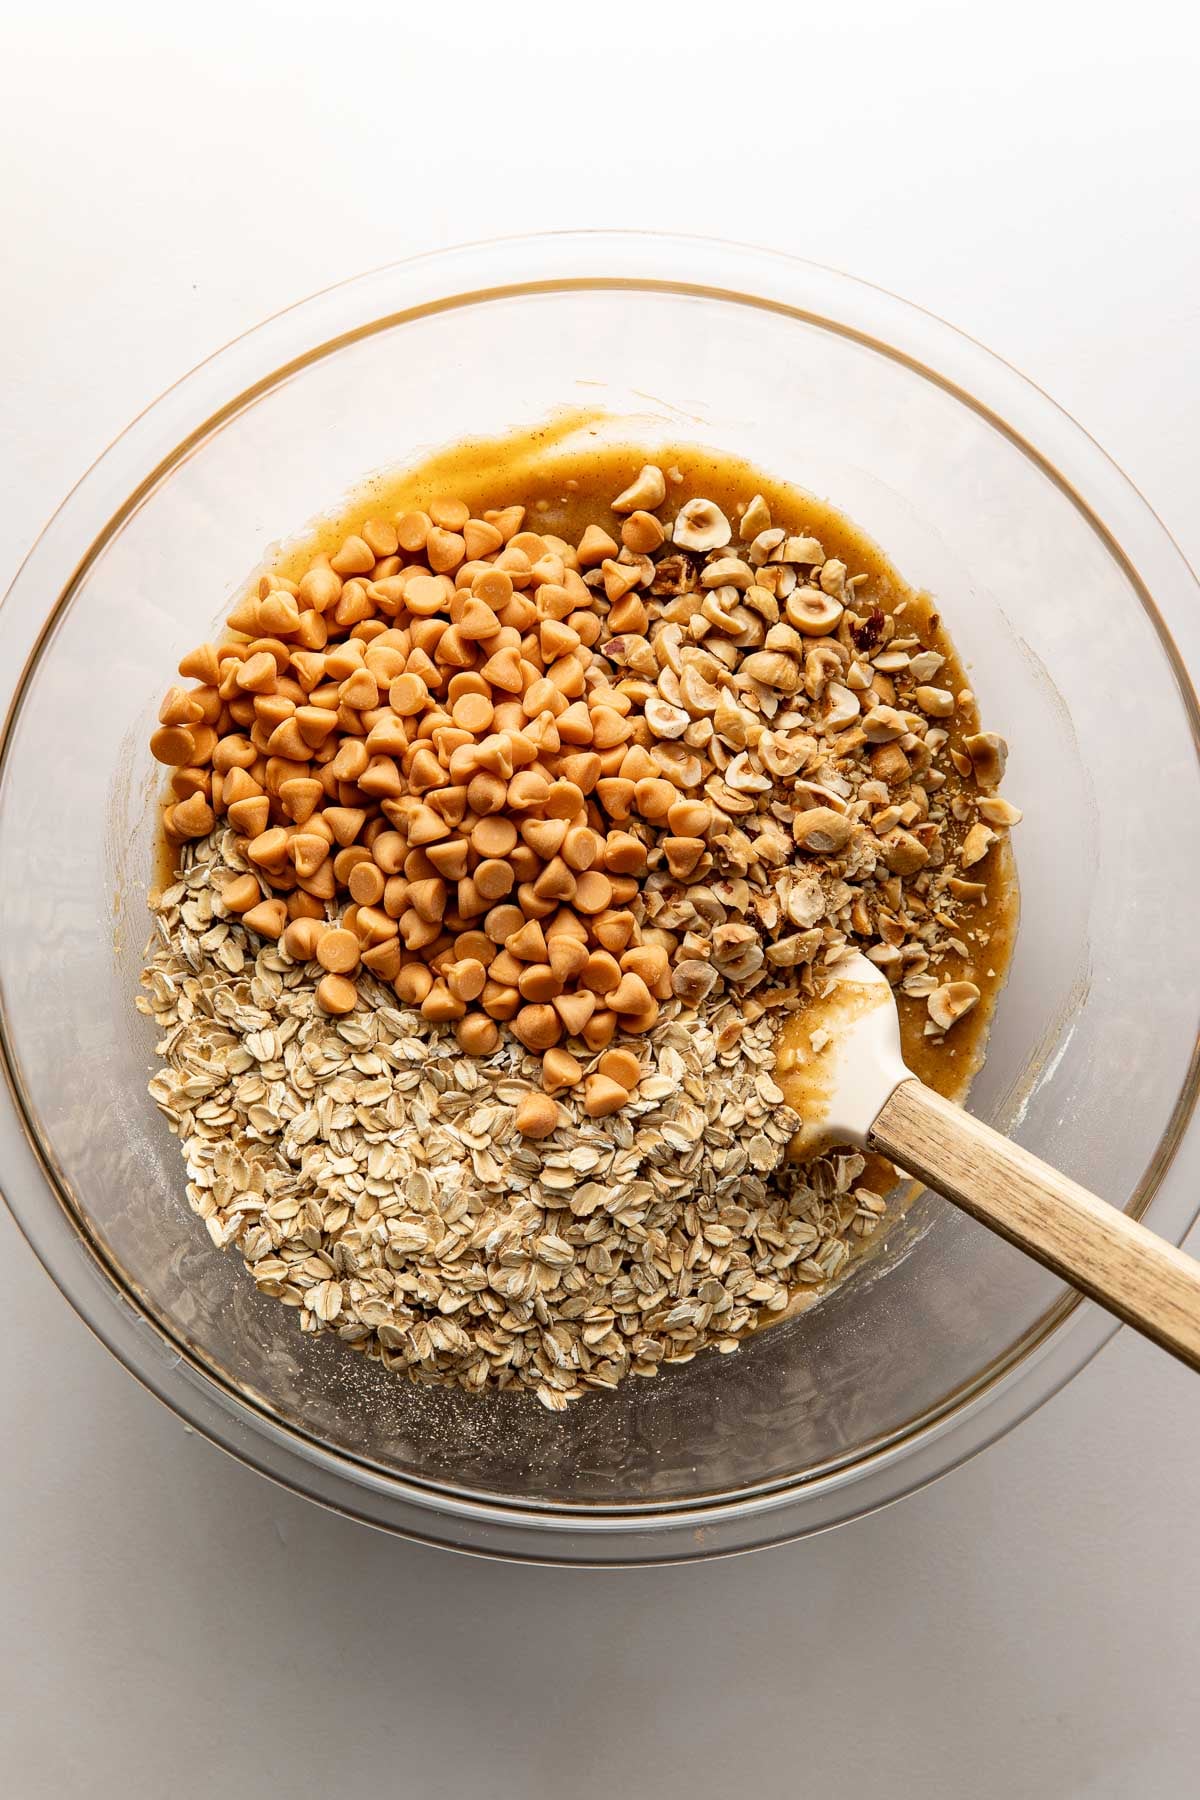
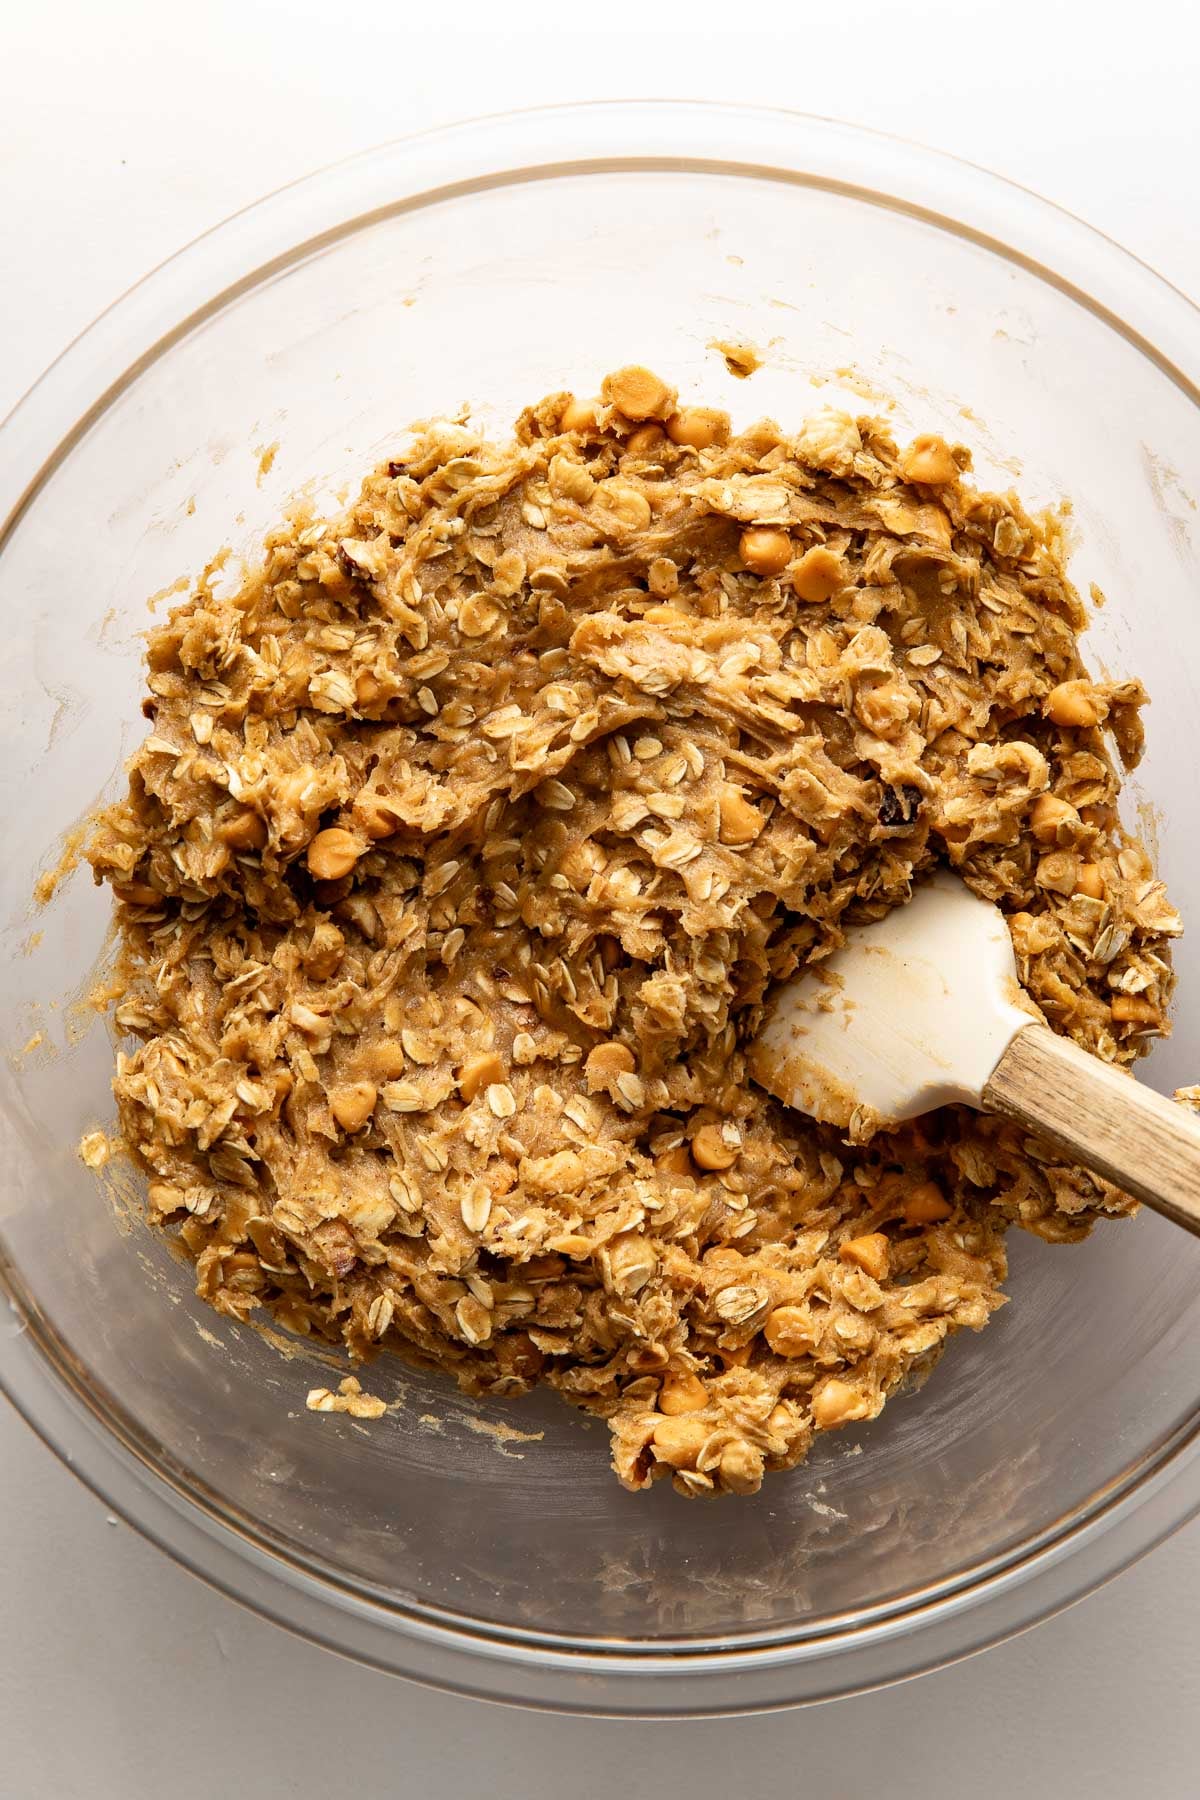
Heads up: the dough will look loose and glossy, more like a thick batter than a stiff cookie dough. This is exactly right! It firms up dramatically in the fridge.
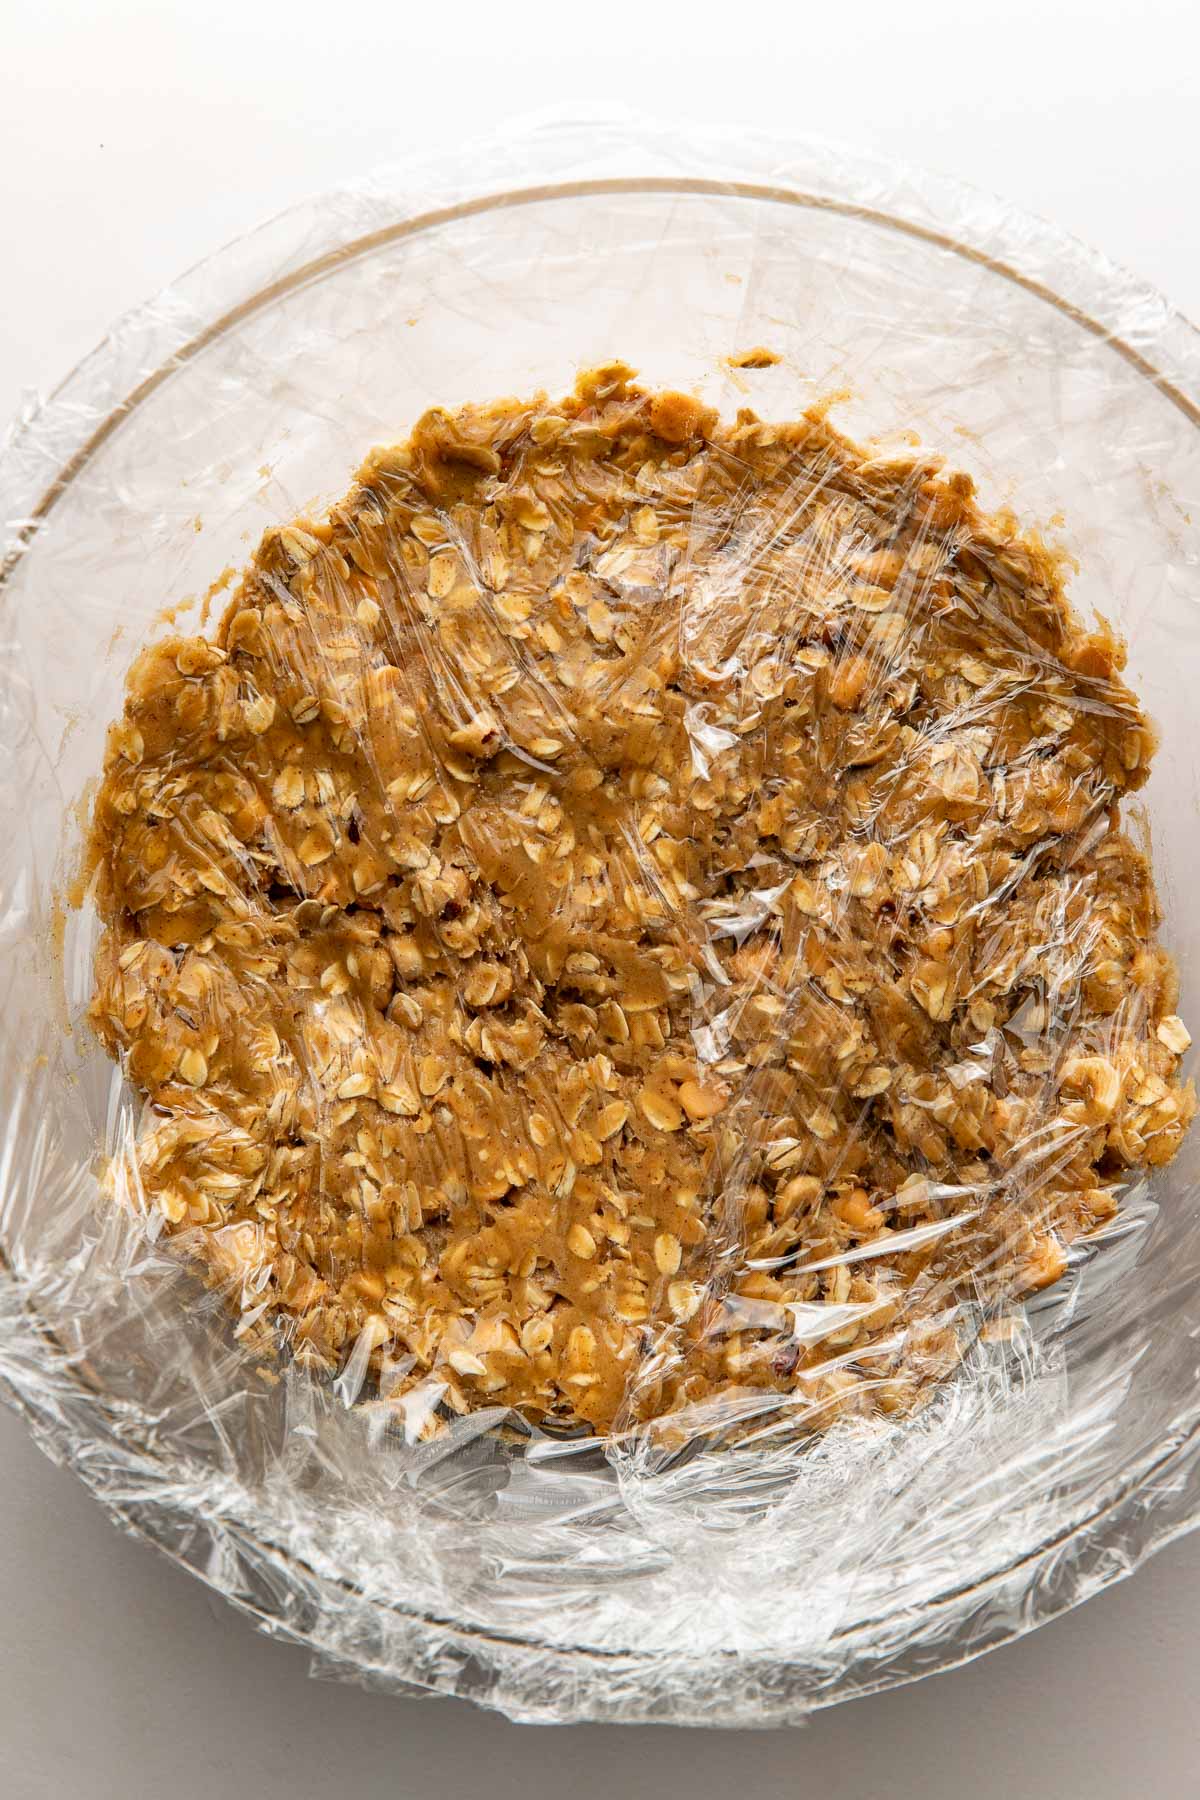
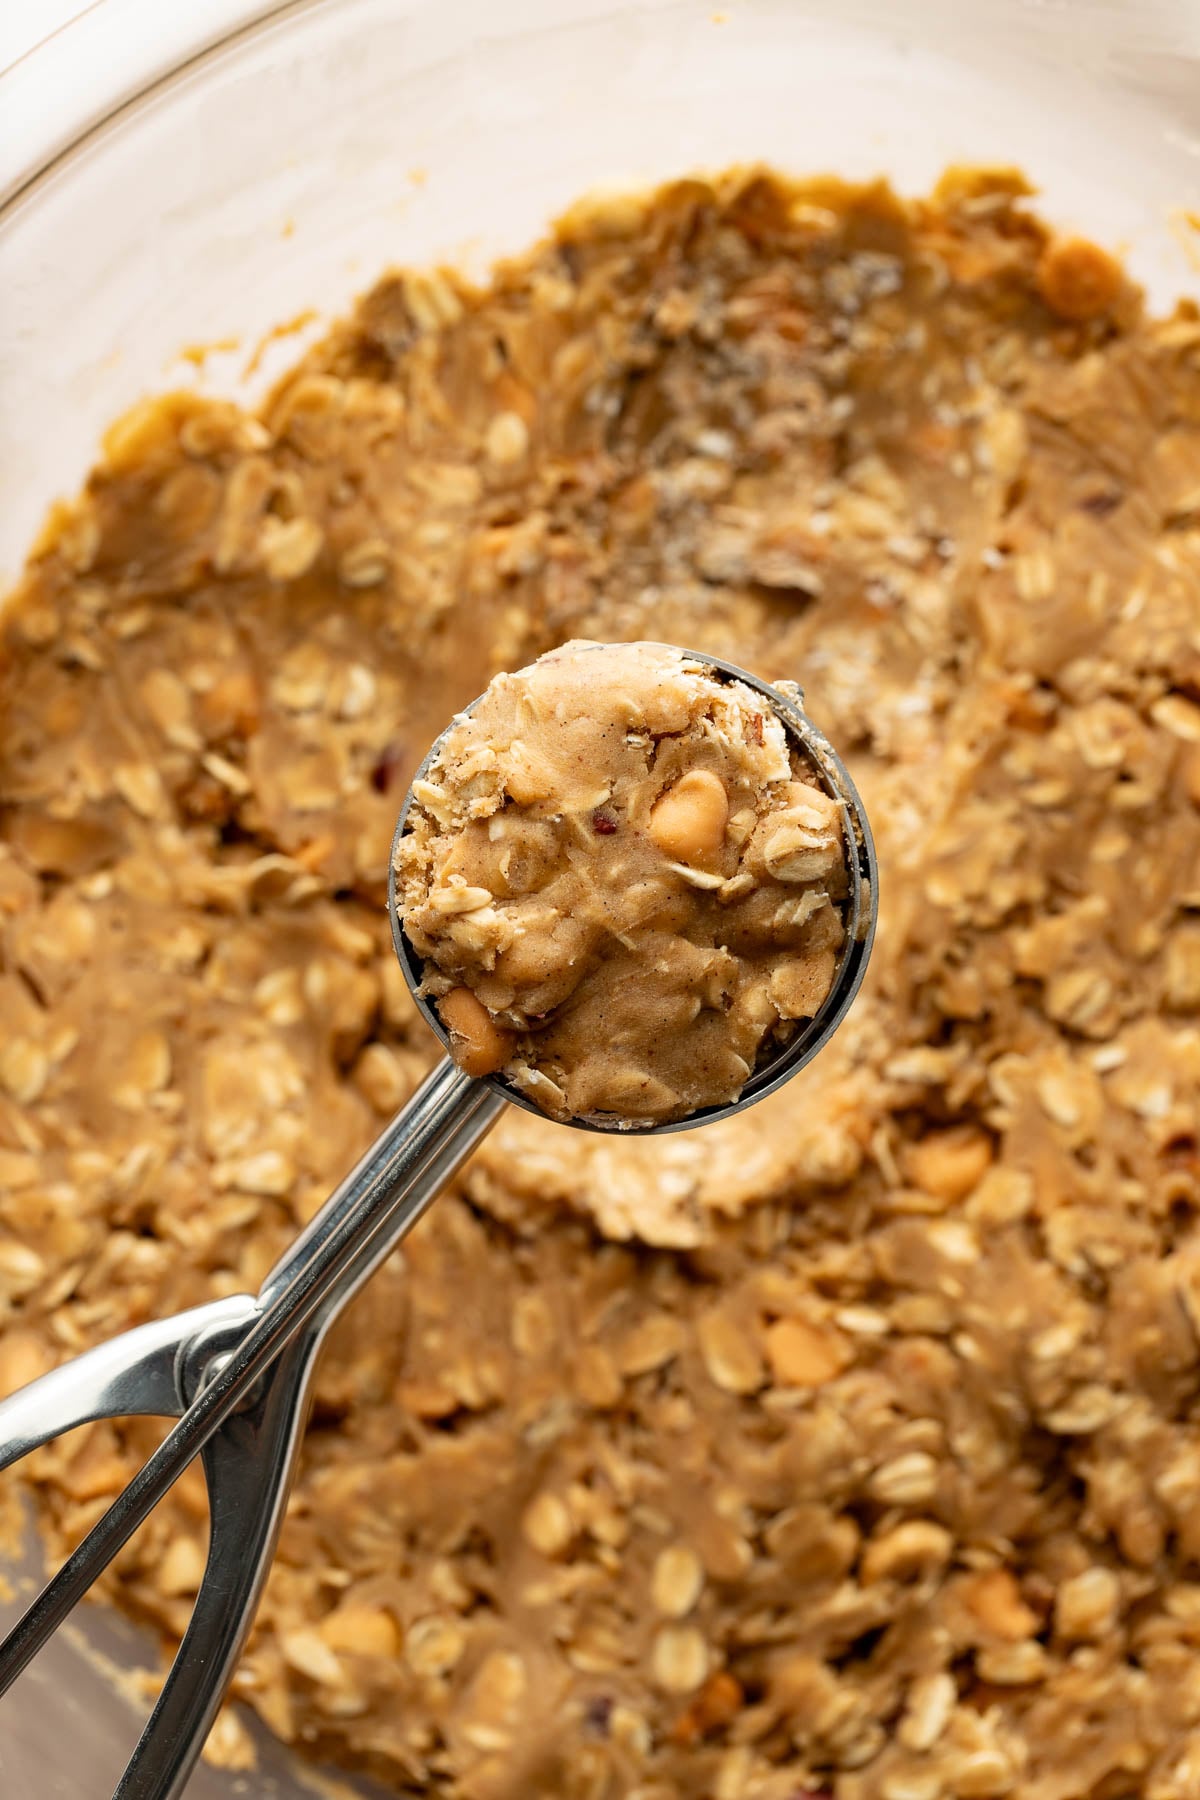
The chill time helps the oats and flour fully hydrate, which yields a chewier cookie. It also deepens the flavor and firms up the butter. When ready to bake, I find it helpful to leave the dough out at room temperature for about 15 minutes first.
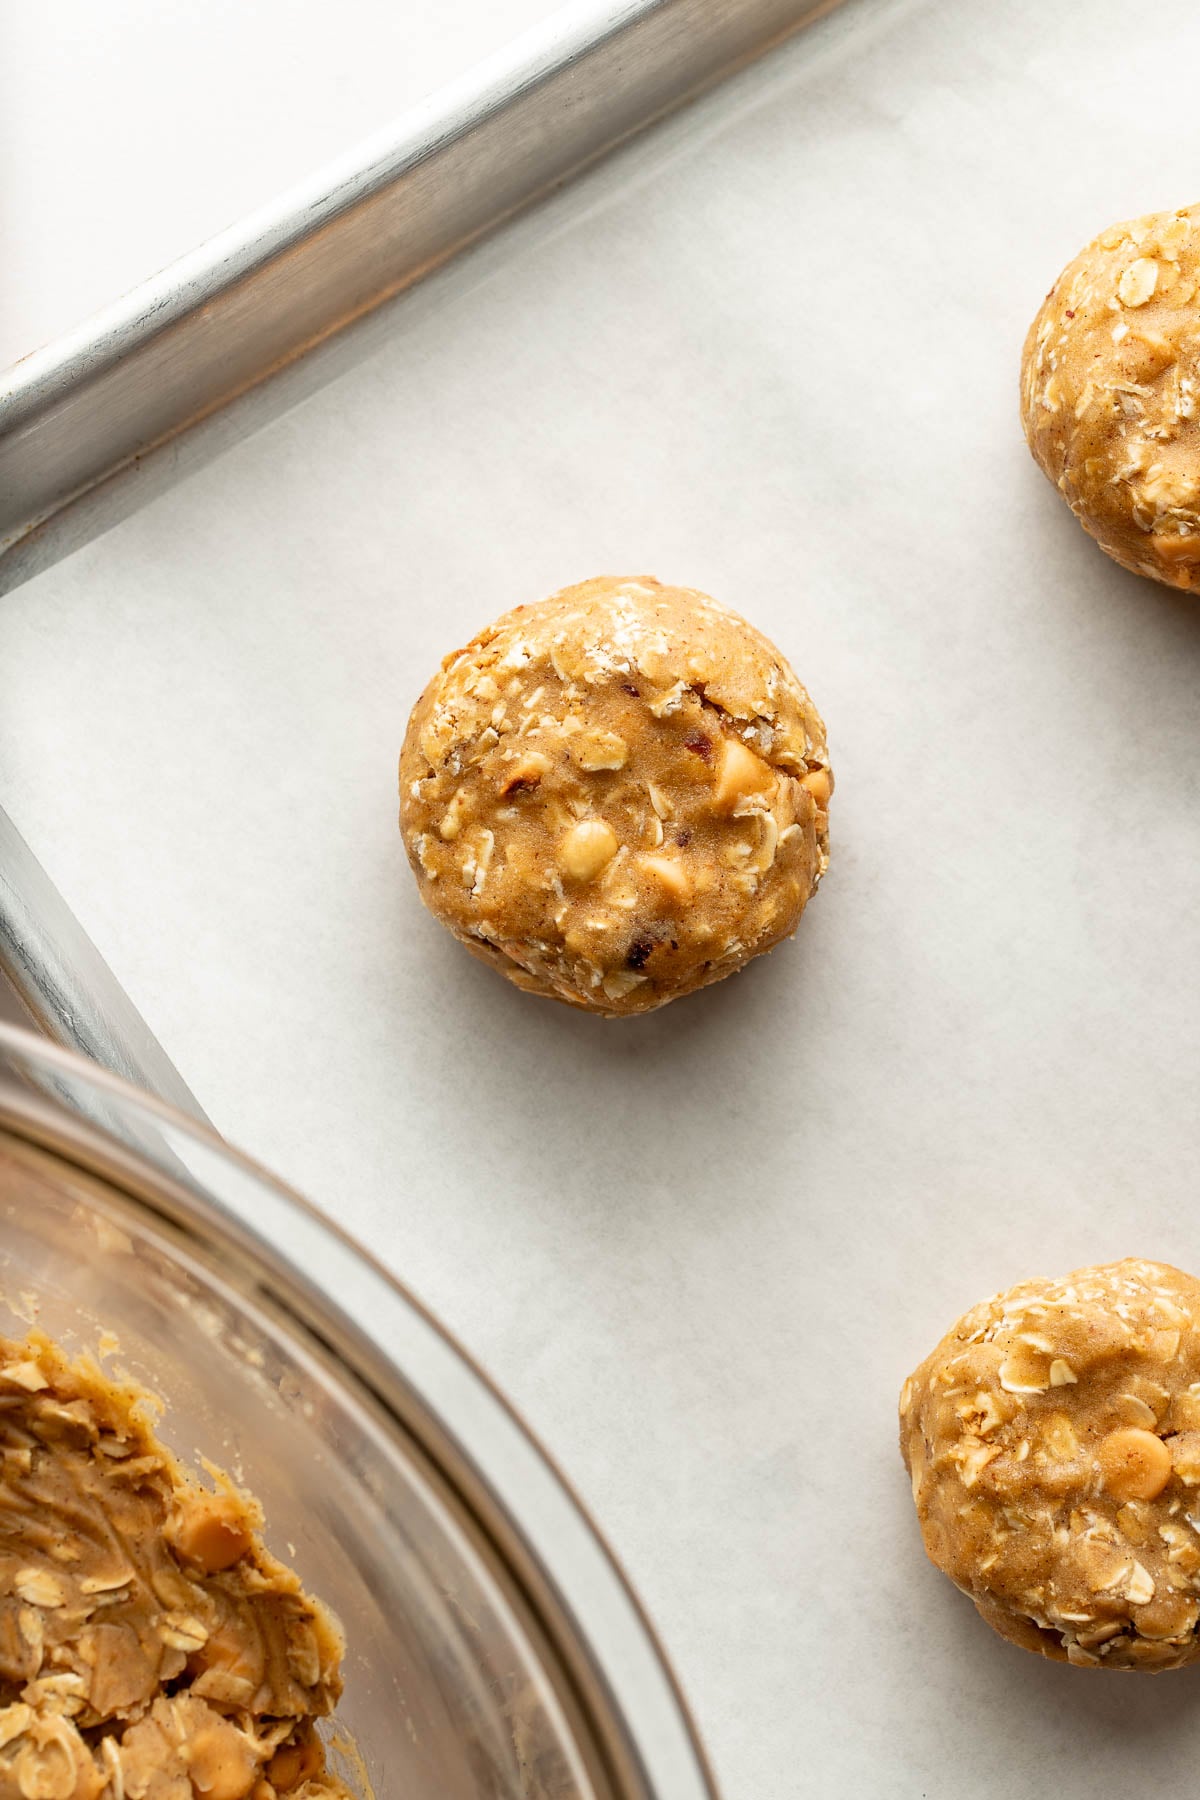
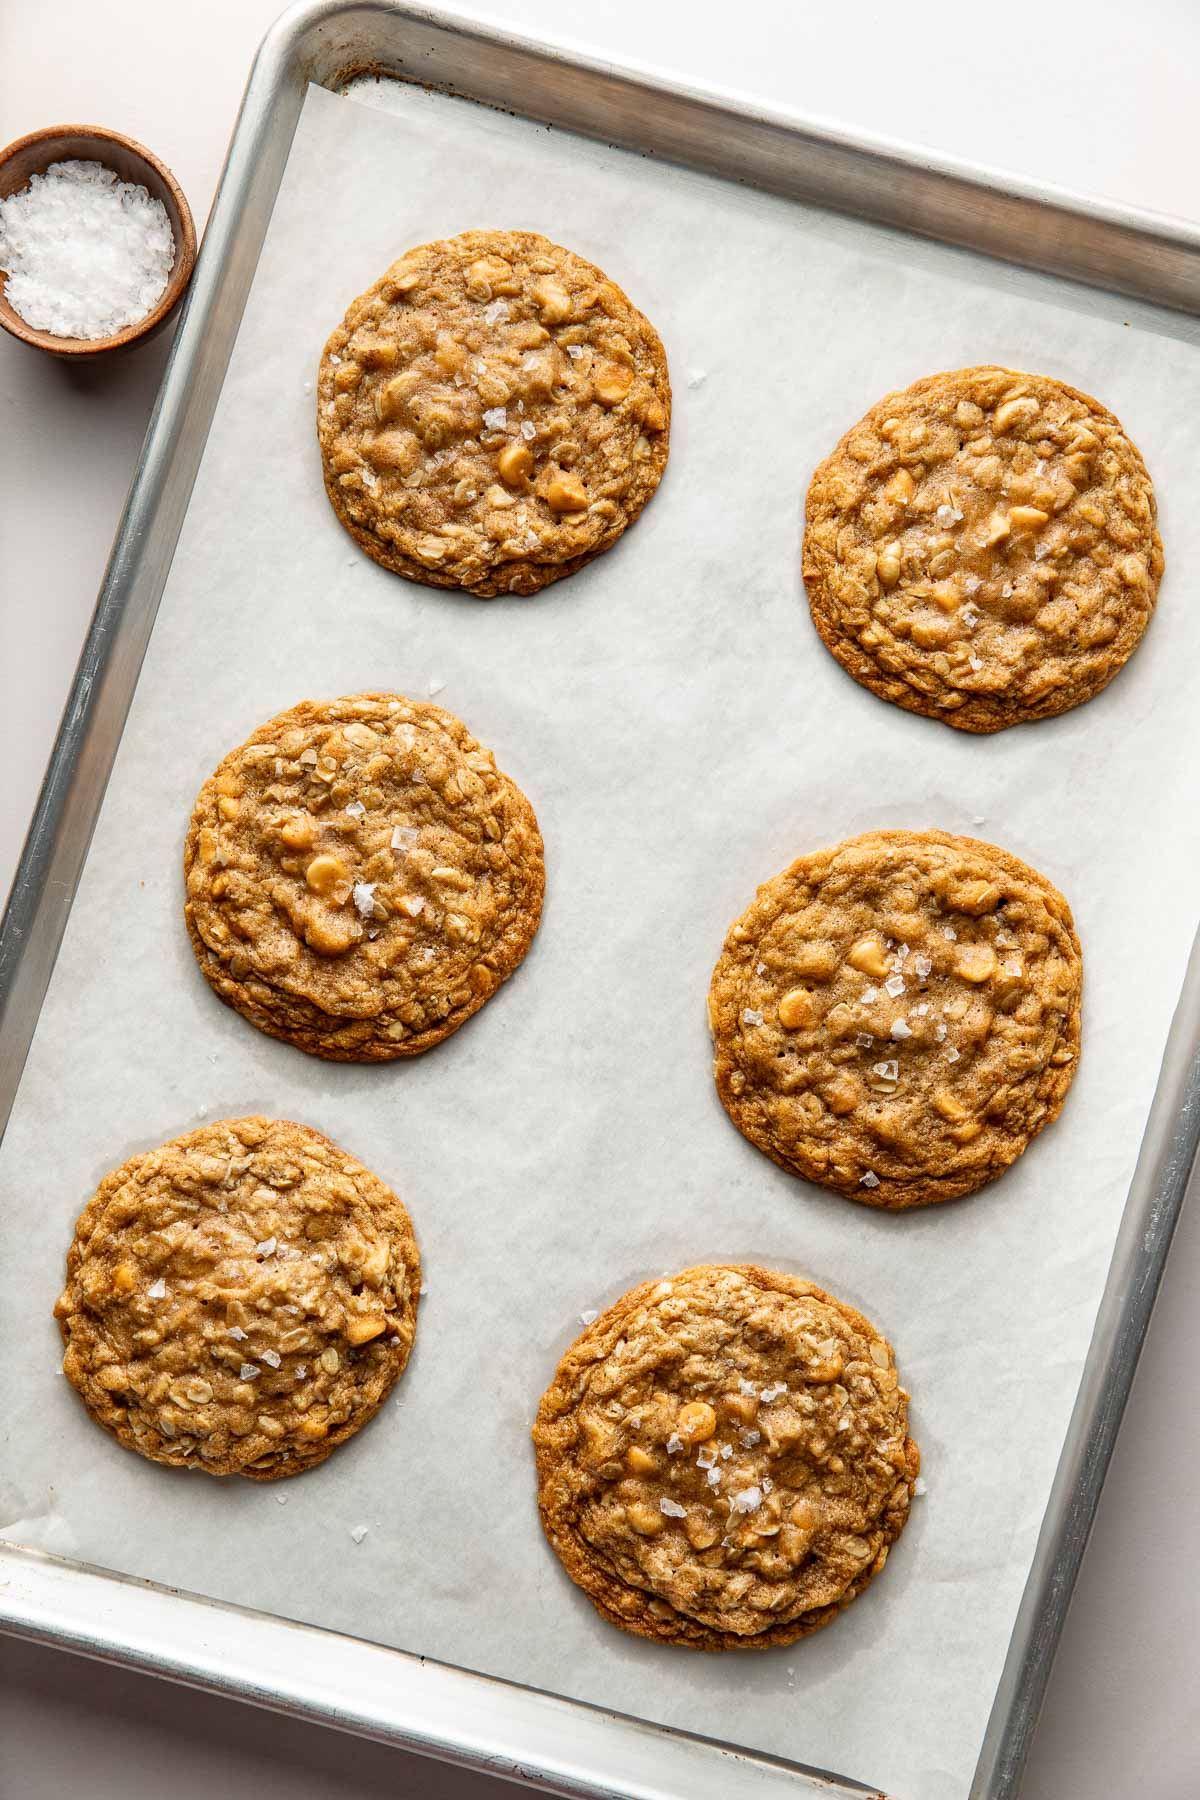
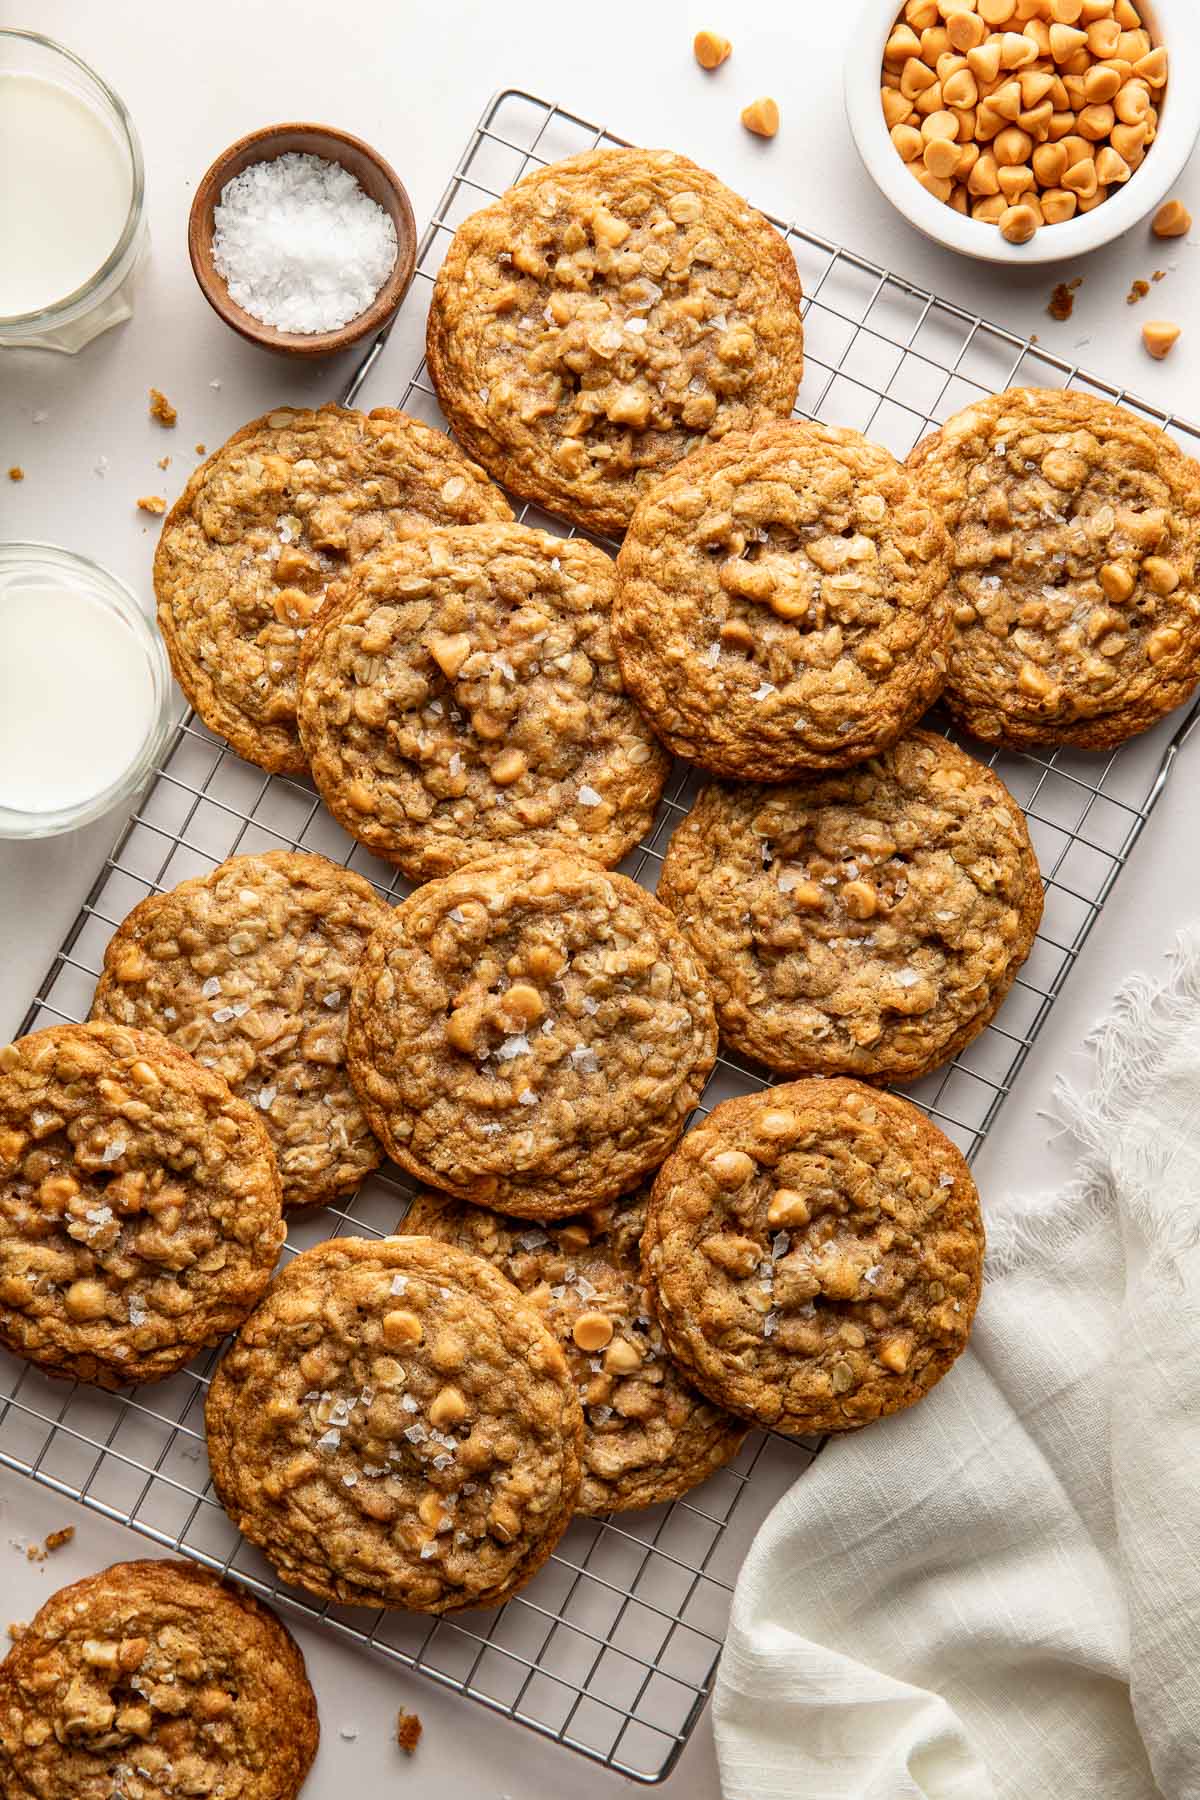
They’re phenomenal warm and gooey, but if you want a firmer cookie, just let them rest a little longer. They will never be crunchy, though.
Make-Ahead Friendly, By Design
These are a standout addition to a holiday cookie box. They travel well, stay chewy for days, and can even be frozen (see recipe card notes).
A couple helpful tips:
- Use a kitchen scale. This should go without saying, but it’s the single best way to get the same results as I do, especially when ingredients vary so widely by volume.
- Line pans with parchment, not silicone mats. Parchment gives better browning.
- Keep the scooped dough cold while other pans bake.
- Let the pans cool between batches. If you have multiple sheet pans, just use more than one.
These are wonderful on their own (ideally still warm), but if it’s day two and you’re staring at leftovers, try crumbling them over a scoop of vanilla ice cream or using them as the base for epic homemade ice cream sandwiches!
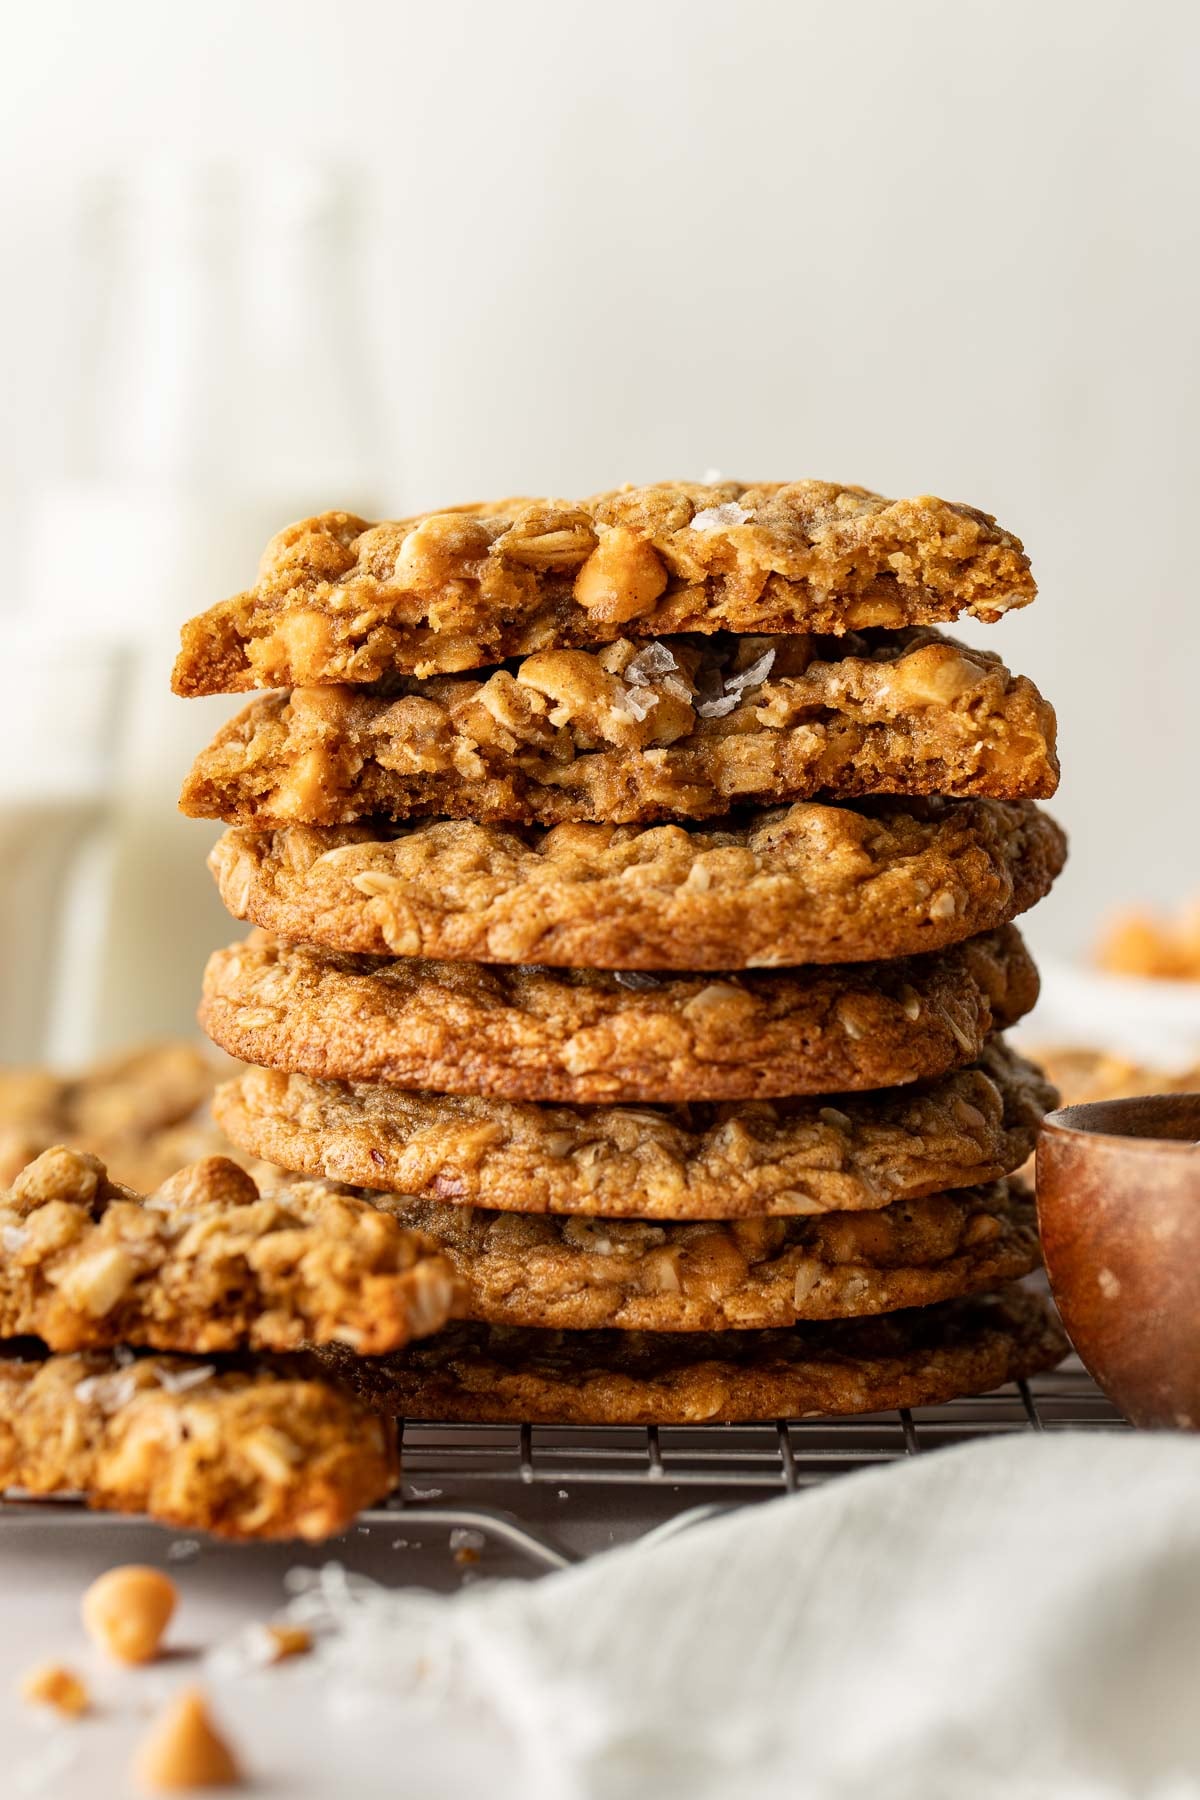
Butterscotch lovers, this one’s for you. Please report back — I can’t wait to hear what you think! And if you’re building out your baking list, you’ll find plenty more in my homemade cookie recipes collection.
And make sure to sign up for our newsletter and follow along on Instagram, TikTok, YouTube, Pinterest, and Facebook for more Well Seasoned recipes! Don’t forget to tag us on social channels when you make a recipe at #wellseasonedstudio and upload your photos below! We love seeing what you’re up to in the kitchen!
Tell Us What You Think!
If you make this recipe, don’t forget to leave a review and rating—we value your feedback and it helps us keep creating (and sharing!) free recipes. Your support means the world!
Rate this Recipe
Oatmeal Butterscotch Cookies (Crispy Edges, Chewy Centers!)
Equipment
Ingredients
To Be Toasted
- 180 g (2 cups) old-fashioned rolled oats (though quick cook oats also work – if using these, toast for a minute or so less)
- 75 g (½ cup) chopped hazelnuts (see tip in card if using whole, raw hazelnuts – fantastic here, just require a bit of extra work)
For the Butterscotch Base
- 227 g (8oz / 2 sticks) unsalted butter
- 200 g (1 cup) packed dark brown sugar
- 4 g (1 tsp) kosher salt
- 60 g (¼ cup) crème fraîche, room temperature – vanilla creme fraiche (by Vermont Creamery) is a nice touch!
- 20 g (1 Tbsp) golden syrup or light corn syrup
- 15 ml (1 Tbsp) blended Scotch whiskey, unpeated (otherwise the cookies will taste smoky) – I’ve also tested this with Rye and they are delish.
- 10 g (2 tsp) vanilla bean paste
For the Dough
- 1 large egg 50g, room temperature
- 2 large egg yolks 32g, room temperature
- 130 g (1 cup + 1 Tbsp) all-purpose flour
- 80 g (scant ⅔ cup) bread flour
- 26 g (3 Tbsp) malted milk powder (I use King Arthur, but any brand you can find locally is a-okay)
- 6 g (1 tsp) baking soda
- 1 g (½ tsp) ground cinnamon
Mix-ins and Finish
- 170 g (1 cup) butterscotch chips (any brand)
- Flaky sea salt
Instructions
- Toast the oats and hazelnuts. Preheat the oven to 350°F (175°C). Spread 180g (2 cups) oats on one rimmed sheet pan with parchment and 75g (½ cup) hazelnuts on another. Toast both for 8 minutes, but stir the oats once halfway through. Cool both completely.
- Brown the butter. Melt 2 sticks (227g) unsalted butter in a saucepan over medium heat. Continue cooking, swirling the pan constantly once it stops foaming, 6–8 minutes, until the milk solids at the bottom are deep amber and the butter smells like toasted nuts. Pull it the moment it hits amber; residual heat will carry it further.
- Build the butterscotch. Off the heat, wait 30 seconds, then add 200g (1 cup) dark brown sugar and 4g (1 tsp) kosher salt. Whisk until the sugar is fully moistened. Return the pan to medium-low and cook, stirring constantly, 2-3 minutes. The mixture will look grainy and separated at first, then pull together glossy and smooth. Off the heat, whisk in 60g (¼ cup) crème fraîche (it will bubble and steam hard for a few seconds), followed by 20g (1 Tbsp) golden syrup, 15ml (1 Tbsp) Scotch, and 10g (2 tsp) vanilla paste.
- Cool the base. Let the mixture sit until it reads 85–90°F (29–32°C) on an instant-read thermometer, 20–25 minutes.
- Emulsify. Whisk in the whole egg, then two egg yolks, one at a time, whisking 20–30 seconds after each until the mixture is thick, glossy, and ribbons off the whisk.
- Add the dry ingredients. In a separate bowl, whisk together 130g (1 cup + 1 Tbsp) all-purpose flour, 80g (scant ⅔ cup) bread flour, 26g (3 Tbsp) milk powder, 6g (1 tsp) baking soda, and 1g (½ tsp) ground cinnamon. Add to the wet mixture and fold with a spatula until only a few dry streaks remain, about 20 strokes.
- Fold in the mix-ins. Add the toasted oats, chopped hazelnuts, and 170g (1 cup) butterscotch chips. Fold until evenly distributed. The dough will look loose and glossy at this stage rather than stiff. This is expected.
- Rest. Press plastic wrap directly onto the surface and refrigerate 24–48 hours.
- Scoop and shape. Heat the oven to 350°F (175°C) with a rack in the upper third. Line two sheet pans with parchment. Scoop the dough into 70g (3 Tbsp) portions, roll smooth, then flatten slightly into pucks about 1 inch (2.5 cm) tall. Arrange 6 per pan, spaced 3 inches (7.5 cm) apart. Let sit at room temperature 15 minutes before baking.
- Bake. Bake for 10-11 minutes, rotating the pan at the 8-minute mark, until the edges are set and browned and the centers still look puffed and visibly underdone. If you want a denser, more rippled cookie, lift the pan 4 inches (10 cm) and drop it flat on the oven rack once at 8 minutes and again at 10.
- Finish. Sprinkle immediately with flaky salt. Rest on the pan for 10 minutes, then transfer to a rack.
Notes
- Weigh your ingredients. Volume measurements for flour, oats, and milk powder vary widely. Using a scale = consistency.
- Make-ahead: The dough keeps, tightly covered, in the fridge for up to 48 hours. If longer, I recommend freezing.
- Freeze the dough: Freeze shaped picks on a sheet pan until form, then transfer to a freezer bad for up to 3 months. Bake from frozen, adding 1-2 minutes. Baked cookies can be frozen for a few months, as well.
- Store baked cookies at room temperature (airtight container) for 4 days.
Nutrition
Photography by Megan McKeehan.



Let us know your thoughts!